TikTok's Simple DIY Woodworking Project That Every Gardener Needs
If you've started doing a lot of gardening, you've undoubtedly realized how useful a potting table would be. Whether in your outdoor shed, greenhouse, garage, a spot on the lawn adjacent to your gardening space, or even a small corner of your home's interior, the place where you do your gardening prep needs a worktable. There are, of course, beautiful and expensive options on the market to choose from that will make it look like you're gardening from the pages of a magazine, but if you're a practical horticulture enthusiast who just wants a functional workbench, a DIY table made of old pallets is an easy way to go.
If you were to search TikTok for potting table DIYs or hacks for a stylish potting bench, you'd get more than a few results. Given the wide range of expertise on the social platform, some of these homemade tables rival ones you can buy in stores. If you have the skills, budget, time, and inclination to go that route, by all means, take it. But, if you're only sure you can confidently operate a power drill with minimal mishaps, then this pallet potting table is the TikTok DIY for you.
Prepping your pallets
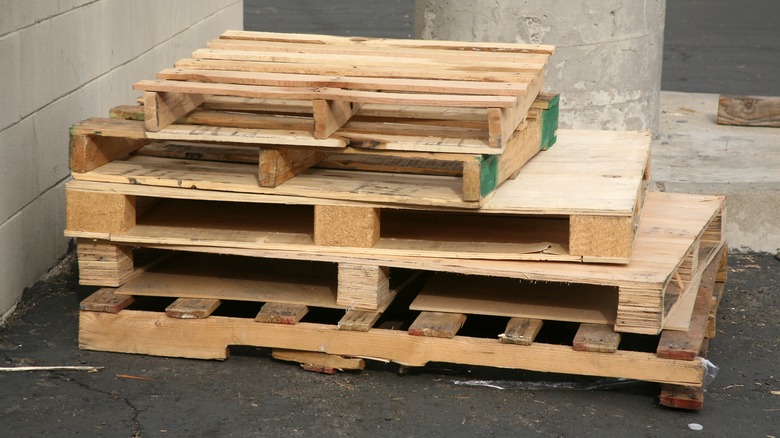
For this DIY, you're going to need three wood pallets. If you don't already own extra wood pallets, check with your local hardware or grocery stores to find free pallets near you or search online forums like Facebook Marketplace. When selecting your pallets, make sure the wood is strong and firm, without any cracks, warps, or other damage. Ideally, you will want pallets without large gaps in the stacking surface, so look for ones with boards lined up right next to one another.
You're going to need the full stacking surfaces of two pallets for the top and lower levels of the table, so if the pallets you find are constructed in a box style, you can remove the underlying boards to use as table legs, but if the pallets only have a few support boards to hold up the stacking surface, you'll need that third pallet to provide the wood for the legs.
Since this is going to be a working potting table, exposed to lots of soil and peat (among other things), there's no real need to give it a polished look with a wood stain or painted finish unless you really want to. However, it is a good idea to lightly sand what's going to be the table surfaces in your final product, smoothing down any rough spots so you don't risk giving yourself splinters every time you use it. Use 80-grit sandpaper for this task, and you can either do a quick once-over by hand or employ a small power sander.
Putting it all together
The four corners of the pallet's top surface are supported by wooden blocks. Leave these attached to the top piece, and attach leg boards on the two outer sides of each corner block. Position the legs so they butt up against each other at the corner, and secure them using wood screws and your power drill. Drill the screws flush with the wood, but don't push them too hard as this could lead to stripped screws or split wood. Repeat this step on all four corners, using a total of eight boards for the legs.
Next, take the wooden support blocks from the pallet you deconstructed for parts and position them about halfway down your table legs. Use wood screws once again to secure these blocks to the inside corners of the legs at this lower point, employing measurements and a level to ensure they are all accurately in place.
Take two more decommissioned pallet boards to create a horizontal support beam between the two pairs of legs on the short sides of the table, screwing them to the lower wood blocks. Then, you're finally ready to place the lower table surface along those supports and secure it with screws. It should be sturdy enough to hold well over 100 pounds. Add some hooks to the front of the table for your tools and gardening gear, and you're ready for any gardening project.