Create Storage Space In Tight Bathroom Corners With This Floating Shelf Trend
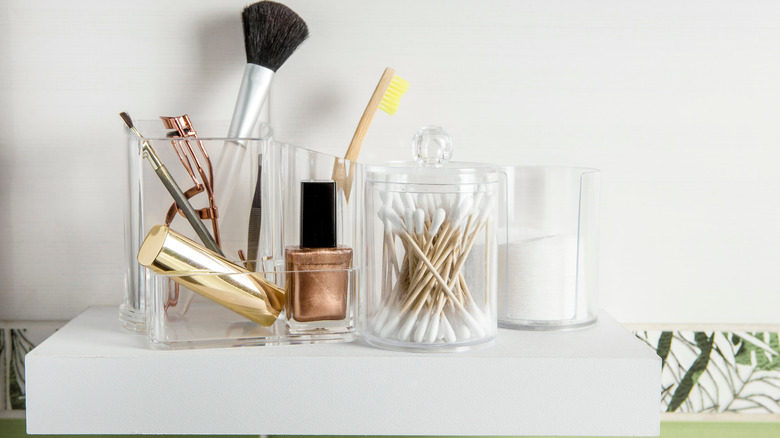
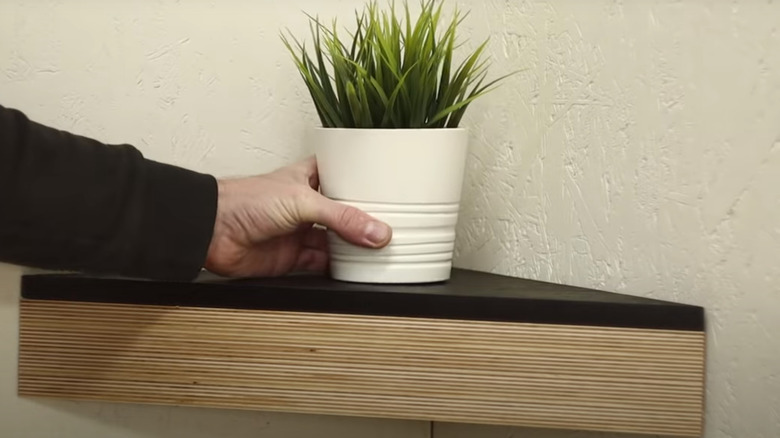
Because people typically only spend a short part of their day in the bathroom, it's often the room that gets the least amount of attention when it comes to organization. Yet, ironically, bathrooms house a variety of essential items like hygiene and grooming products, and often beauty kits, too. Proper bathroom storage solutions are key not just for organization and aesthetics, but also for creating more navigable space. That's why innovative small bathroom shelf ideas that maximize your space – recessed shelving for tight bathrooms, for example — are gaining popularity. A similar design hack shared on TikTok involves adding corner floating shelves. The hack utilizes often overlooked vertical spaces by transforming them into practical storage areas.
All you need is some glue, furring strips for the frame, and plywood or MDF sheets for the shelves and front edge pieces. As for tools, you need saws for cutting the wood, a level to ensure everything is straight, a stud finder for locating wall studs, and a drill for assembly. It's also crucial to put some thought into the exact spot where your shelf will be installed. Think about how you'll move around in the room. It's important to place the shelves somewhere where they won't become obstacles. Strategic placement will ensure your shelves are both functional and seamlessly integrated into the bathroom's layout.
How to DIY a floating shelf for your tight bathroom corner
Starting your DIY floating corner shelf project begins with visually planning your space. Tape off or mark the area where your shelves will go. This step is crucial for envisioning the final look and ensuring precise placement. Next, locate wall studs for sturdy support when you attach the shelf supports. If studs aren't available, drywall anchors are a good alternative. Cut thin wood strips (1x1s or 1x2s work well) for your frame and attach them to each wall corner. Ensure they're level by using a lever as you drill them in. You can paint them to match the color of your bathroom walls.
Measure and cut the wood for your shelves. If you don't have scrap wood, you can pick up a 2x4 plywood or MDF sheet from a hardware store. A miter saw is ideal for making these angled cuts. Sand and finish the shelves. For the front edge of the shelves, cut additional pieces from the same wood. Attach these to the bottom front of each shelf with glue and clamps, just as @thecompasspine does in her tutorial. Secure the shelves onto the frame by drilling or gluing them in place.
Alternative designs for your floating corner shelf
If you're working with a small corner, the space might only be able to accommodate small, triangular shelves. However, if you're lucky enough to have a bit more room and larger shelves won't restrict your movement, you can expand your choices to include wider triangular, square, or rectangular shelves. This is particularly feasible if the walls in your space can accommodate longer shelf spans.
For the construction, the simple method shared above is excellent. But if you want thicker-looking shelves, you might consider a design consisting of a top and bottom triangular piece sandwiching the supporting structure in between. This not only gives you a clean, polished look, but it also gives you a more stable shelving unit. For an added creative twist, consider integrating drawers between the top and bottom parts of the shelf. This addition can make storing things in a small bathroom easier, especially items like jewelry and other accessories.