How To Create Your Own Seed Starter Pots For Spring Plants
Starting seeds indoors is a great way to ensure success in your garden later. Not only does it keep your plants temperature-controlled in the winter and chillier spring months, but it also allows you to keep an eye on seedlings before transplantation. To start seeds indoors, you'll need seed-starting pots. While you can purchase these at any garden supply store, they're simple to make and you likely already have everything you need to make your own seed starter pots for spring.
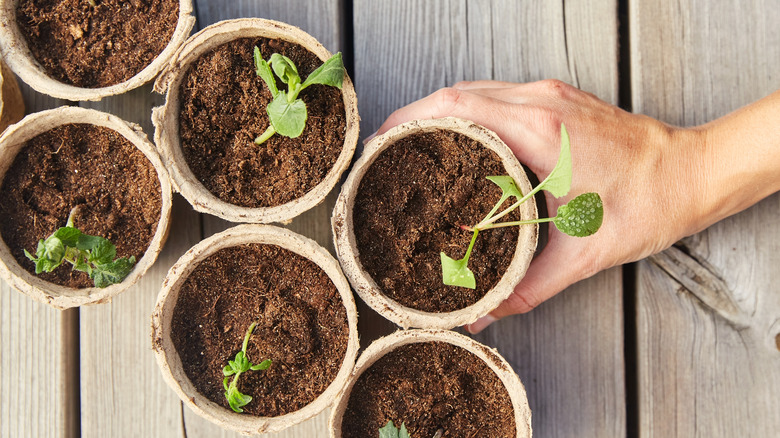
The easiest method for creating seed starter pots is papier-mâché, which primarily includes paper, water, and flour. Paper, which makes up the frame of the pot, is a great choice of material. It is biodegradable, so any starter pots made with it can be planted whole. Typically, you'd need to remove seedlings from their pots in order to transplant them. However, because paper breaks down, you can place the pots directly into the soil. Therefore, constructing your own pots saves you time and money while also being environmentally friendly.
How to create papier-mâché pots
Creating papier-mâché seed starter pots is an easy and eco-friendly way to start your garden. To make these simple yet effective pots, you'll need newspaper, scissors, a blender, a bowl, a cup, water, and plain flour. Start by creating a paste with 1 cup of flour and 2 cups of water. Mix or blend until the paste is smooth.
Though you can use the traditional papier-mâché method, working with paper pulp is very effective. First, soak paper scraps in water overnight. The next day, blend the remaining mixture on high for about 15 seconds. After that, drain the excess water by squeezing the pulp into a ball. Once the pulp has a clay-like consistency, mold it over your cup. When it is in the appropriate shape, brush on your flour and water mixture.
Allow the pots to dry for a day or until the pot has dried completely and you'll be ready to plant your seeds. For this stage, you'll want a seed-starting potting mix and the seeds of your choice. Fill the pots with the mix and make a hole in the center of the soil. Some seeds will need a deeper hole, so consult the growing instructions for your plants. Place the seed in the hole and cover with the potting mix. Spray the soil with water, and let the pot sit in an area where it will receive the appropriate amount of light and humidity.
How to transplant seedlings
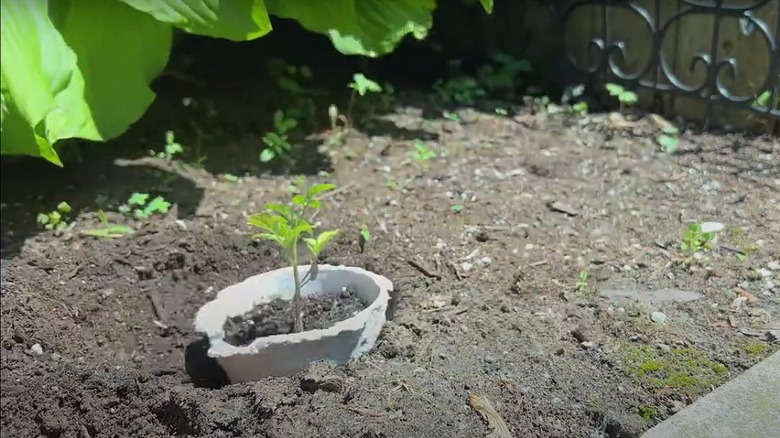
Once your seedlings have at least two sets of leaves and the last frost date has passed, they're ready to transplant to your garden or yard. Select a spot that will provide the seedlings with appropriate light and soil, and dig a hole in the ground that is about the same depth as the seedling pot. Fortunately, because these seed pots are biodegradable, you don't need to remove the seedlings, as over time, the paper will break down, and the plant's roots should break through without issue.
Ensure that the soil surrounds the seedling without being compacted, it should not be firm or hard after planting. Then, water your newly transplanted seedlings. Unless you have a very delicate plant, water liberally to give your seedling the best start in the garden or permanent pot. After they're established, your transplanted seedlings will be able to thrive.