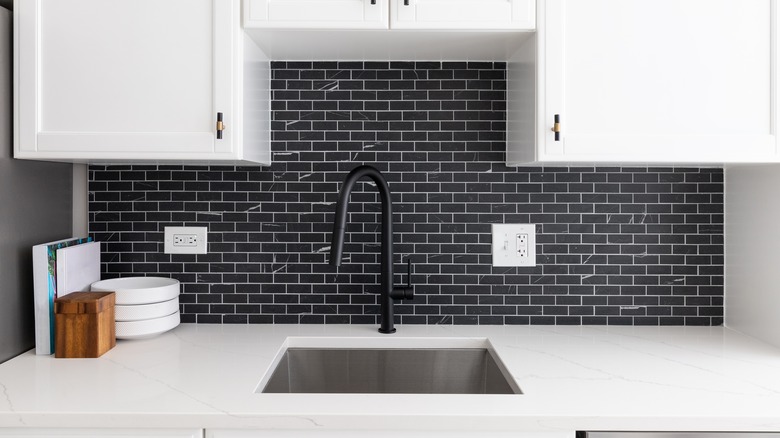
5 Simple Tips For Installing Tile Backsplash
If you intend to add value to your home, then you should consider giving your kitchen a facelift. You might not know this, but it is one of the most important spaces prospective buyers look at when house hunting. Of course, it goes without saying that remodeling this home area is quite expensive, averaging between $5,000 and $25,000, according to Forbes. In this regard, installing new tile backsplashes is a cheaper alternative to a full-scale revamp that will also increase the aesthetic appeal. While tile setup is often left to the professionals, you will be pleasantly surprised to learn that installing tile backsplashes is one of those tasks within the realm of DIY projects.
On average, setting up one is often an over-the-weekend project that takes two days. Moreover, there are endless opportunities as far as color and design are concerned. You can spruce up the shades in your kitchen or bathroom area by installing a backsplash with unique colors that not only compliment the interior décor but also reflect your personality as a homeowner. So how do you pull off a professional-grade installation without calling the professionals? Take a look at these five simple tips that you can implement over the weekend.
1. Get the right tiles
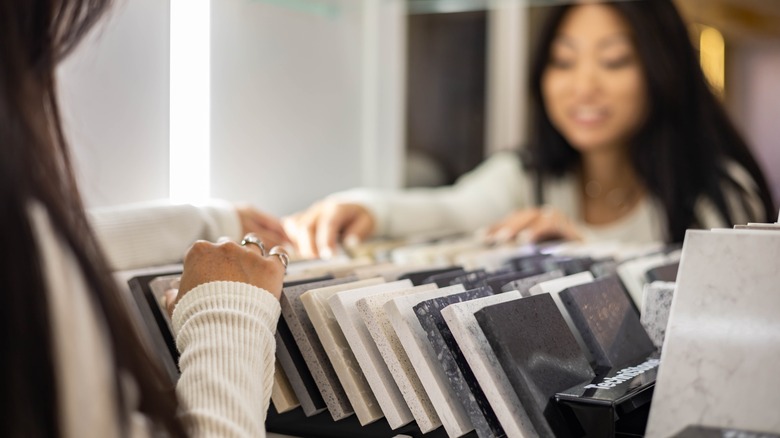
To give your kitchen the necessary makeover, the type of tiles you choose for the space between the cabinets and the countertop matters a lot. As mentioned earlier, the style and color choices are only as limited as your imagination. While having plenty of options to choose from is generally a good thing, it can also present a dilemma for new DIYers. First off, when it comes to shades, a rule of thumb is to go with one that complements the overall kitchen. This goes a long way in bringing harmony and cohesion as far as interior style details are concerned.
If you are on a tight budget, avoid trendy tile designs and go for the classic white option that is quite affordable, often less than a dollar per piece. Another handy tip that is often not spoken about enough is choosing a relatively easy tile to install, especially if you're a beginner in this area. Subway tiles are generally easy to set up and also quite affordable, especially if you go for the regular white design. According to Forbes, the cost of subway tiles per square foot ranges between $7 and $13, but Boxwood Avenue mentions that other materials like grout color are just as important to figure out in the early stage.
2. Prep the wall

Preparing the wall surface means different things for homeowners. If you have old tiles that need to be taken off the wall, the first order of business is removing them. However, be careful when pulling them out because depending on how old the drywall is, the process can damage the structure. You might also need to apply a drywall compound to smooth out the surface before setting up the backsplash. However, you need to ensure you allow the composite to dry properly before attempting to install the tiles. If the surface is bare, you will need to clean it properly beforehand. The wall behind the sink is notorious for having grime and moisture, which will prevent the tiles from installing properly, so make sure you clean that area to avoid issues down the road.
If the wall is clean, be sure to wipe down the surface with a damp cloth. If the structure is not flat enough, you will also need to sand down the bumps before setting up the backsplash. Identifying areas with uneven surfaces is often not so clear to the naked eye, so Tiles Direct advises sliding a long flat object along the surface. This makes it easier to identify the problematic areas. Tiling over uneven surfaces is often a recipe for a disaster since the adhesives won't hold well enough, and everything may come down crumbling after all the hard work.
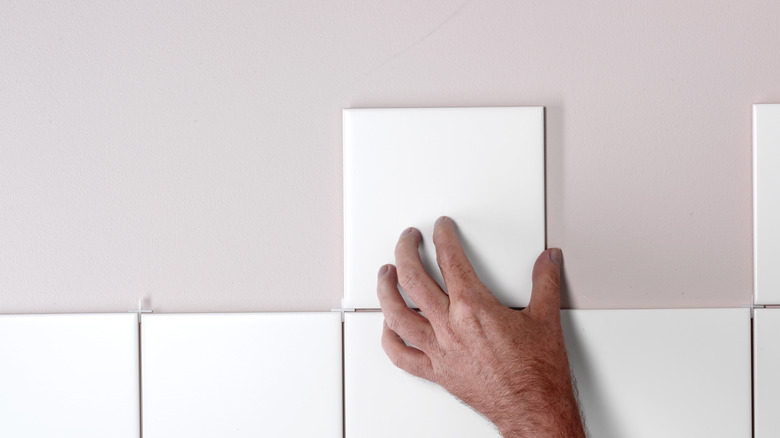
3. Plan tile placement
Planning your tile placement is necessary in order to make sure that the design pattern you have in mind is positioned well. What's more, this step is crucial to ensure that you don't have thin tile slices on the edges of the wall. To achieve this, you first need to know approximately how many tiles you will need to set up on that particular surface, so begin by measuring the length of the wall and then divide by the average height of a single tile. Also, remember to account for the small thickness of the spacers to get the correct approximate number.
Use a level to draw a center line on the surface. Since not all walls are built level, you will likely need a level laser to make sure the slabs line up perfectly (via Smart Home Pick). Because planning the tile placement is one of the most significant steps, try not to hurry; take your time in getting the layout right because this is where DIYers can get everything wrong. Remember, failing to plan your placement might mean a lifetime of having to look at your poor workmanship.
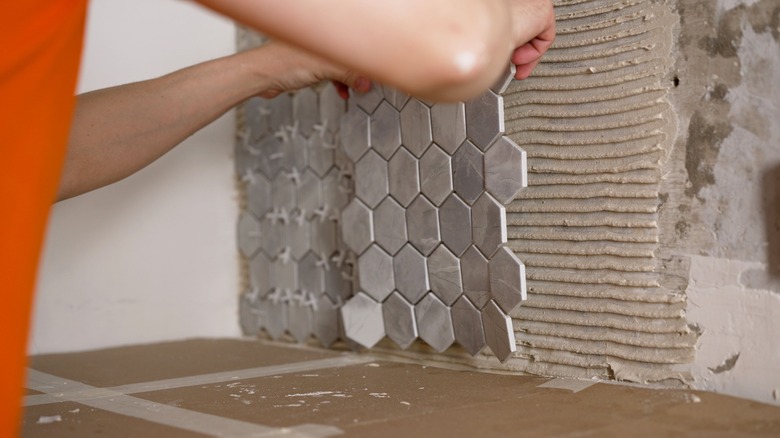
4. Work on small areas at a time
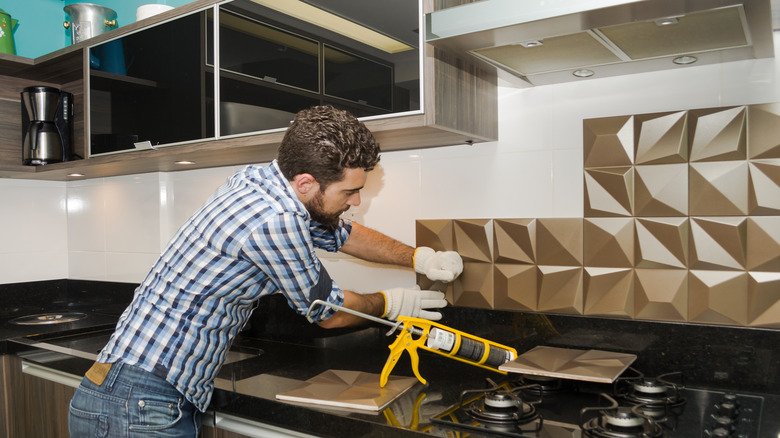
Right after planning the tile layout, the next step is to apply adhesives and begin arranging your tiles on the wall. First, you need to know that adherents dry at different rates, depending on the type, so if you need to mix various ingredients to form the paste, do so a small batch at a time. You don't want a scenario where the entire bag dries up before you are done installing. Another factor worth mentioning is that tiles should be set up from the bottom going up.
When applying the adherent, scoop just enough to install about three tiles and spread it evenly into a thin layer over the given surface. Be sure to comb ridges in the paste for better distribution and also to help the tiles adhere better to the wall (via The Ceramic Tile Education Foundation). Gravity is your biggest enemy when installing tiles on a wall, so always use spacers because the slabs can easily slide off, especially when the paste is not yet dry.
5. Be sure to seal porous tiles before grouting
The kitchen area, particularly around the sink, is bound to get splashes of water and any liquid material that might cause staining, making it necessary to protect your backsplash accordingly. The standard ceramic tiles, like the subway tiles, are waterproof, and there is no cause for alarm when water splashes over them. On the other hand, when dealing with porous options, for instance, those made of natural stone, you will need to seal them before applying grout.
According to StoneImpressions, sealing provides the necessary protection against substances that would otherwise penetrate the surface, causing staining. No one wants to have to deal with unsightly smears a week after installing a new kitchen backsplash. Spread the sealer evenly across the surface of the tiles using a soft sponge. Apply just enough sealant and allow it to dry off for approximately one hour before applying grout to the tiles.