5 Mistakes To Avoid When Painting Your Kitchen Cabinets

Taking on DIY projects can get addicting. It's so satisfying to watch your progress and see a significant change in your home's aesthetic or functionality once you're finished! There's also a sense of pride and accomplishment that comes along with it. Overall, DIYing can be a great way to update your place and customize it to your preferences.
One of the most popular DIY projects is painting kitchen cabinetry. When done right, it can increase the value of your property, and it makes a considerable change in the appearance of your kitchen (via The Flooring Girl). You can turn a dark area into a bright white space or transform a drab brown kitchen into a trendy, classic vibe. Although it's a big project to take on and it might take weeks to complete, you'll love the dramatic change. However, no matter the colors you choose, there are a few mistakes that a lot of people make when painting their cabinets that you'll want to avoid.
1. Not removing the doors
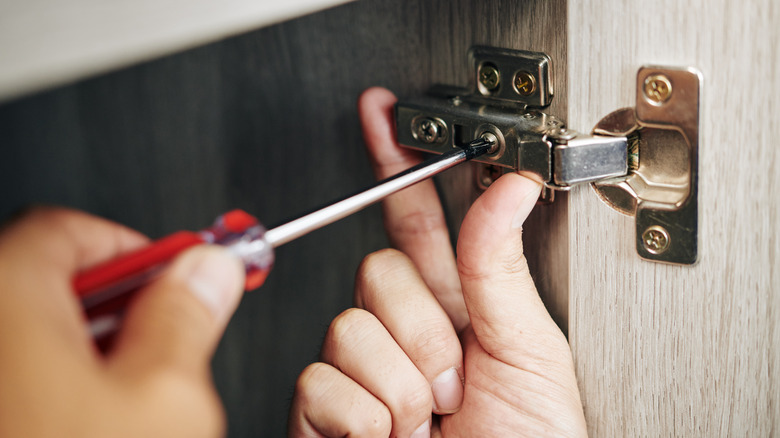
If you've done your research, you know that every how-to on painting cabinetry will tell you to take off the cabinet doors. It makes it easier to reach every inch of the furniture when painting, and it means you can remove the hardware to ensure you don't get paint all over everything.
Removing the doors will also make it easier on your arms and back since you can lay them on the floor instead of reaching up and bending at odd angles to reach them (via Premier Cabinet Painting & Refinishing). By skipping this step, you're risking the end result of looking amateur and wasting a lot of time on a project that isn't going to turn out the way you dreamed it would. Ensure you and your project are set up for success and remove every door and drawer before beginning the process of painting your kitchen cabinets.
2. Not sanding and repairing
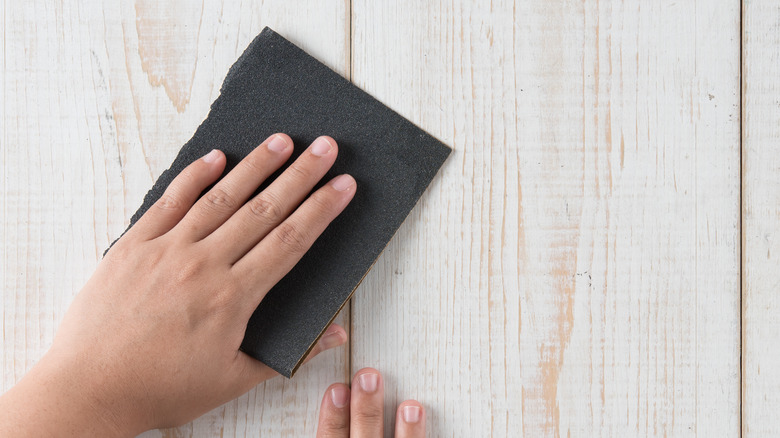
Once the doors and drawers have been removed, it can be very tempting to jump right in and start painting. Homeowners often skip other preparation steps to speed up the process; however, ignoring these key aspects will lead to a product that will not last (via J.T. McDermott Remodeling Contractors). Sanding is a vital step in successfully repainting kitchen cabinets as it roughs up the original paint so that a primer can stick to it and last much longer. By skipping this step, you'll find that your coats of tint won't look as great and will even rub off over a short period.
Additionally, you'll need to take the time to inspect the furniture for damage and repair that tarnish before you begin painting. For example, sometimes a door will have a chip in it that needs filling, or there might be some grease damage that you should remove. To save time and skip the repairing stage, you're sure to have an end product that looks mediocre.
3. Not labeling everything
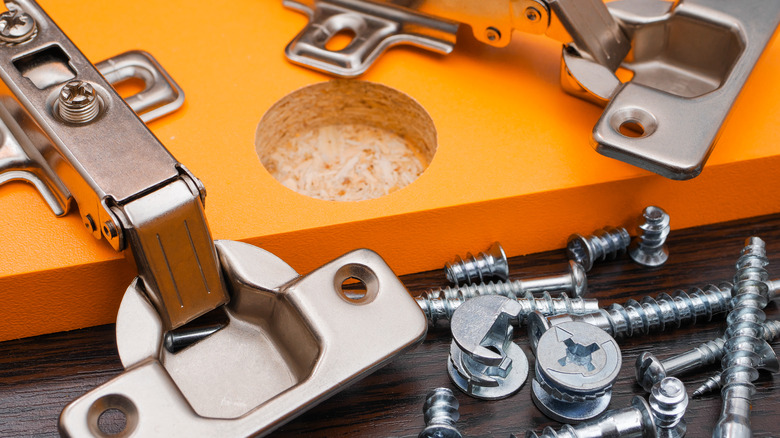
You've taken the time to remove the cabinets, and now you've finished painting them, only to find that you have no idea where anything goes. This is a common mistake that not many people think about. When removing the cabinet doors and drawers, be sure to use painter's tape and label each one with where it's supposed to go (via Boston). You might think you'll remember or that they are different enough that it will be easy to tell. But once you've spent a few weeks painting, rearranging, and moving the cabinets around, you'll have forgotten entirely where they belong.
Don't forget to package up all the hardware you've removed. With all those screws and handles and hinges, it's easy for things to get lost in the shuffle. Put them in baggies and label them as well. While it might seem like they could go anywhere, you might find that the sizes vary a little bit, and it can be frustrating not to know which one goes where. Save yourself some time and irritation.
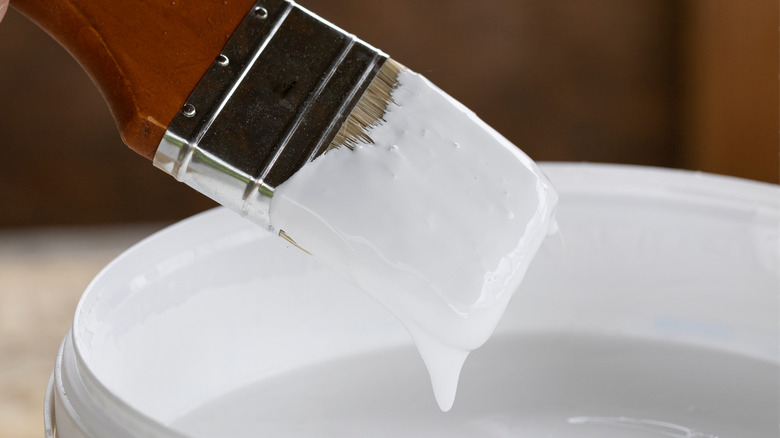
4. Not using primer
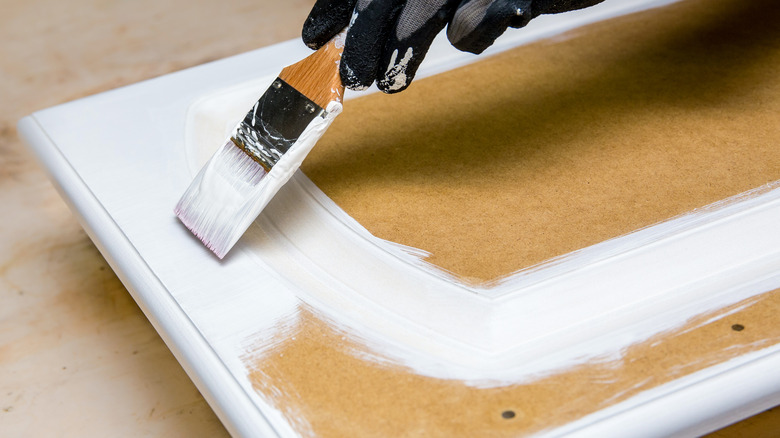
If your cabinets are already painted, you might be tempted to skip the primer stage (via Domino). After all, covering these cupboards in paint is going to take weeks and multiple coats of pigment; how bad can it be to skip one layer to save some time? However, primer is the worst layer of paint to skip because it seals the cabinet and prepares it for the next layer of paint. Even under multiple layers, an old cabinet color can negatively affect the new hue.
The color you chose might always look a little dirty if you didn't cover the original tint well enough with a primer. Paint will also rub off a cabinet faster if it doesn't have a base. If you're dying to save time, Premier Cabinet Painting suggests mixing a bit of the new cabinet color with the primer. This will give it a bit of a hue that's closer to your desired color, and it might save you a layer of paint.
5. Not using the paint right and applying the wrong finish
As you spend hours preparing the cabinets and then even more hours applying the primer, you'll probably be pretty sick and tired of this DIY project. If you haven't skipped any steps by now, you're probably considering it at this point. To avoid having to paint so many layers on the cabinets, sometimes homeowners will try to apply a thicker coat (via Premier Cabinet Painting). However, this is a bad idea. Thicker paint areas won't dry smoothly, making the furniture look bumpy. It's also more likely to leave behind bubbles that can dry and create holes in the finish, which will then need to be sanded and redone. So don't make it more difficult for yourself, and be sure to apply a thin layer of paint each time.
Lastly, it's vital to the look and functionality of your cabinets that you use the proper finish. A matte finish might look nice, but it's going to collect dirt and be really hard to clean. Kitchen cabinets get dirty easily and quickly, so a smooth and shiny polish will make cleaning off spills and grease splatters much easier.