5 Errors People Make When Burning Decorative Candles
Candles do a lot more than light up a room and, in fact, have many different uses. Even decorative ones can be burned and then upcycled when all the wax has faded to become beautiful home décor. But perhaps their best characteristic is how good they smell, which may not be truly enjoyed until you light them. Depending on your candles' fragrance, they may also offer some health benefits.
The Chill Times explains aromas like mint, citrus, rosemary, and cinnamon can enhance your mood. In particular, they can make you feel more focused and even bring to light past fond memories when you were smelling a similar scent. Additionally, candles that include essential oils, such as lemon, chamomile, lavender, and bergamot, are often used in aromatherapy and offer great advantages. According to WebMD, they can help to alleviate anxiety, improve symptoms of depression, and help with insomnia.
When you burn candles, make sure you do so properly. Here are several other ways to get the most bang for your buck.
1. Not burning to the edges
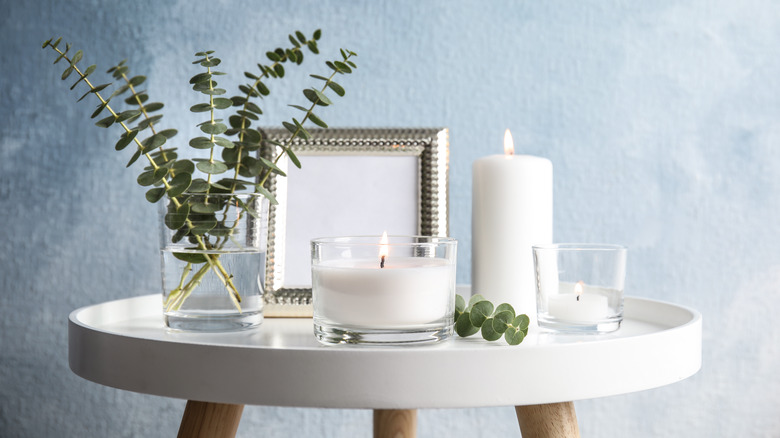
To set yourself up for success, it's important to let any candles burn to the edges when you first light them. This is an absolute must because these decorative scented features can more or less recall how far the wax melted when they're first extinguished. Before long, without proper oversight, they'll start to tunnel each time you light a match.
Harlem Candle Co. notes candles indeed have a memory. For instance, it takes more thermal energy for the flame to melt the harder wax on the outside ring than the middle that dissolved and then dried. And because the wax is continually hardening, the part that burned first will always be softer compared to areas that haven't yet liquified.
On average, wait roughly one to two hours before extinguishing your candle for the first time, which can prevent it from tunneling. However, if you have a larger piece, you may need to give it more time. Ultimately, you'll know it's okay to blow out the flame when the entire surface is liquid, all the way to the edges of the container.
2. Forgetting to trim the wick
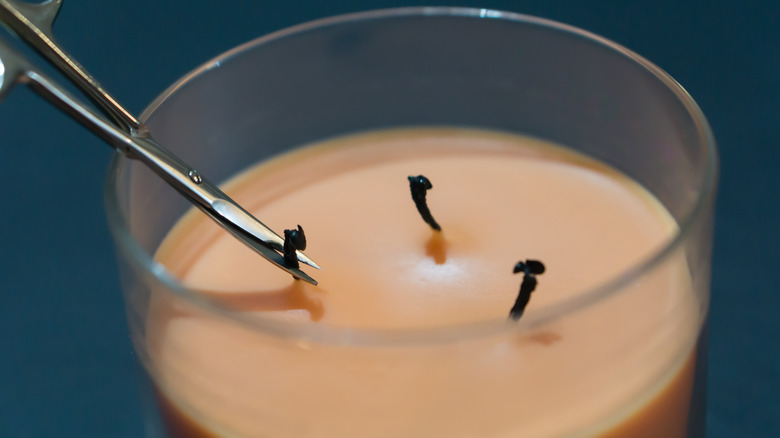
Trimming the wick is equally as important as waiting for the wax to melt to the edges. Not only does one that's uncut ruin the way your candle burns if left too long, but it's also dangerous. In reality, it's best to cut it to an appropriate length so that the flame stays under control. By not doing so, the flame can become tall and smokey, creating a fire hazard and leaving powdery black stains on the candle's jar, according to Instinks. Plus, when cutting the wick of your candle, it will burn cleaner.
To get started, you'll need a wick trimmer, small pair of scissors, or nail clippers. It's best to do this when first using a new candle and each time you relight it. Trim it to a length between ⅛ and ¼ inches from the wax. If you forgot to do this process and noticed a large flame coming from your candle, extinguish it, wait for the wick to cool off, and then cut it.
3. Choosing the wrong container
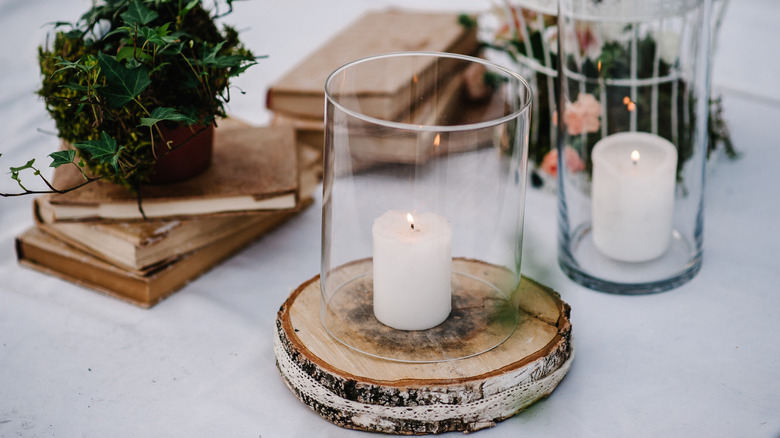
Before burning pillar candles, it's important to take an extra step that you can otherwise skip with candles that come in jars. According to Creative Candles, that means putting them in an appropriate container or on a flame-resistant tray. Do this to protect the surface on which you're setting your candles to prevent them from becoming too hot and burning. Placing pillar candles in glass vases can safely contain the flame from anything knocking into it and starting a fire. However, you need to choose one in an appropriate size.
If you have a vase that's too small, it can make the flame flicker and smoke. Your candle should be able to fit inside the container with plenty of space around it. To be safe, ensure there's enough room to fit the diameter of half the candle between it and the glass. It should also be placed in the center of the vase.
4. Placing multiple candles close together
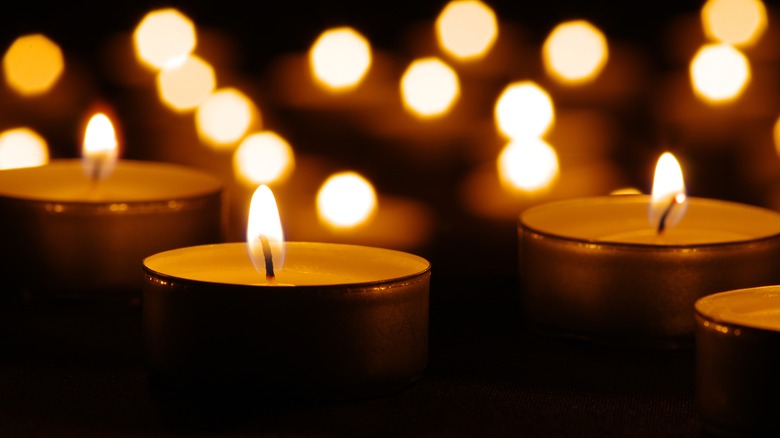
Do you have an extensive candle collection? If so, you may feel tempted to light multiple at the same time while displaying them side by side. However, this isn't the best idea. While it may look pretty, it can present a safety hazard.
When placing candles too close together, the flames create a draft that produces a flicker and makes the area smokey. The National Candle Association explains that smokiness occurs when the soot of the flame, or unburned carbon, becomes visible because there is either too much or too little air reaching the wick.
To prevent this, keep your candles at least 3 inches from each other. They can still be displayed jointly, as long as you space them apart and you make sure to trim their wicks. If you like their look in close proximity, consider lighting only a few at a time.
5. Not knowing when to stop burning the candle
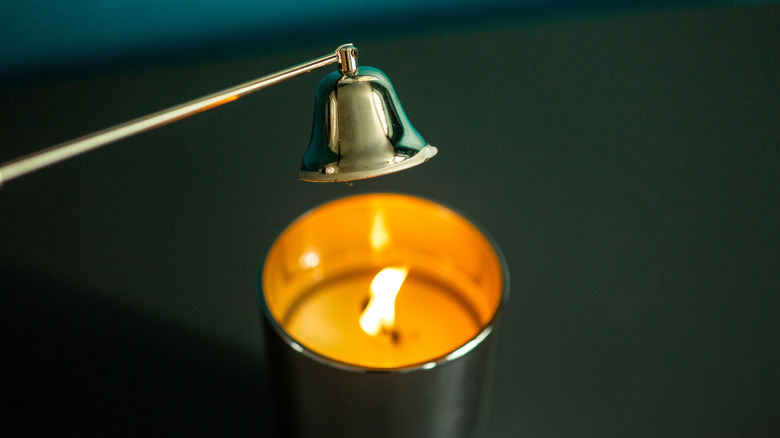
Knowing when to stop burning your candles can be difficult. After all, you want to limit how much melts off in one session to prolong the total burn time. If they have been blazing for four to five hours, it's time to blow them out, according to Malibu Apothecary. To preserve your candles, you must also know how to extinguish them properly.
There are multiple ways to do this, depending on your supplies. If you have a bell snuffer, hold it over the wick until the flame goes out. You can also push the wick into the wax with a wick dipper.
Another way to do this is by taking the candle's lid and putting it back on the jar. Now, you don't want to blow out the candle because the wax can become uneven, causing it to tunnel or bury the wick. You'll also want to stop burning your candle when less than ¼ inch of it remains. Finally, don't burn candles until there is no wax left because the flame will start to heat the jar, which can burn the surface it's sitting on or your hands if you grab it.