5 Amateur Mistakes That Can Ruin Your Paint Job
Sure, anyone can paint a room. The question is, how will that room look once it's finished being painted? The good news is that with patience and care, you can absolutely paint a room to the most exacting standards. And with practice, no one will be able to tell your DIY project from the work of a professional.
Bestselling author Malcolm Gladwell once asserted that 10,000 hours at any given task would make someone an expert, but that's far from an accepted fact. What is undisputed is that the more time you spend in preparation and the more attention you pay to your work, the better your results will be.
The experts quoted by Family Handyman will tell you that a misstep can happen before you've made a single brushstroke. Well-intended homeowners will go shopping for paint, pick out a color they like (or have one mixed in the store), take it home, and slather it on a wall — only to discover that it looks nothing like it did in the showroom. Start by getting a sample of the paint you're considering, take it home and paint a part of the wall that gets light from outdoors, and check it periodically as the sun makes its way overhead. That way, you'll see the color under a variety of conditions. Once you've vetted your color like a professional, you're ready to paint like a professional — just be sure to avoid these five amateur mistakes along the way.
Not prepping
Your first real mistake is not being prepared. Let's say you're ready to buy paint. Did you buy enough? It's better to have more than you need than to need more than you have. In fact, leftover paint is great to have on hand for another coat or simple touch-up jobs.
Next, clean the walls you want to paint; otherwise, you'll be painting over dust, dirt, grease, and grime. Follow the advice of Paintzen, and give your surfaces a gentle sponge bath (after vacuuming) with warm soapy water. Should you run into stains, use a baking soda/warm water solution applied with a clean cloth. Keep another handy to dab moisture as you work.
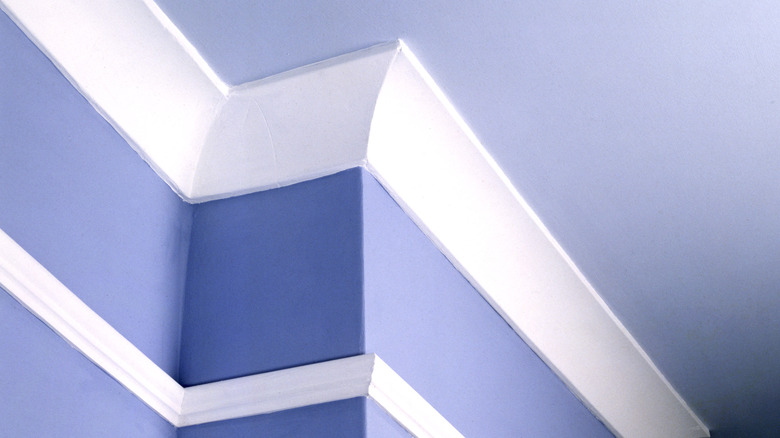
This step also provides an opportunity to look for imperfections. You may find old staple punctures, picture-hanging holes, or cracks, so be prepared to caulk, sand, or spackle on the spot.
And finally, as you get ready to paint, consider the variables in the environment. Pets should be relocated outdoors because the fumes won't be good for them, and they could knock things over before you have a chance to stop them. And, while you wouldn't hesitate to check the forecast if you were painting outdoors, the professionals at D&D Painting say that if the room is too hot, too cold, or too humid, you could be asking for unnecessary complications. Your paint may take longer to dry, may crack — or may not dry at all.
Using the wrong tools
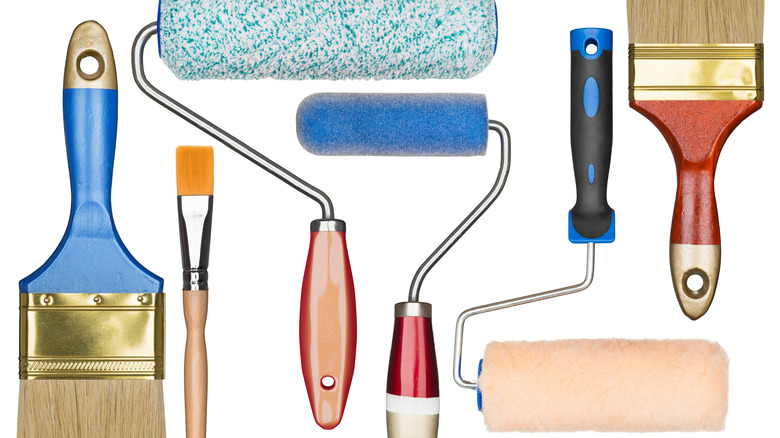
Craftsman Pro Tools recommends that you meet the challenge of painting your room with more than a brush and a bucket of paint. One of the biggest mistakes a novice can make is to believe you can scrimp on the tools you need and end up with a professional-looking result.
On the front of their list are the implements most of us would expect: brushes, rollers, and trays. These tools are sold at a broad spectrum of price points, meaning they vary in quality. Sometimes, a brush is just a brush, but other times, it can deliver the effect you want to provide texture and character to your paint job. Cheap brushes will inevitably lead to more work because they can cause streaking, paint running, or blobs and bubbles with every stroke.
The same principle holds true for rollers and trays. A cheap roller will spread paint unevenly, and a tray that's too shallow is going to send splatters every time you dip something into it. You may not need the most expensive ones on the market, but helpful salespeople can offer you on-the-spot guidance.
Having a paint pad can be a time saver and help you smooth things out and reach tight corners where brushes would leave marks and rollers can't reliably go. Likewise, trim guards, painter's tape, and plenty of drop cloths can keep your paint where you want it, not everywhere in sight.
Prime time
One of the most time-consuming mistakes you can make is not priming what you're painting. Experienced craftsmen say your shortcut will cost time and money.
The color you're painting over could bleed through or adversely affect your new color — especially if it's lighter than what's underneath. Even two coats of light-colored paint might not cover something darker.
The experts at Improovy explain their reasoning behind using quality primers: First, they will create a better bond for your paint, making your DIY job more durable. And, while primers act as a barrier between your new color and the old one, they also serve as a sealant, so your new application won't just soak into the surface of what was there previously. In addition, you can use more primer to convince tough-to-cover spots to cooperate in accepting their new hue.
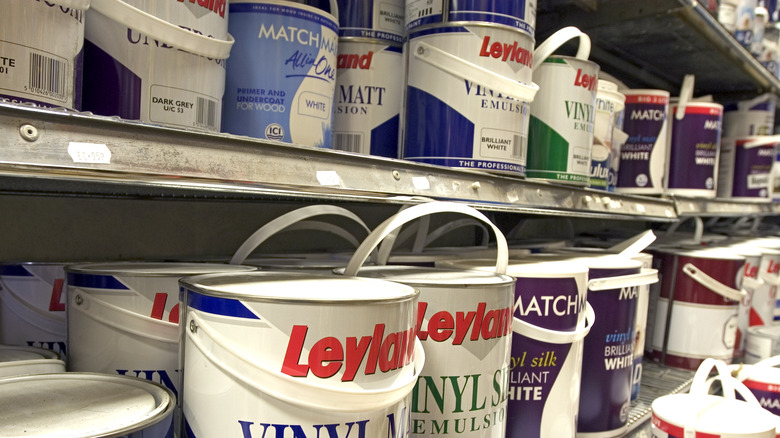
Many companies sell all-in-one paints, and you can find an assortment of them at Lowe's. But don't think you can paint solely in primer. Having a paint store tint primer to your intended wall color will not yield a great result. You'll end up adding another coat anyway because the primer is an adhesive for paint, not a substitute.
Finally, self-primers do not provide the luxe look of walls that have been primed and properly painted. In the end, you'll wind up buying more paint and feel misled by the manufacturer.
Bad technique

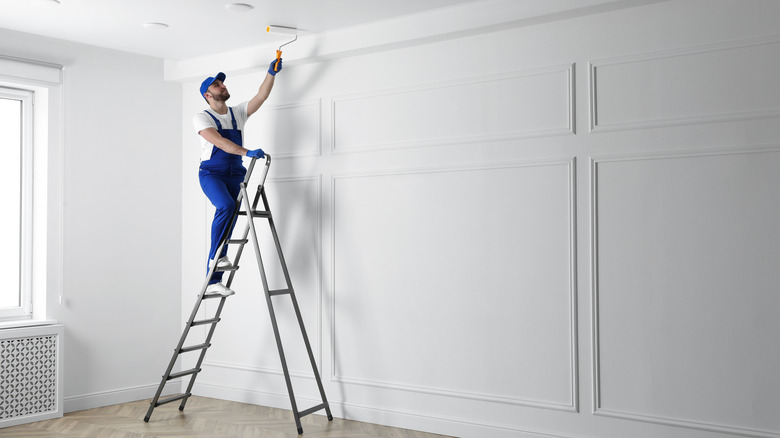
Once you do all the proper preparation, you're ready to get to the important part — actually painting. A rookie error is to create uneven lines and miss spots. Your surfaces will look blotchy and unfinished. Always start high and then paint lower to catch drips before they set. Lowe's recommends working in 4-foot sections. And remember that while painting lightly may stretch your can of paint, it will also leave the job looking incomplete.
Beware of over-brushing as well. That can leave globs and ridges instead of a smooth surface. It's always best to brush in smooth, even strokes that add paint in a gradual measured application.
It's also fairly common for inexperienced painters to accidentally hit the ceiling with a roller or paintbrush. Use extra caution when you're up there, or you'll wind up adding an entire surface to your paint job.
And finally, always keep the lid on your paint can closed when you're not pouring paint. You'll be glad you did.
Not checking your work
One of the worst mistakes you can make is to walk away from a project just before you've crossed the finish line. Use the brightest light possible to check your work, says Popular Mechanics.
If, for example, your work looks discolored or faded when it's brand new, imagine what it'll look like with the passage of time. Generally, the fix is another coat or maybe even two. Check the surface after it's dry with a damp sponge as if you're cleaning a soiled spot. If you come away with paint, your work is not done, and another coat may be needed.
If your work has streaks, blotches, or blisters, chances are you've painted over a spot that wasn't quite clean before. Or, if you've painted after washing your wall but before it's had a chance to dry, you'll get blisters as the moisture underneath escapes, or the paint may begin to peel.
You'll also see problems at the end if you apply another coat before the previous one is completely dry, according to Home Reference. That'll give you an exotic anomaly known by the pros as "alligatoring," which is when the paint cracks in a reptilian pattern. Checking your work for any haphazard painting will give you the opportunity to fix mistakes before they worsen with time.