Tips For Removing Tile Grout Yourself
Do you love the tile in your bathroom but hate the discolored, chipping grout between each piece? While grout is designed to last long, moisture, dirt buildup, and mold can cause several challenges. There are grout cleaners that can help, but that's not always enough. It may be easier to remove the existing grout, clean the surface, and re-grout than to completely clean and reseal what's already there. Sometimes, you may no longer like the color of the grout and want something refreshing and beautiful. No matter why you want to remove it, the question is how.
You could hire a professional to remove the grout for you at an average of around $5 to $25 per square foot. It's possible to remove grout on your own without damaging the tile, though, with a few tips and some time. The key is not to attack it with any tool you have but to use a few strategies to minimize the work and improve the outcome. Follow these tips for removing grout yourself.
Use a reciprocating saw
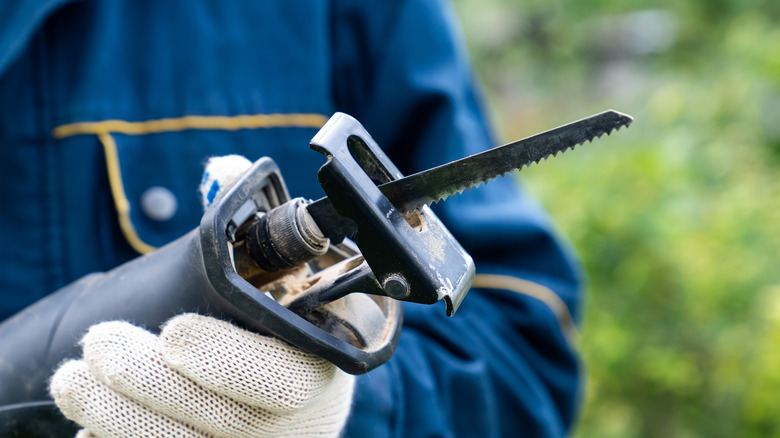
This may not be the ideal choice if you're trying to remove grout from delicate tile or tight spaces. For most other tile grout, using a reciprocating saw will allow you to pull out the material rather efficiently. You'll need to purchase a grout-removing tool to attach to the saw, as this helps to protect the edges of the tile as you work to pull out the material.
When using a reciprocating saw, be sure to saw at a downward angle away from you, moving slowly between the tiles. You'll need safety goggles to protect your eyes from flying material. Work up and down each of the tiles until you've removed as much as possible. Be careful not to chip the edges of the tile, especially if it's older. While using this method, don't try to remove every bit of the material, as that puts the blade too close to the edges of the tile in many cases. Instead, use the saw to get as much out as possible. You can chip away the rest later.
Work the saw carefully
If you plan to use a saw for grout removal, there are a few things to remember. First, use it in more than one direction, starting with a straight-on approach to get most of the grout out. Then, create a slight angle to help you work out the material along the edges. As you do this, have a vacuum nearby to help pick up the debris to keep your view of the space clear.
After the initial passes, you can go back to clean up the area with a utility knife. Wear cut-proof gloves for this step, and be careful when moving the knife up and down the edges to remove the excess grout that didn't come off. Using a saw like this is the most direct and common approach, but it can be difficult if you don't have much skill. Luckily, there are other methods to consider using as well.
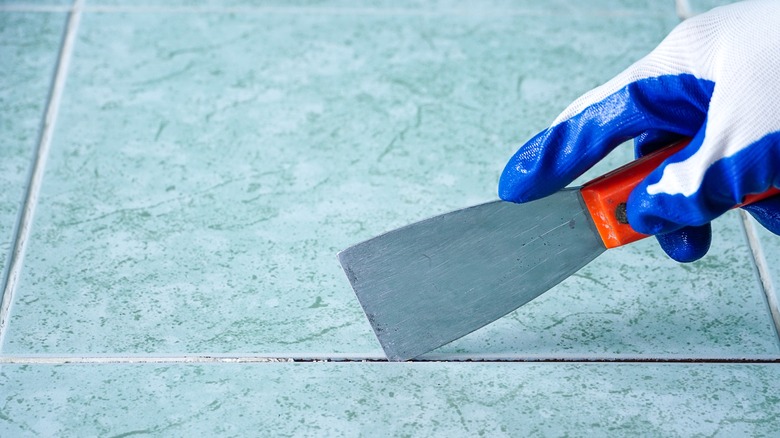
Alternatively, use a screwdriver
If you don't want to invest money into a saw and you have some time on your hands, use a simple screwdriver and mallet to remove the grout. With this method, you'll need a screwdriver with a flat, larger head no wider than the space between the tiles. Getting the right size will minimize your frustration when removing the material. Position the flat blade at the edge of the grout and tap with the mallet until the chips start flying!
This method takes time and can be a lot of work. That's why it's best for small projects or complex spaces you cannot reach with a saw. If you don't take the time with it, it's easy to miss the right area, chip the tile, or strike your finger. You may also find this method difficult if you have a thick amount of material present. If this manual method doesn't seem to work, it's likely because the grout is too durable, and you'll need a more power-driven method.
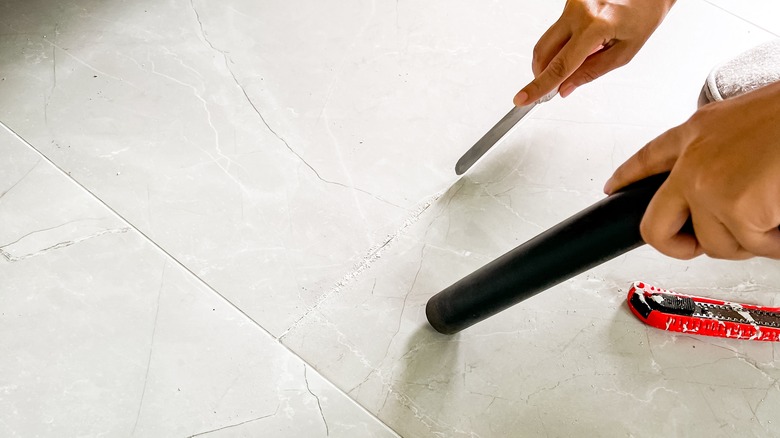
Utilize an oscillating tool
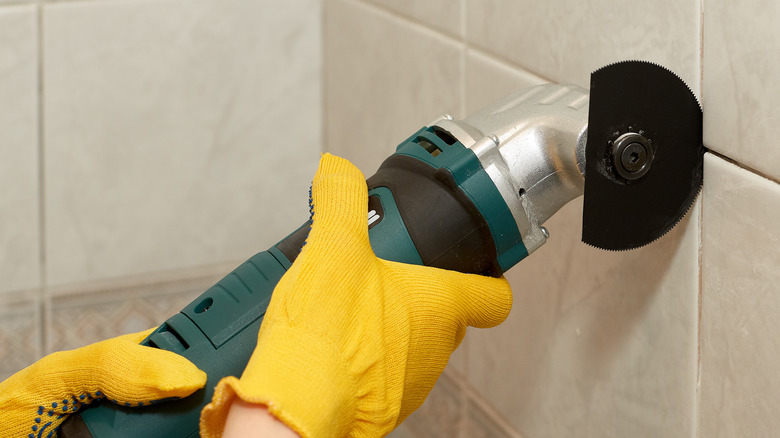
You can find a simple oscillating tool at most hardware stores or online. You don't need anything too expensive, but it will need to have the proper blade for tile grout removal. Typically, this should be a 1/16-inch or a 1/8-inch-wide blade, but the goal is not to choose anything with a blade larger than the space between the tiles. Move the blade along the grout, which should pulverize it, turning it to dust and chips. Be sure to wear a mask and eye protection.
This method is simple enough for most projects, requiring just enough pressure as you move along the edge of the tile to address the grout. Because these tools are lighter and easier to maneuver, they tend to make quick work of most grout projects. This will take some extra time for a large floor, and you'll want a knee pad to protect you as you work around the space. For backsplashes or bathroom grout, this can be an efficient option.
Use the water method
What if tools are not your thing, or you want to remove tile grout on delicate tile you hope to preserve? The use of water and wood may be all that's needed, and you'll need time and patience for this method to be effective.
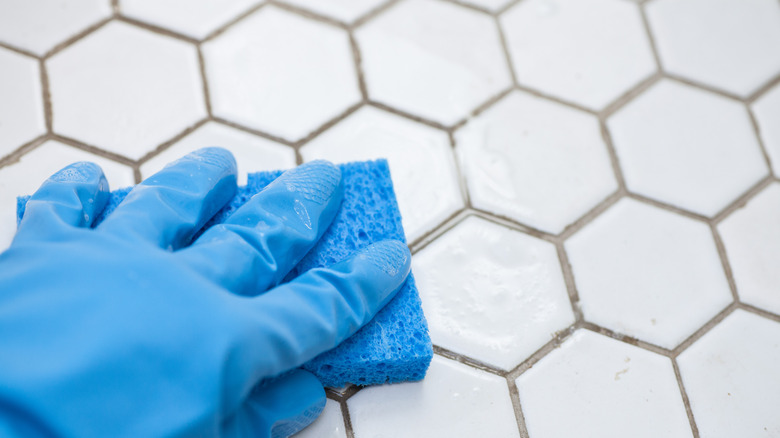
In this method, you must saturate the area with water for several hours. This means allowing standing water to remain, covering the grout to seep in and moisten it slightly. Then, use a piece of hardwood (avoid anything with a sharp point) and run it along the edges of the tile, loosening the grout until it pulls away. You'll need to take your time with this process, but the wood is just abrasive enough to force the grout off the tile without any danger of chipping it. You may need to use wire wool or a slightly abrasive sponge to help with full grout removal. Work on small areas at a time so the grout doesn't dry out. Allow it to dry before you properly grout the tile fully.