5 Ideas To Make Sure You Never Overwater Your Plants Again
We may receive a commission on purchases made from links.
For gardeners seeking to make their collection thrive, all attention is directed to their green babies, and often a little mistake can lead to their death. Overwatering and under-watering are two major problems. For the former, it's a process where too much water care is given to the plant, while the latter is its opposite, via NOLA. We'll focus on the overwatering problem for now.
If your plants are dying because of excess water, don't beat yourself up too much. It's more common among gardeners than you think! Just like humans, plants need water amongst other things to survive; however, an excess of everything isn't just right, and your plants may never recover in extreme cases. According to Science ABC, the impacts of overwatering plants causes a washing away of the nutrient layer and reduces the oxygen levels in the plants' root. This further makes leaves slightly wither while roots change color, leading to the introduction of bacteria attacks and a rotten smell oozing out from the plant soil.
One of the ways to detect an overwatered plant, according to WallyGrow, is feeling the leaves. While the signs of overwatering and under-watering are similar, the overwatering effect will leave your plant leaves limp and wet. If you're confused and think you've had it wrong somewhere, relax, we're here for you. This article will discuss all you need to know about overwatering your plants and how to avoid it. Let's get right into it.
1. Feel the soil's wetness
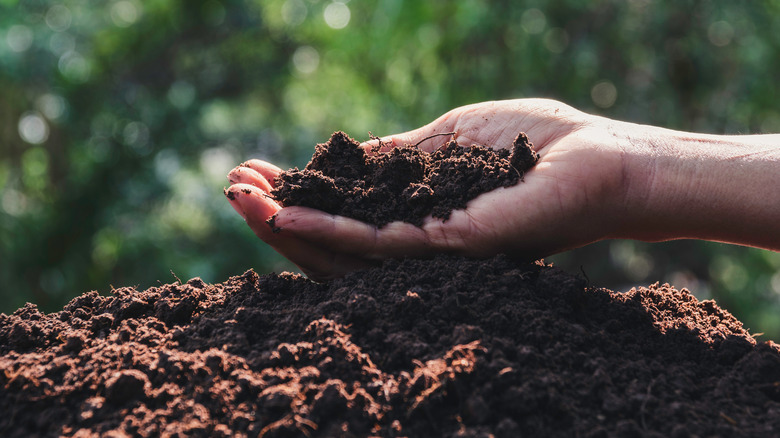
It is beneficial to take the time to check your plant's soil instead of a mere glance. To you, everything may be fine while your plant struggles to survive the not-so-favorable condition you've subjected it to. One of the ways to achieve this is by using a wooden dowel to check for moistness, says Mulhall's. Insert the rod carefully into the soil and remove after. If your rod is clean without soil stains, it indicates your plant is sufficiently watered.
Likewise, via Square Mile Farms, you can conduct this test by dipping your finger 2 to 3 inches into the soil. This gives you a cue on the water level of your plant, and through the feeling, you will know if it is thirsty or not. While all these methods are effective, a more accurate one is measuring the water quantity in the soil by using a moisture meter, says The Good Earth Garden Center. This device shows the water quantity major plant types need and gives the figures on the moistness of your soil.
2. Drain off excess water
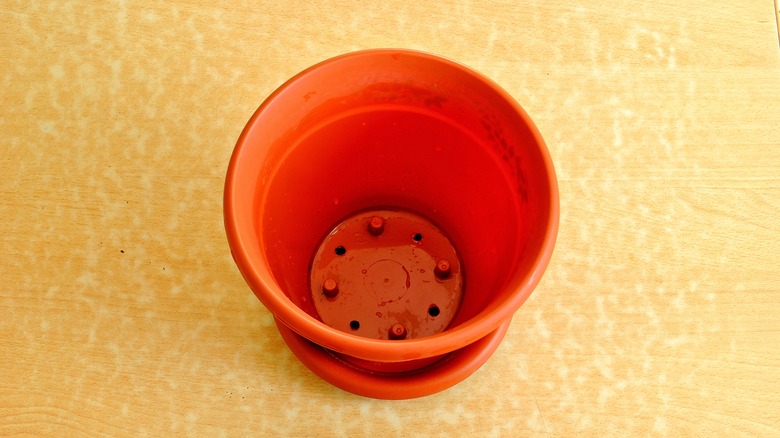
If your plant soil contains excess water after conducting the moisture test, it is best to drain it off immediately to avoid soaking up plant roots. This is a crucial step, especially for plants in pots with no draining holes. For those with draining holes, you can quickly get the excess water off the plant soil as it passes out from the openings automatically. But not to worry, you can use other methods to get water off your plant's soil without using a poked pot.
Another way to drain excess water is by inserting a turkey baster into the soil, via Flourishing Plants. According to their experts, this method works well for plants in hanging baskets and heavy pots. Can't find your turkey baster? Bring out your sponge as they help keep your plants from absorbing excess water, maintain the moisture level and prevent them from drying out, recommends Best Life. To use this method, you'll need to carefully remove your plants from the pot, drain excess water from the soil and repot, placing sponge cuts at the pot bottom.
3. Pay attention to seasonal changes

One of the mistakes many plant owners make is not paying attention to seasonal changes and reactions of plant soils, per Tommy LE Lawn and Landscapes. Even as humans, there is a shift in our water consumption during the rainy season compared to summer, which also happens in the green world. Before watering your plants, especially during the rainy season when there may be more water retention, check the moisture level before doing anything. Aside from the hotter weather during summer, most plants are actively growing out new leaves, and this activity may require more water consumption, says The Sill.
Also, watering on a schedule may not be favorable for many plants, especially when there is more water retention or environmental changes, writes Wild Interiors experts. Sometimes, the eye test may be deceiving while the plant roots still have enough moisture. One best way to properly care for plants at all seasons is by ensuring they get the correct dose of nutrients needed, says Ferns N Petals. Also, use a humidifier during cool months, cluster plants together for better humidity, and warm water for plants during winter.
4. Water your plants properly
The first step to watering your plants correctly is planting them in suitable pots and placing them in the perfect spot. A mistake that may be causing you to overwater your plants is the placement of them on the wrong site, says 317Grow. Before planting, you should also pay attention to the light reflection on the plant and its sun requirement. Remember, plants need other nutrients to grow equally, and a deficiency in one affects all others.
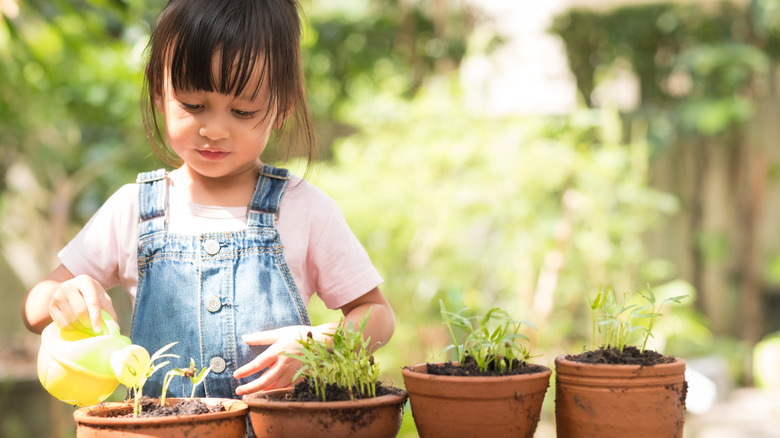
When potting, ensure the plants have enough room to breathe in their container. Filling up the pots with too much sand will not only lead to overwatering but also make the process stressful for you. When watering your plant, gently tilt sideways to ensure equal water circulation. Also, you can help air and water circulation into the plant by gently poking holes with a pencil. This reduces the level of stagnant water, says The Better India. You should note that using a watering can for your plant is stressful to them. Instead, Safer Brand suggests other methods like irrigation hose or sprinkler for better results.
5. Make use of self-watering systems
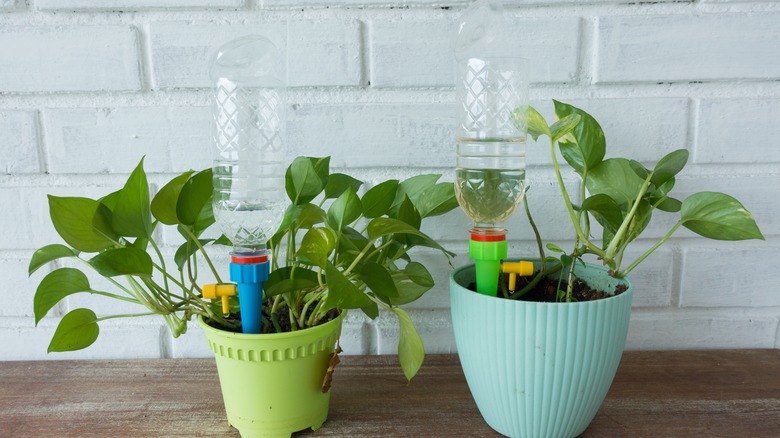
If you still have an issue getting it right or nursing fear of the unknown, you can invest in self-watering systems. These are automated systems that help you maintain the required amount of moisture for your plants, says PlantMaid. An example is water globes, which are shaped into spheres and inserted into the soil to constantly dispense some water to the plant. According to The Indoor Nursery, these last for about 2 to 3 weeks before refilling and targeting the roots, keeping them moist always.
You can also make your watering spike using DIY tips and home tools while you have some spare cash, says wikiHow. To do this, you need a plastic bottle and a nail. Start by cleaning the bottle thoroughly to wash off dirt and germs. Then, poke the bottle cap with a nail creating about 5 to 6 different holes. Ensure these holes are medium-sized to avoid water rushing to the plants. Then cut off the bottle bottom, dig a hole in the soil, cover the bottle and insert halfway in cap-side-down. After that, pour water into the bottle; now, you can worry less about your plants.