5 Savvy Tips For Painting Your Cedar Siding
Cedar is a popular material for exteriors for many reasons. First, the rustic appearance looks good to the eyes, not to mention the fact that it is resistant to decay, rot, or even attack from insects. However, it is also necessary to mention that this material comes with its own fair share of challenges. As a homeowner, you must know that your cedar siding needs maintenance to keep it in tip-top shape. One of the necessary maintenance practices for your cedar siding is the application of paint after about five to seven years, details Five Star Painting.
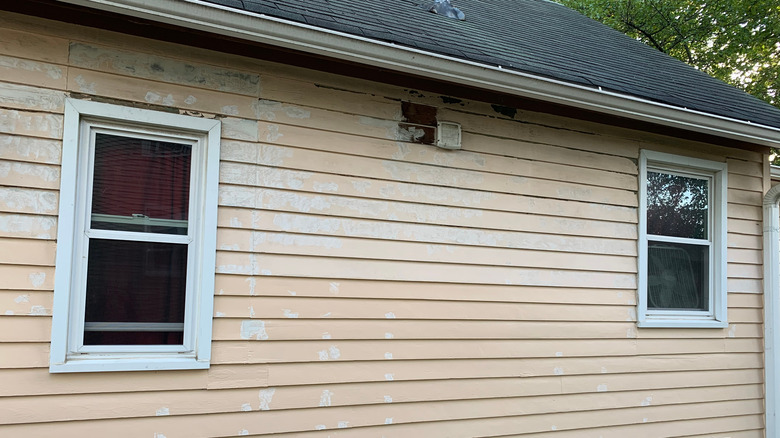
House siding is exposed to different environmental circumstances, and it is only natural for its condition to deteriorate over time. Painting does a good job of protecting the cedar siding from the wrath of Mother Nature, and whenever the old tint starts chipping, it is time for repainting. This material is quite easy to repaint compared to other surfaces, even for an inexperienced homeowner. So, knowing this, how do you achieve a professional finish? Here are a few tips that should help you paint your cedar siding not only for protection but for aesthetic appeal as well.
1. Prep the surface
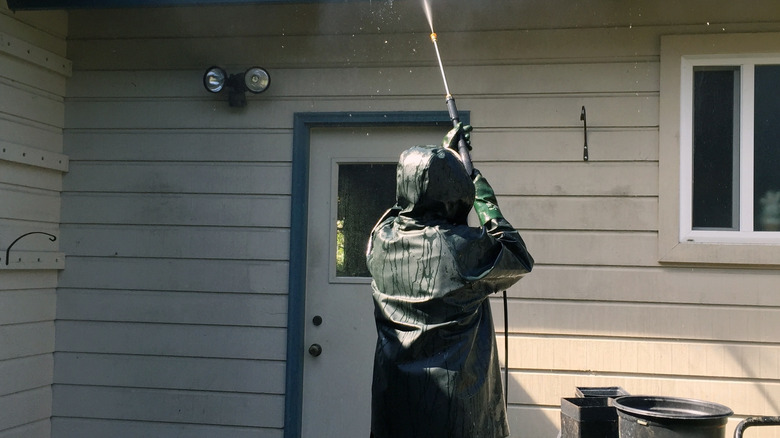
The secret to any successful paint job is prepping the surface. A worn-out cedar siding probably has peeling paints, cobwebs, stains, and other dirt that needs to be removed before applying any coat of primer or paint. So the first order of business is washing down the surface with water, preferably using a hose. Remove the visible debris like cobwebs, and don't worry about getting the stains out yet; the goal here is to wet the surface. Next, you will need to apply a wood cleaner on the damp cedar siding to eliminate the grime and stains and also to bring back the material's original color, mentions West Coast Barrier.
Let the wood cleaner sit for about an hour as it breaks down the previous paints. However, as you wait, ensure you keep the surface wet to retain the wood cleaner and make it more effective. After an hour, the cleaner should have broken down the preexisting paint, and you can now scrub it off with a brush. Next, wash the surface with a hose and allow it to dry for 24 hours. Once dry, sand down any remaining paint patches; the goal is to strip all the preexisting paint and achieve a smooth surface for the fresh coat to stick.
2. Select the right paint
The type of paint you choose needs to protect the surface and also improve the curb appeal of the exterior of your home. Before settling on just any type of tint, you need to understand that cedar siding is always affected by the fluctuation of temperatures. The material expands during summer and contracts during winter, so it is ideal to choose a quite elastic paint option that can expand and contract during the different seasons. With that in mind, the best option for your siding is acrylic-based paint (via Trico Painting).
This option not only looks good but it is also flexible enough to contract and expand, therefore, remaining intact and providing the necessary protection all year round. Acrylic paints are made of pigments of synthetic elements that make them mildew resistant and also adhere well to the wooden surface. A painting professional is able to recommend the best paint, depending on the unique conditions of your cedar siding.
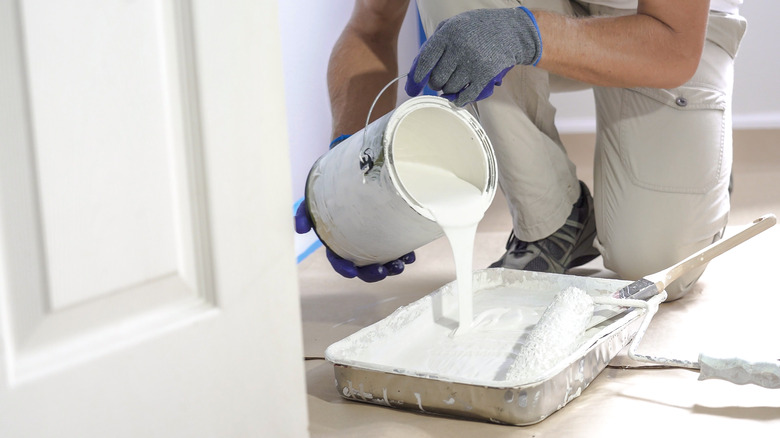
3. Prime the siding before painting
If you want to add more years to the cedar siding paint, you should give it a double coat, where the first is the primer and the second coat is the paint. An average cedar siding is most likely weathered, has tannins, and is also quite porous, making it quite difficult for one coat of paint to adhere and also offer protection.
Also, the porous nature of cedar means that a single layer will get absorbed into the wood leaving only a coat to protect the exterior. Usually, the thin layer left is not quite as effective in shielding the wood from the various weather elements. Moreover, cedar produces different extracts, better referred to as tannins which often stain any opaque paint color (via Five Star Painting).
For this reason, RealCedar recommends a stain-blocking primer for your cedar siding since it is ideal for coating each wood piece on every side. However, for most DIYers, this is not viable. Alternatively, coat every exposed side evenly with just enough primer. It is worth mentioning that primer does not cover contaminants like dirt and oil, so don't skip the cleaning step before going in with the undercoat. Also, before applying it, you might need to sand down the oil patches to achieve an even profile.
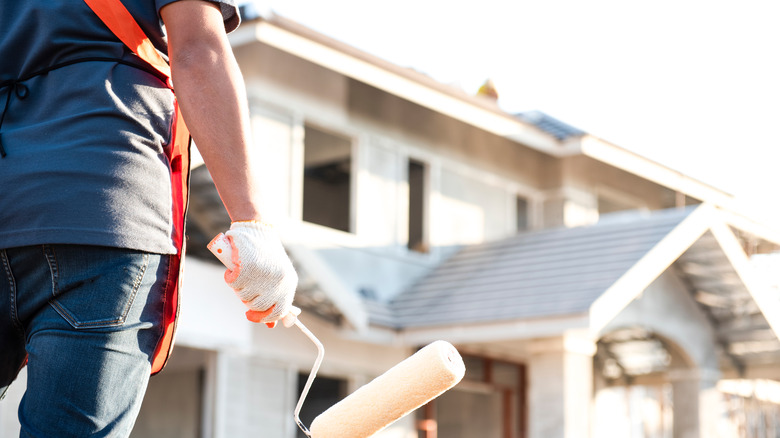
4. Use proper techniques
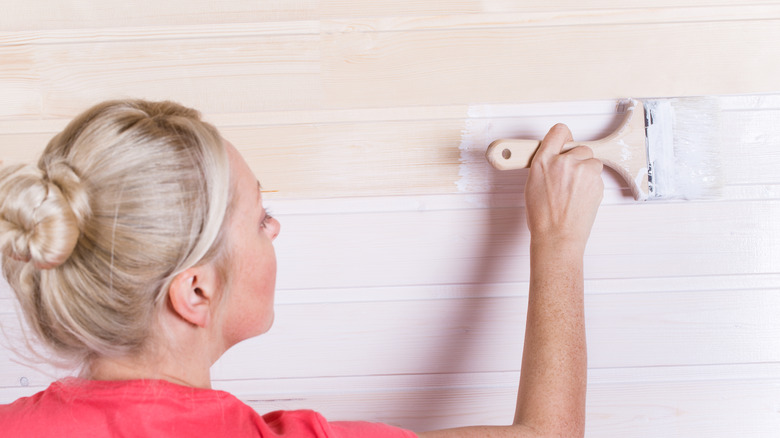
Ultimately, how good the application of the paint will determine how the overall finish will appear and how long the paint will last. You can use three tools to apply the paint to your cedar siding: a sprayer, a paint roller, or a regular paintbrush. As mentioned before, cedar is porous; therefore, it needs a lot of paint to coat evenly. The best tool for covering a rough exterior is either a roller or a hand brush, Sisu Painting says. A hand brush is ideal for ensuring the thick paint reaches even the tightest corners.
However, relying only on a hand brush to paint the entire exterior of the house is both slow and also requires a lot of elbow grease. Instead, you can spray or use a roller; a hand sprayer is best used while the paint is still wet to agitate and initiate paint absorption deep into the wood. This way, the tint will last longer, providing the siding with years of protection and also giving your house the much-needed upgrade.
5. Always go for quality paint and primers
Cedar is extremely prone to damage from harmful UV rays. Continuous exposure to the sun makes the material brittle and also discolors the surface. Eventually, the sun also compromises the longevity of the paint, causing premature peeling. For this reason, it is essential that you only invest in high-quality products that will protect the exterior of your house and keep it looking appealing for longer. For a raw cedar surface, apply a heavy stain blocking primer to act as the canvas for paint application.
What's more, don't limit yourself to only one coat. Depending on the needs of your cedar siding, you can apply two layers of acrylic-based paint just to ensure enough is left on the surface after absorption. While professional painting can be quite costly, ranging between $3 and $6 per square foot (via Forbes Advisor), restoring cedar siding to its former glory can be a huge ask for an average homeowner to pull off with pristine perfection. However, professionals will likely do a better job keeping your house looking beautiful for many years.