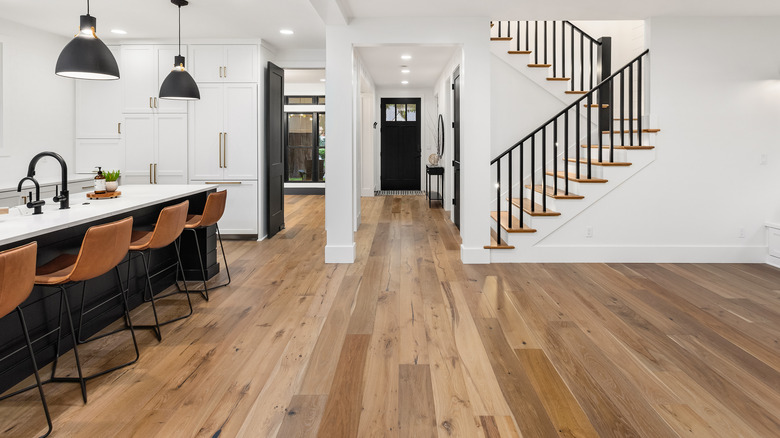
11 Crucial Mistakes Everyone Makes When Installing Hardwood Flooring
When installing hardwood flooring, mistakes can happen. The absence of soundproofing, not laying out the planks, or failing to acclimate the materials properly, are all errors that can, literally, keep you up at night. Meanwhile, poor joint staggering, not squaring the room, and improper transitioning can throw off the design and demand redoing the project. Hardwood flooring installation errors range from inconvenient and mildly irritating to pricey and time-consuming.
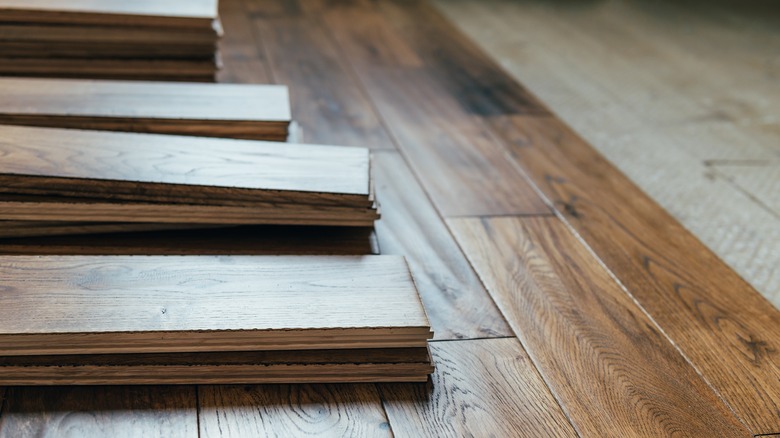
With varieties like oak, maple, cherry, walnut, and ash, hardwood can satisfy all styles, tastes, and functionality. The grain pattern and hardwood floor color options are also important considerations. Installing the wrong materials for your space can lead to dissatisfaction and premature wear and tear. But installation blunders aren't limited to choosing the wrong wood type or hue. Mistakes occur before, during, and after laying down the flooring. So, whether you're hiring or pro or taking the DIY route, there are some key mistakes to avoid to ensure you end up with a floor you love.
Inadequate removal of the old floor
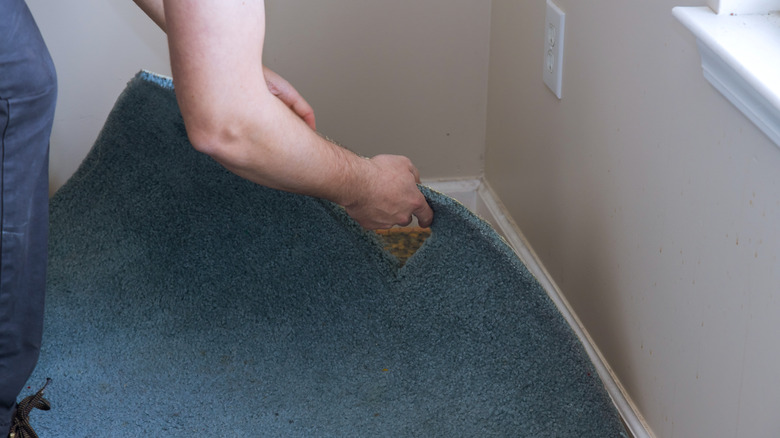
Before the new hardwood flooring is installed, you have to remove the old floor. Tiles, laminate, carpet, and wood flooring should be stripped down to the concrete base or subfloor. For safety, put on gloves, goggles, knee pads, and a face mask. No matter what type of floor you have, always remove the trim first. With carpet, use a knife to slice the material into small squares for easier handling. Start at the corners and pull out the sections rolling them up along the way. Then, remove the carpet pad underneath, and make sure to take out all tack strips, nails, and staples left behind.
For tile floors, break the center of the tile with a hammer and lift it up with a pry bar. A putty knife can be used to remove all tile leftovers, adhesives, and grout attached to the floor. When removing old hardwood floors, try not to damage the plywood subfloor under it. Set a circular saw less than the thickness of the wood boards, and cut the flooring into small sections. With a pry bar, dislodge each section, pulling out all of the nails and debris from the subfloor.
Poor preparation of the subfloor
Whether you have an old subfloor or bare concrete, more work remains before installing the new flooring. Flaws in the base can translate into long-term noise, cupping, and structural damage. To prepare an existing subfloor, sand off adhesives, sealants, paint, and grease and vacuum up any dust and debris. Once done, check the integrity and structure of the underlayment for squeaking, loose boards, or high moisture levels. If the defects are widespread, you may be better off replacing the subfloor.
If you're working with concrete, give it a good scrub to render it clean and dry. If there are any holes or cracks, fill them with compound to create a seamless foundation. Then, use a level to make sure the concrete is an even surface. Higher areas can be sanded down and lower areas can be filled with a leveling compound to make the surface more level. You can then apply a primer to seal the concrete and help prevent any issues with moisture.
Not installing a vapor barrier
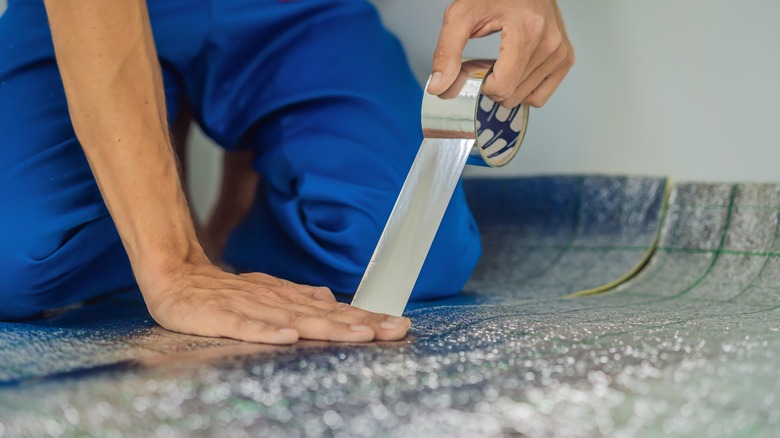
Moisture is the mortal enemy of wood flooring. And, moisture doesn't just come from the top. Concrete is porous just like wood and it can attract moisture. Then, the subfloor transmits the humidity up to the underside of the boards. The damage to the planks goes beyond mold as the saturated porous wood can bulge and swell, leading to cupping and warping. A vapor barrier insulates and protects the hardwood from moisture that can seep from the subfloor.
A vapor barrier is a fancy name for a sheet of plastic with various thicknesses. To apply, unfold the sheets on the debris-free concrete or subfloor. For the best insulation, the seams should overlap at a width of 4 to 6 inches. Then, seal each seam with a continuous strip of tape designed for underlayment installation. If you run out of tape mid-seam and need to use multiple pieces, overlap the ends to ensure there are no gaps.
Not allowing the flooring to acclimate properly
Hardwood planks arriving in boxes on your doorstep have rarely been stored at the same humidity levels as your home. If the planks don't have the chance to adjust to your house's typical conditions, they can expand and warp after installation. This can irreversibly impact the overall look and integrity of your entire floor. To avoid these catastrophic consequences, you need to acclimate the planks before installing them. Put simply, leave the hardwood in the place where they'll be installed for a few days to condition them.
Many factors affect the success, and time required, for acclimation. The season of the year and the fluctuations in temperature and air moisture between the seasons are important considerations. So is the role the air conditioner plays in controlling the climate in your home. Ideally, the environment for acclimation would have temperatures between 60 to 80 degrees and humidity levels around 30% to 50%. So, even if you're installing the flooring in a home that's currently uninhabited, it's important to adjust the HVAC system to create these conditions.
Not squaring the room before installation
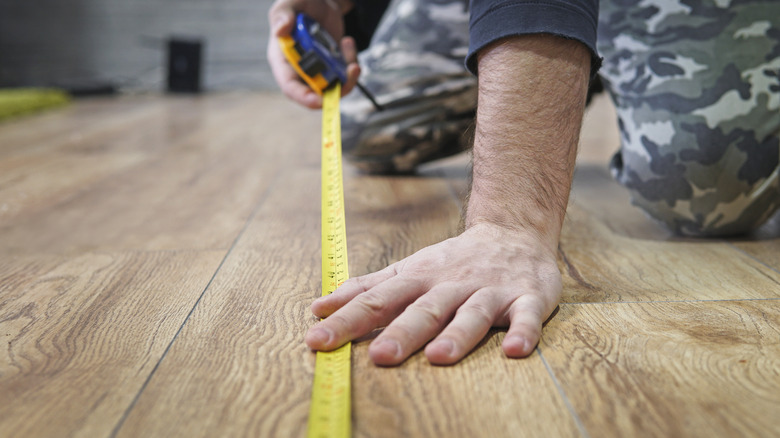
Perfectly parallel walls in a square room are an architectural rarity. They can slant inwards or outwards with corners that are rarely precise right angles. This can make laying out the floor difficult. When you install the hardwood flooring, the strips may align perfectly against one wall. However, on the other side, you may have to cut them and use wedges to fill in the gaps. To avoid these issues, you need a well-prepared plan to square the room.
Measure the distance between the two longest walls in the room at various intervals. If they're reasonably parallel, you won't have difficulty installing a symmetrical floor. Once you've decided on which wall to start from, begin laying the wood boards. When you reach the other wall, make minor adjustments to the planks as necessary. However, if the walls are awry, you need to create a centered line to make installation easier. Find the midpoints between the walls at several points. Then, use these to mark the room's center line and create a starting point for laying out the floor.
Not soundproofing the hardwood flooring

Sound travels through hardwood flooring with high fidelity. A wooden floor produces different types of noise depending on what causes the sounds. If you hear a popping noise, that's often triggered by humidity changes between the day and nighttime. A new floor that hasn't settled in yet usually squeaks and creaks under your footsteps. Plus, even settled-in hardwood allows for echoing between rooms and sound pollution from the upstairs spaces. To create a quieter surface, consider buying flooring underlayment designed for soundproofing.
This acoustic underlay can be made of materials like cork and is created specifically to absorb sound. It's installed over the subfloor and directly under the hardwood planks. When installing the underlay sheets, start along the dominant wall and leave a 1-inch margin up the walls to ensure complete coverage. Make sure the strips overlap, seal them with adhesive tape, then lay the hardwood on top.
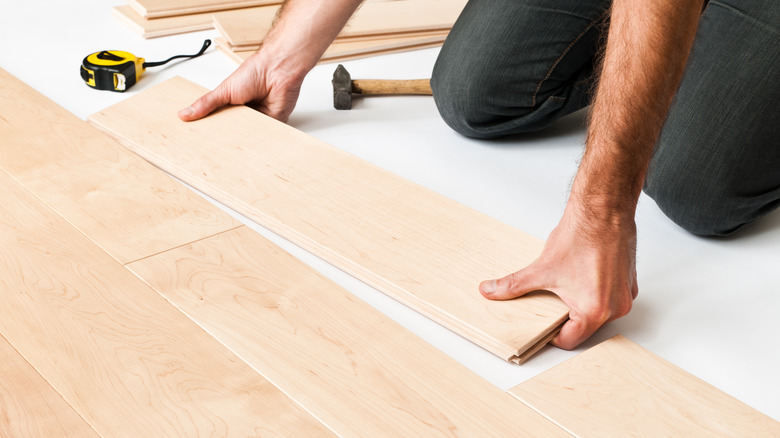
Not racking prior to installing
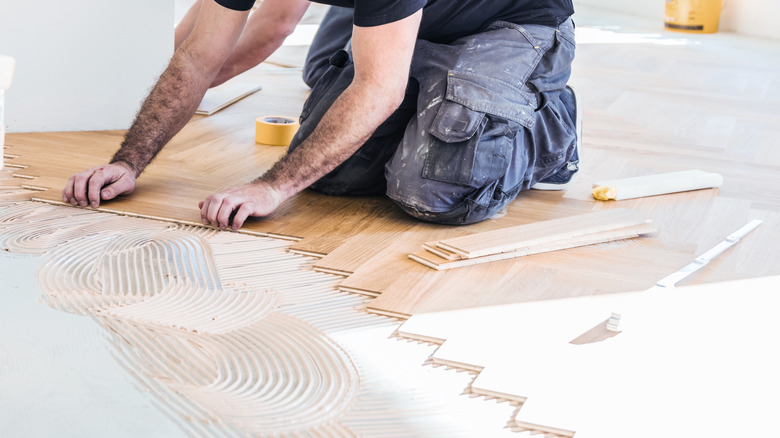
Hardwood boards come in different patterns and shades of the same color. When you install wooden flooring, you want to create a pleasant gradient of hue and texture throughout the space. You wouldn't want a single piece in a dark shade surrounded by lighter ones. This problem of poorly mixed colors can become apparent when the floor installation is done. By then it's too late to fix it without redoing the floor all over again. This is why professionals rack the floor to get a good idea of what it will look like at the end of the installation.
Racking is the act of arranging all the planks on the subfloor before installing them. When you start racking, you strive for a floor with well-distributed colors, grains, and lengths. Instead of using boards from one box at a time, open 4 or 5 boxes simultaneously. Alternate taking planks from different boxes to create matching patterns and designs. That way you can spot the odd combinations and glaring design mistakes and fix them early on. Once done with racking, take a step back to inspect your finished layout and make appropriate adjustments.
Buying the wrong wood for the job
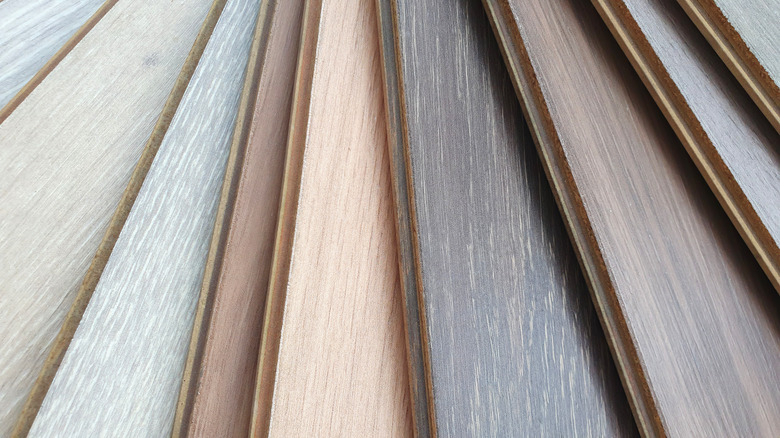
Hardwood has many varieties that suit different rooms in the house. Budget aside, the right timber flooring for your home should satisfy two criteria: style and functionality. Ignoring the style of the wood could leave you with a floor that isn't harmonious with your current space. Meanwhile, installing unfunctional wood in a specific room or area can be a costly mistake. Soft or less durable wood in a high foot traffic area increases the damage and wear and tear to the floor. Meanwhile, installing non-water-resistant wood near the bathroom or kitchen areas will ruin your floor quickly.
Buying the right wood for your floor is all about balancing practicality and looks. In high foot-traffic areas like the living room and hallways, durable wood that hides scratches is the optimal pick. Hickory, maple, and mahogany all fit the bill. In quieter spaces like the bedroom, study, and den, softer woods like solid ash and white oak are excellent candidates.
Not transitioning adequately in the doorway
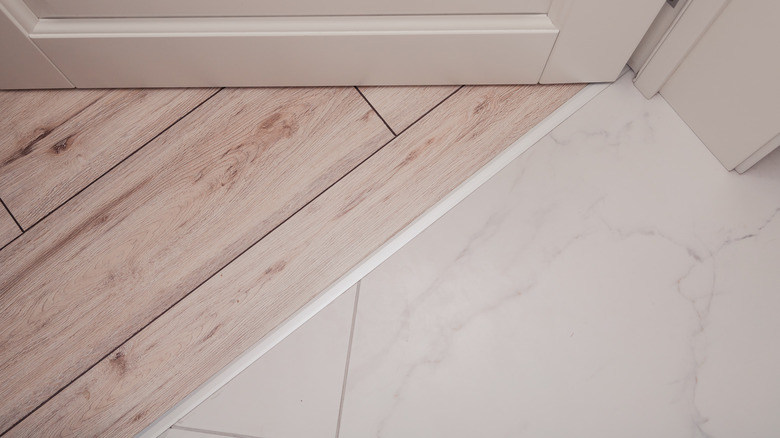
The door is a tricky spot to navigate when installing hardwood flooring. The trim, jamb, and casing make transitioning between two areas a big challenge. If you cut the planks around the opening, instead of trimming the door components, you will have gaping holes at the edges of the floor. Another transitioning problem between two adjacent floors is when one floor sticks out from under the closed door. Meanwhile, if one floor is higher than the next one, without transitions, tripping becomes a risk.
To avoid the holes in the flooring, you need to cut into the door jamb, trim, and casing to fit the planks under them. Place one of your flooring planks on the subfloor and make a mark at the height of the flooring on the door jamb with a pencil. Then. carefully cut through the trim pieces with a hacksaw. Now you can slide the wooden board under the door components to create a smooth finish. For a professional transition between two floors, make sure the dividing line between the surfaces is always hidden when you close the door. If connecting two types of flooring materials, use transition strips. They come in various materials and shapes and can transition between adjecent floors of different heights.
Improper joint staggering
Improper joint staggering is a common hardwood flooring mistake responsible for unsightly designs. When you look at a floor and see wooden strips of the same length together, and boards forming H-patterns, that's poor joint staggering. You get this problem when you don't mix up the length of the pieces. Not only does it look shoddy, but it can have serious implications for the integrity and durability of the floor. If you install two joints of the same length next to each other, warping, cupping, and floor noises are more likely.
To stagger the hardwood floor design, avoid placing two pieces of the same length and width together. An easy way to do this is to take boards out of boxes of different sizes. If all the boxes are the same size, cut the long pieces into varying lengths. Another good joint staggering practice is to pay attention to the width of the strip. This will help you determine the ideal distance between any two side-by-side joints. If the boards are less than 5 inches, you want your joints to be staggered at least 6 inches from each other. For ones wider than 5 inches, your minimum joint spacing is the same as the plank's width. For example, if you're using 7-inch wide planks, all of your joints should be staggered at least 7 inches apart.
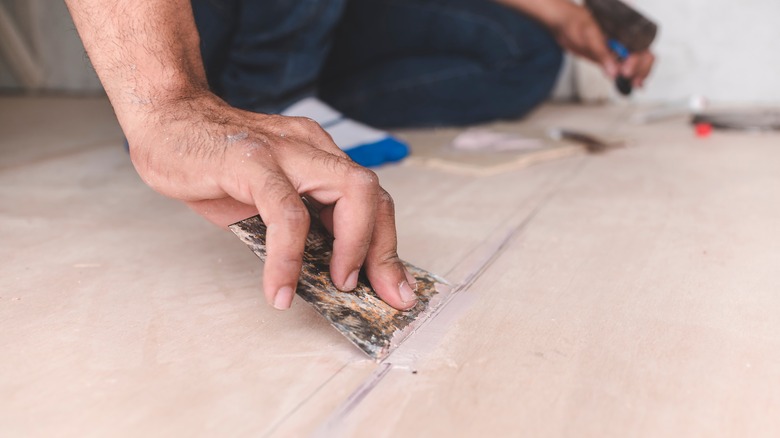
Not enough expansion gap
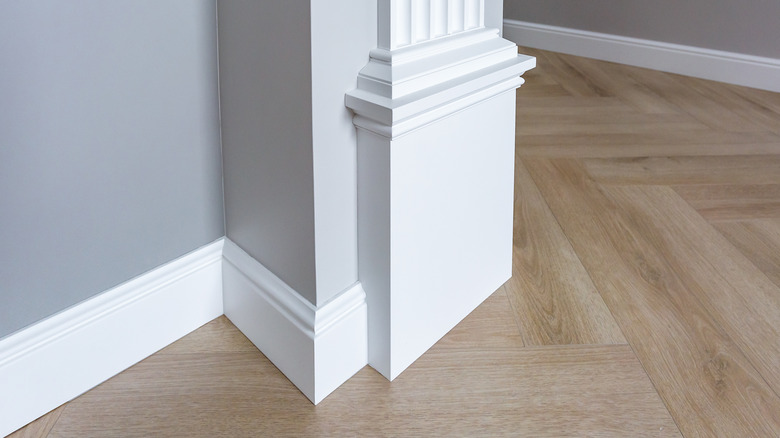
Timber expands and contracts with heat and moisture fluctuations. Without enough space around the perimeter of the hardwood flooring to accommodate this expansion, the wood can buckle and crack. To avoid these problems, leave a gap between the edge boards and the walls, columns, thresholds, and other flooring types.
This size of the gap depends on the hardwood type and plank measurements. Wide strips expand more than narrow ones while solid wood responds to moisture more than engineered wood. Some hardwood types like cherry are less susceptible to humidity than maple and oak. Whether the floor is floating or fixed to the subfloor, expansion gaps are crucial for its integrity and durability.
The layout and size of the floor is also a factor in the ideal gap size. For small and medium rooms, the expansion gap size is about 3/8 inch while large spaces should have about a 3/4 inch space. After installation, expansion gaps will be hidden under the baseboard so don't need to worry about them intervening with your design.