The Property Brothers-Approved Trick For Perfectly-Hung Floating Shelves
Have you ever spent precious time grappling with floating shelves, trying and trying again to hang them straight, and still coming away with a slightly wonky shelf or a smattering of eraser stains on your wall? If so, you're far from alone. Floating shelves are among the top design trends for kitchens, home offices, and other spaces in the home. While installing them seems like it should be simple, the process requires a good bit of troubleshooting and clever use of common tools. One unexpected but impactful trick for perfectly hung floating shelves is to use painter's tape.
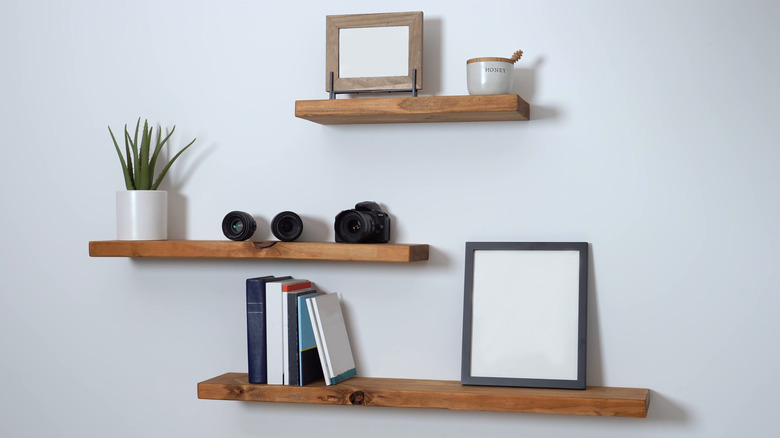
Hanging shelves use a hidden support system to attach to the wall, creating the appearance that they are "floating" because of the lack of brackets or visible supports. In a blog entry on their website, Drew & Jonathan, the Property Brothers share that strips of painter's tape can help DIYers align and level their shelves without leaving pencil or eraser markings on the wall. By placing small strips of painter's tape where your studs are and where you plan to hang each shelf, you can get a solid visual of your layout before drilling holes.
Steps to hang floating shelves
To hang floating shelves, you'll need a tape measure, stud finder, drill, and a level. Depending on whether you're creating your own DIY unique floating shelf or installing from a kit, you may need to purchase bolts and wood screws, or it might have all of your required hardware and brackets in the package already. Your last must-have item is painter's tape!
Particularly if you want your floating shelves to be load-bearing, it's crucial to locate the studs behind your drywall to correctly install the shelves. If your shelves are more decorative, you may get by with wall anchors. Use a stud finder to locate the studs, then use strips of painter's tape to remind yourself exactly where the studs are. There are few things more frustrating than drilling a big hole in your wall and missing the stud by a fraction of an inch!
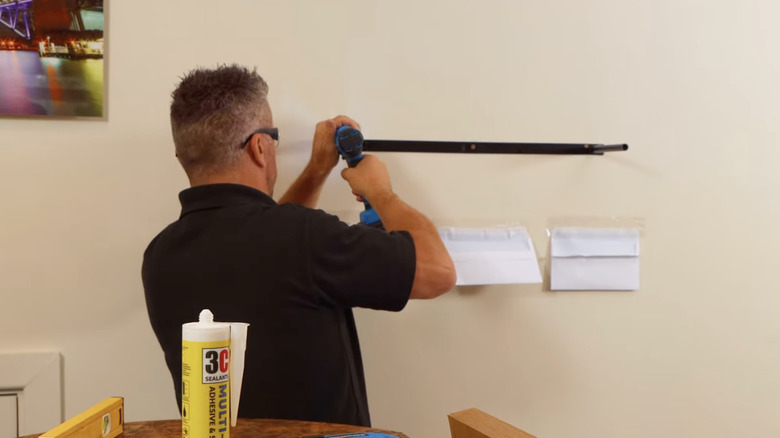
Once you've located and marked off your studs with painter's tape, it's time to pull out the level. Ensuring that your floating shelves are level is crucial. Regardless of what types of items you plan to store on your shelves, you don't want anything sliding off or appearing crooked! This step will vary based on the supports of your specific shelf, but many floating shelves have an internal bracket that you'll mount the shelf itself onto. Use your drill and level to attach the bracket in your desired position, then slip the shelf casing.
Up your installation game with painter's tape
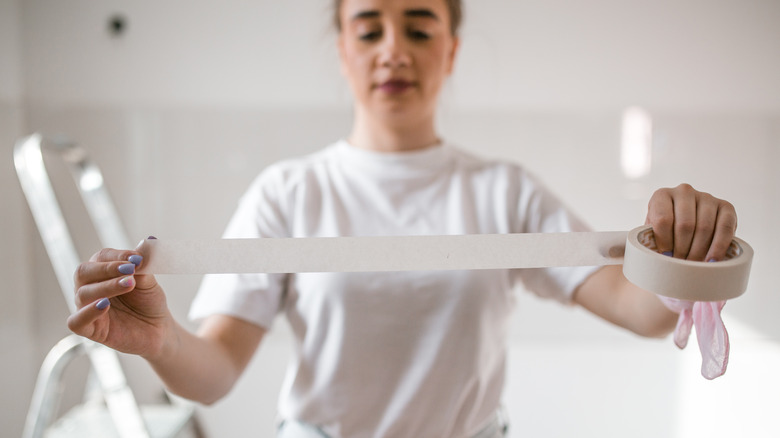
Painter's tape has more applications than the stud-finding stage of your floating shelf installation. Any time you'd usually reach for a pencil to mark a spot on your wall, try painter's tape instead. This will make for easier clean-up and prevent those stubborn eraser marks on your wall.
If you're hanging more than one floating shelf, painter's tape can work wonders for your visualization process. Take your time locating your available studs and consider the heights of the items you plan to store on your shelves. Tear strips of painter's tape to match the length of each shelf, then use your level to perfectly place each strip. This process will allow you to see the arrangement of your shelves before you pass the point of no return and end up with a wall full of misplaced holes.
The Property Brothers blog post even recommends an extra tape hack: give it a little fold or curl and stick it, sticky side up, below where you're about to drill or hammer. The tape will catch your dust and the painter's tape will make cleanup a breeze! Simply tear it off and toss it in the trash — most of your drill dust will be trapped on the sticky tape.