How To DIY A Beautiful Custom Garden Flag Stand Planter For Your Garden Or Porch
TikTok has become a go-to platform for everyone who loves great DIY projects. Thousands of content creators post their latest DIY projects and ideas for your home, helping others decorate their own houses in a more affordable and fun-filled way. The Inspirational Mama on TikTok has more than 100,000 followers who track her videos and projects around her property. One design is her versatile DIY garden flag holder, which can be customized to fit your aesthetic preferences.
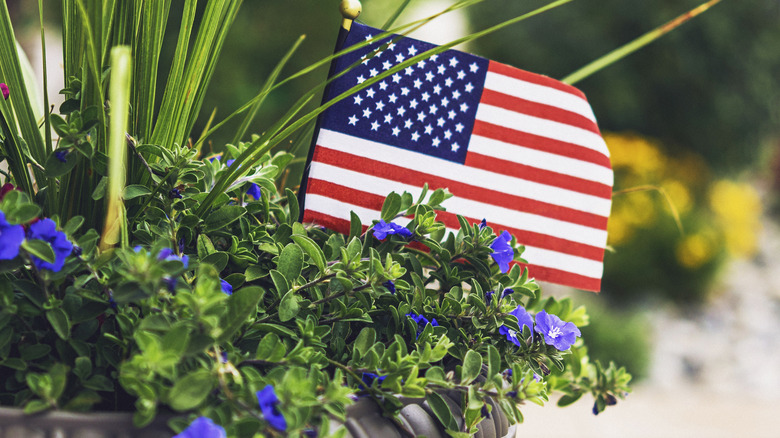
Whether you love to hang sports flags to celebrate your favorite team's wins, in-season tapestries, holiday-themed flags, or even just birthday and other celebration banners, this garden flag holder will be the perfect addition to your front porch or lawn. Taking no more than a single afternoon, a couple of pieces of wood, and a handful of tools, you can have a new garden prop in no time. Here's what you need and how to create it.
Gathering tools and getting started
Start by buying three pieces of wood. You'll need one 2x4 that is 8 feet long, an 18-inch dowel, and a 1x8 that is 3 feet long. Aside from wood, you'll need wood glue and to choose a stain or paint shade for your boards, but raw wood also has an appealing rustic look. To complete the project, you must also have a saw, a drill, sandpaper, and a measuring tape on hand. If you find yourself doing projects like this often, it may be worth the investment to buy a power saw. You can also use hand saws, and while it may take more muscle to cut your wood, they are much cheaper.
Similarly, you can go the easier but more expensive route with a handheld power sander or use sandpaper swatches for a more affordable and time-consuming method. The Inspirational Mama on TikTok uses a drill press, but any drill with an attached bit that can make holes 1 to 2 inches thick will do. Begin by cutting your 2x4 into three pieces, two at 30 inches and the third at 14 inches. Then, cut your 1x8 into two 16-inch pieces and cut the dowel to 18 inches. Measure 1 inch into the center of both 30-inch boards and drill a hole wide enough for the dowel to slide in and out.
Completing your garden flag planter
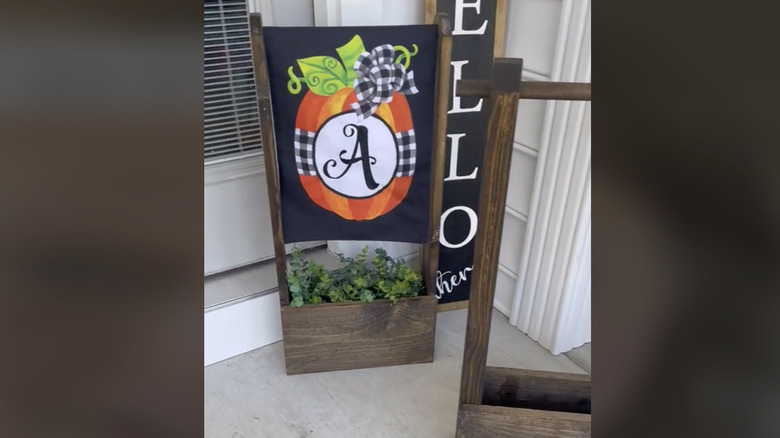
After the initial cutting is complete, begin sanding the wood, which makes it easier to stain and paint. Sanding is still essential for a clean look, however, even if you plan to keep the raw color. After sanding, apply your stain. For those using paint instead, Inspirational Mama on TikTok recommends painting once assembled. Next, glue your pieces together. Lay each 30-inch board parallel, ensuring the dowel holes face one another. Take one 16-inch board and use wood glue to secure it on top of the 30-inch pieces. Tuck the 30-inch pieces into the inside edges of your 16-inch board. Repeat this step on the backside with the other 16-inch piece. Take your last 14-inch piece of wood and glue it to the bottom to complete and close off your planter compartment. You can add drainage holes to your stand if desired. Then, slide the dowel into the top opening to finish your flag stand.
Once the flag stand is completed, you can easily switch out your display by adding new flowers and plants to complement the banners, flags, and signs you exhibit. Change these out seasonally, if desired. The flag stands are also lightweight and easy to move around, so you can move them to different areas of your yard to add finishing touches to your outdoor events. And, given that these are relatively inexpensive to make, they could even make great gifts to loved ones.