The Easiest Way To Add Drainage Holes To Your Plant Pots
Growing and caring for plants is not only a gratifying and enjoyable hobby but also a very self-sufficient pastime. That is, once you nurse one plant to its fullest potential, you can propagate it and grow more. This can be done repeatedly and is a great way to get lots of plants for free. One thing you'll have to deal with, though, is finding a way to pot all these plants.
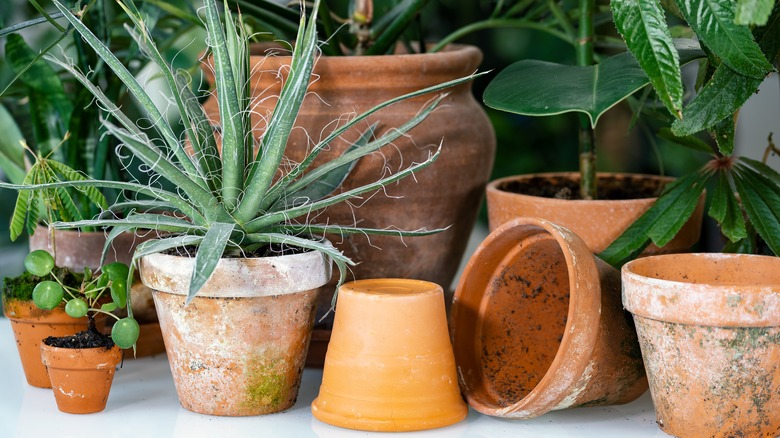
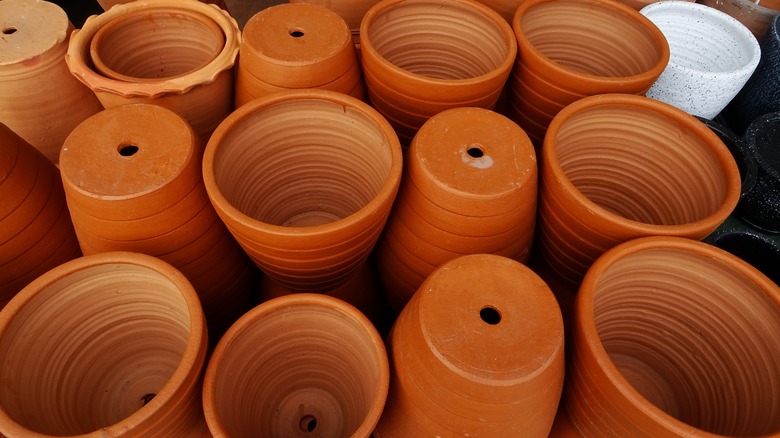
Plant pots can be a little pricey at garden centers, especially if you buy them frequently. Stores like Target or IKEA, though, often sell planters for cheap. You can also pot plants in non-traditional planters, like cups or deep bowls. The issue with DIY or more inexpensive planters is that they usually don't have drainage holes. Drainage holes are vital for your plant's long-term health. According to the University of Illinois Extension, waterlogging can lead to a plant developing root rot and depriving the roots of oxygen. Luckily, there are a few ways to easily create drainage holes in pots that do not have some.
Preparation and set up
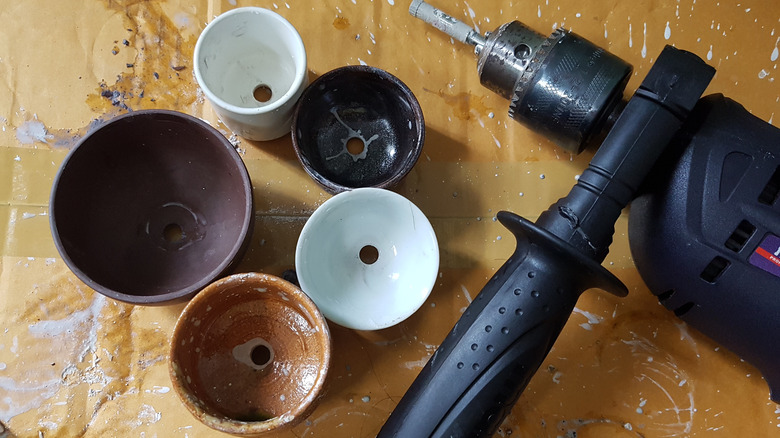
Before gathering or purchasing materials to drill a hole into your pot, you need to know what kind of material it's made of. If you have a plastic pot, you can spare yourself a trip to the hardware store and use scissors to puncture holes in the bottom. Ceramic and clay, though, need special drill bits; without them, your drill will crack the pot and render it useless.
Begin by assembling your tools. For ceramic and clay pots, you'll need a ceramic or carbide-tipped drill bit, according to The American Ceramic Society. You will also need a soft but flat surface for the pot to rest on, like a piece of foam, a bowl of water or spray bottle to wet the pot, some tape, and safety wear like goggles, a respirator or mask, ear protection, etc. Also, do this outside if possible — ceramic and clay can contain as much as 50% free crystalline silica, which, when inhaled, can cause scarring on your lung tissue, warns South Texas College.
Drilling the holes
Now that you have assembled your tools and protective gear, it's time to start drilling holes. The biggest tip for this process is to go very slowly, taking your time and stopping to check your progress often, advises The American Ceramic Society.
Begin by putting your pot face down on the foam, then tape the back of it in an X-shape, the center of the X marking is where the hole will go. For those without experience using a drill, this will improve your aim and keep the drill from sliding around on the ceramic. Whether with your fingers or a spray bottle, wet the pot. Then very slowly and with minimal pressure, begin drilling. Let the weight and speed of the drill naturally form the hole — using too much force will likely result in the pot cracking. Feel free to wet the pot as needed. This will help the drill bit create a hole easier and prevent ceramic dust from flying around. Once the bit goes through, remove the tape, touch it up as needed, and you're done! This process could also be used to create holes for strawberry pots.