An Easy Way To Grow Beautiful Daffodils Indoors With An Old Mason Jar
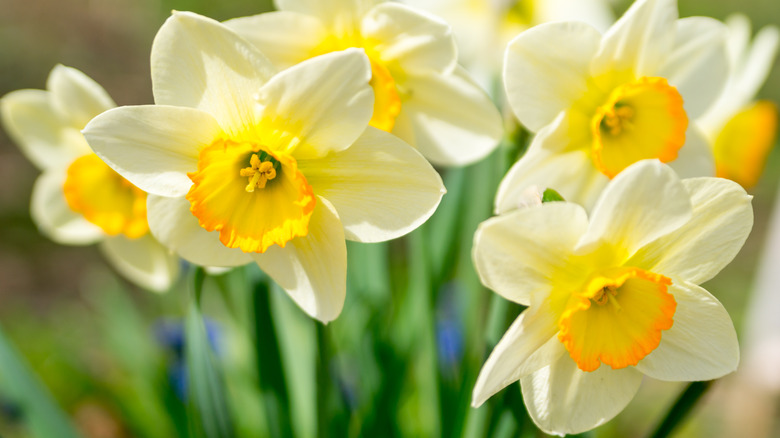
In winter, when the world outside still sports a thick blanket of snow or a dreary, gray landscape, many can feel disheartened. Luckily, a little touch of color inside can help tide you over until temperatures rise. Even while you're still weeks away from the season's first outdoor buds, you can experience some flowering beauty by growing daffodils (Narcissus pseudonarcissus) indoors in a mason jar.
To complete this DIY, gather a daffodil bulb, a large empty jar, a handful of stones, and some potting soil. In less than one hour, you'll be on your way to an early spring bloom for any room of your house. Plus, any flowering bulb can stand in for a daffodil. Try tulips, amaryllis, paperwhites, or hyacinths.
However, there are several things to consider before crafting your own DIY planter. Forcing bulbs to bloom indoors requires some planning ahead. In order to trick the plant into flowering, you will need to mimic a winter period by keeping the bulb in a cool place, ideally 35 to 48 degrees Fahrenheit, for at least 12 weeks. Then, the plant will likely bloom about a month later. Therefore, the best time to plant daffodils for blooms by February is at the start of October. A cool garage is a great hibernation space for the bulbs as long as temperatures don't get too cold.
Plant your bulb

This project is so easy that it's practical to make several at once. On a clean workspace, set out your large jar, bulb, stones, and potting soil. Starting with a clean jar, add 1 or 2 inches of stones to the bottom to help with drainage. This is crucial, as the jar doesn't have any drainage holes to allow water to escape, and you don't want the bulb to rot. Then, fill ⅔ of the jar with potting soil. Plant your daffodil bulb with the root end down and the tip up. The top of the bulb should stick up to about the rim of the jar. Add a bit of soil to surround the base of the daffodil bulb without fully covering it. Water it immediately, and take care not to let the soil dry completely between waterings. Then, place it in a cool area for 12 weeks.
Once your container has gone through the chilling period, place it in a sunny area with temperatures around 65 degrees Fahrenheit. You won't need to fertilize your plant, since the bulbs store all the nutrients the plant will need to bloom just one time. Flowering should occur in about three to four weeks after the chilling period. After the flowers have bloomed and faded, the bulbs aren't likely to bloom again and can be composted instead.
Ways to customize your container
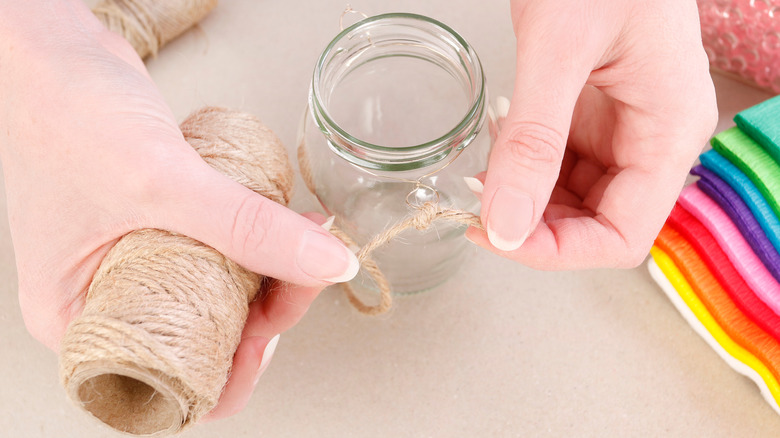
Despite concerns that popular mason jars are going out of style, these kitchen staples are timeless and cute. Elevate your simple DIY to the next level by adding a touch of flair to your jars. Tying jute twine, ribbon, or a strip of colorful fabric around the mouth of the jar adds only seconds to your completion time. Slip a decorative accent like a customizable chalkboard tag onto the twine before tying or clip a colorful butterfly to the ribbon, and you'll have a one-of-a-kind design. If you're short on counter space, consider going vertical. Among the endless ways to reuse old glass jars around the house, you can put together a hanging planter by following the same steps as you would to make a lantern.
Further, mason jars are endlessly useful for food products, and you may not want to sacrifice one for another purpose. Often overlooked and commonly cluttering homes are jars once containing candles. Since reusing them for food isn't recommended, you can transform old candle holders into planters by subbing them for mason jars. Just be sure to use a jar that's similar in size to a 32 ounce mason jar.