9 Genius Exposed Basement Ceiling Ideas To Make Your Space Look Intentional
Finishing (or refurbishing) a basement can be a relatively cost-effective home upgrade that significantly expands your living area. Within a matter of weeks, you could have a second family room, a spacious home office, a workout area, a game room — you name it. But, having a drywall ceiling installed can cost anywhere between $2 to $4 per square foot, which works out to an average cost of between $2,000 to $4,000 for a 1,000-square-foot basement. So, if you want to keep expenses down, sticking with an exposed beam ceiling could be the way to go.
Not only can an exposed basement ceiling save you money, but it can also look amazing. Basements tend not to have a whole lot of headroom, so leaving the joists exposed can create the feeling of more space. Drywalling a basement ceiling can also get complicated if there are protuberances and areas that are lower than others. Plus, leaving the ceiling open allows easier access to any pipes, plumbing, cables, and gas lines that might be running along it. As you can see, there are lots of practical reasons to leave your basement beams bare, but how do you make it look good? To get you started, here is a list of some of the best ways to transform your basement ceiling.
Paint it white to reflect more light
An easy way to make exposed basement ceilings look aesthetically pleasing is to paint everything white. This won't hide pipes and electrical lines from view, but it will make them blend in. To ensure a long-lasting paint job, start with a quality primer on any raw wood, metal, or plastic areas. The number of coats of primer you should apply depends on the surface. Wondering how to pick the best shade of white ceiling paint for your basement? To stop the space from feeling cold, choose a white with warm undertones, such as Swiss Coffee by Benjamin Moore.
Paint your beams and ceiling matte black for a moody effect
If the idea of a white ceiling isn't rocking your boat, consider a moody take in matte black. This might seem risky for a basement, but black has a bunch of benefits. Firstly, dim rooms can often take dark colors well, resulting in an enveloping vibe. Painting the ceiling black will also make any ductwork and cables less apparent, allowing them to melt into the shadows. Again, selecting a shade of black with warm undertones, such as Farrow & Ball's No. 57 can help create a cozy feeling.
Spray paint so you can coat hard-to-reach areas
Spray painting can save a ton of time, ensure you get into all the hard-to-reach nooks in your basement ceiling, and yield a smooth finish, especially on things like ductwork. You can pick up a small paint sprayer on Amazon with great reviews. If you don't want to waste time refilling the paint tank, you can also invest in a larger sprayer, like this Wagner model at Lowe's. Prep the area by protecting everything you don't want paint sprayed on, and use dry fall paint to minimize splatters.
Leave the beams raw for a vintage vibe
If you're into vintage décor, you can also leave the beams raw. If the exposed joists are uneven, you may want to sand them down as rough, un-sanded lumber is a magnet for dust and tough to clean. Applying a clear oil can deepen and accentuate the wood color. Or, if the natural tone is clashing with your basement furniture, you can tie it in with the right stain. To save some money, you can even make your own stain with this TikTok hack that utilizes vinegar and steel wool.
Install beadboard between your beams
Installing beadboard between your overhead beams can add instant charm and, unlike other exposed ceiling ideas, allows for soundproofing. If there is insulation installed, you can go ahead and nail strips of beadboard inside the joist cavities. Alternatively, you can pick up some rolls of inexpensive stone wool soundproofing from The Home Depot. Pro tip: If you want to ensure the ends of your boards don't absorb moisture, apply a coat of primer onto the cut ends before you install them. Also, use a laser level to line up the grooves in the beadboard.
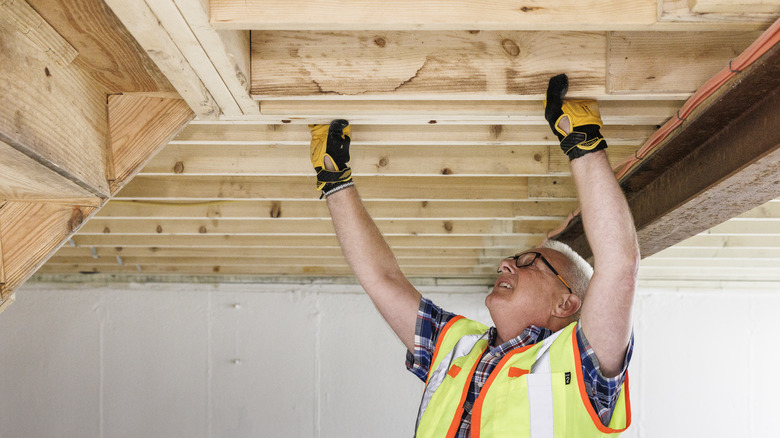
Beef up your beams with some extra lumber
If your ceiling joists are on the skinny side, and you want the luxurious look of thick, heavy beams, you can fake the feeling with some extra lumber. Start by measuring your beams. If they are 6 inches wide and 2 inches thick, simply attach a 2-by-6 plank to each of your joists and cap it off with a 2-by-4 board. You can either leave them as-is or apply a coat of paint to conceal any color discrepancies. To create contrast, you could also paint the ceiling one color, and use a contrasting stain for the beams.
Install stained decking planks between the beams
For a look that's both timeless and contemporary, you can install lengths of 1 by 6-inch decking planks between the ceiling beams. First, measure the distance between them, and cut the decking to width. If your beams are irregular, you may need to measure and cut each individual plank to fit. To create a unique look, you can stain the planks in multiple stains of the same color family, varying the intensity. Then, nail them inside the joist cavities, creating a variance that oozes visual interest.
Showcase your pipes
Is industrial décor your jam? If so, consider not only leaving pipes exposed — but showcasing them. Instead of coating ducting and steel pipes, cover them during painting, and let the original metal contrast against your ceiling. You can also play up the look and make it feel intentional with industrial-style light fixtures, such as these pendant lights in oil-rubbed bronze from Amazon. Or, create a faux brick accent wall with a few Kingston Brick Panels from The Home Depot.
Drop drywall between the beams
Does your basement ceiling have I-joists? @collinscountry has a simple way to cover the space between your exposed beams. To finish off your basement with this stunning ceiling design idea, you'll need to cut some drywall sheets to size and slide them between the I-joists. The lip at the bottom will hold the sheets, and by not nailing them into place, you can keep your ceiling accessible. For a seamless finish, paint everything the same color. You will also need to mount some 2-by-4 planks to act as supports and paint these to match.