Save Your Paint Cans To Create Unique, Functional Wall Storage

We may receive a commission on purchases made from links.
How many half-empty, dried-out, or spoiled cans of paint are collecting dust in your home? Getting rid of paint cans responsibly can be a pain. Throwing them in the garbage is poor form, and recycling requires a trip to a local drop off center. Any environmentalist will tell you that reusing is the first step in responsible waste disposal. Instead of condemning your old paint cans to an eternity in the landfill, solve some of your storage needs in the foyer with these capacious containers. To do so, you'll drill the bases of the empty, cleaned-out, and decorated paint cans onto the wall with the open end sticking out and the handle hanging down.
Mounted on the wall in your entryway, upcycled paint cans stand in as cubbies for hats and mittens and hangers for leashes and scarves. With a little extra effort, they can hold coats as well: a perfect solution for cold-weather dwellers! You could also place other items inside the paint can cubby, such as sunglasses, keys, wallets, or anything else you need right before running out the door. This imaginative DIY costs little money, frees up space, can take less than a day to complete, and repurposes potential trash — what more could you want?
Gather your tools and materials

The tools and materials needed for this eco-friendly DIY may already be lying around your home, meaning that this could cost you very little money. You'll need:
- One or more latex paint cans
- Cat litter (to dispose of any leftover paint)
- Some soap and water
- Rags
- Two wood screws per can — double-check that they are long enough to reach the wall studs.
- A long-handled screwdriver
- A marker
- A punch or small drill
- A measuring tape
- A stud finder
Also keep in mind that, if you want to decorate the cans before installing, you'll need materials like paint or fabric as well. You may also want to include some additional hooks on the handle.
Prepare your cans to be reused
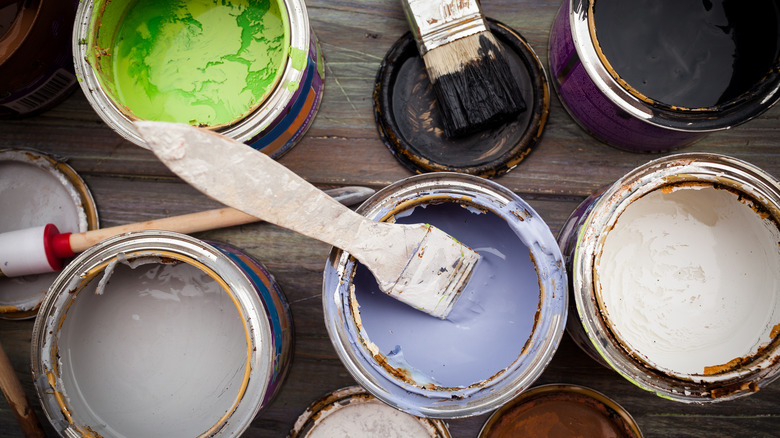
Scan your paint can supply for containers that are in good shape, and pay close attention to whether the paints are latex- or oil-based. Safely dispose of leftover liquid paint depending on its base. If the cans are difficult to open, WD-40 can make removing the lids easier than ever. Mix old latex paint with cat litter, allow it to dry, and throw it in the trash. Oil-based paints are toxic and aren't as easily dealt with, so it's best to locate your closest paint drop off site, which you could do on PaintCare, and stick to using cans from latex paint for this DIY. Once the cans are empty, cleaning out the container is the next step, which you can do with soap, water, and some rags.
Go for extra functionality and style
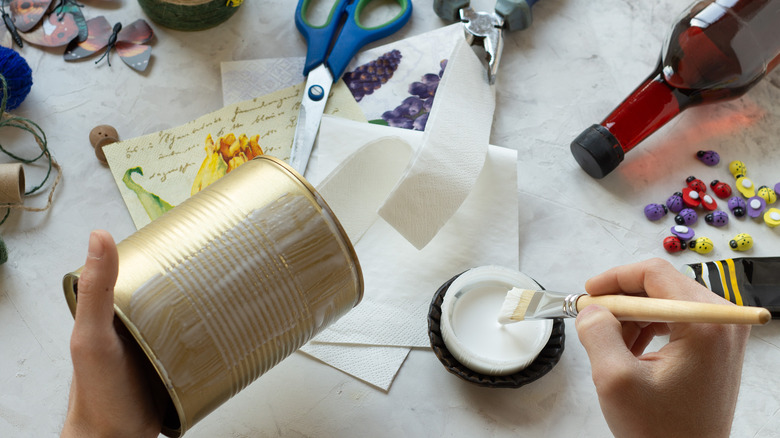
While the paint-splattered exterior may be a charming look for an artsy home, you will likely want to customize them with a coat of paint or even decoupaged fabric. If you go this route, complete your upgrade before mounting the cans to the wall. Choose paints that complement your décor. Try some art deco color combinations, a calming color palette for a rustic home, or tones that complement an eclectic home décor style. Gluing fabric around the can would give it extra texture that can keep coats and scarves from sliding off too easily.
Draping scarves and leashes through the paint cans' handle is quick and practical. For even more efficient use of the handle, however, consider adding hanging S hooks with safety buckles — an eight-pack on Amazon costs $6. Not only will these stylish hooks make holding totes and coats a breeze, but their design keeps them securely-fastened to the handles for easy use as well.
Mark your can and wall for mounting

On the interior of the can, make two marks at least 1 inch away from both the top and bottom of the can and at least 1 inch from each other with a marker. Make mounting holes at the marks, using either a punch or a drill. You'll be attaching the can with two screws, taking care to sink them into the stud. Locate a stud in your wall with a stud finder and line up your can for hanging. Make sure to position the can so that the hinges of the handle are horizontal. This will allow you to use the hanging handle for extra storage.
Hang your creation

Install the top screw with a long-handled screwdriver and straighten the can to ensure that the handle hangs parallel to the floor before adding the bottom screw. Follow these steps for any additional cans you hang. If you're hanging three or more cans, take some time to plan their spacing and layout on your wall with a measuring tape before you begin drilling. Now, your containers are ready to store hats, mittens, coats, and more!