How You Should Clean Your Oven If You Don't Want To Use Chemicals
We may receive a commission on purchases made from links.
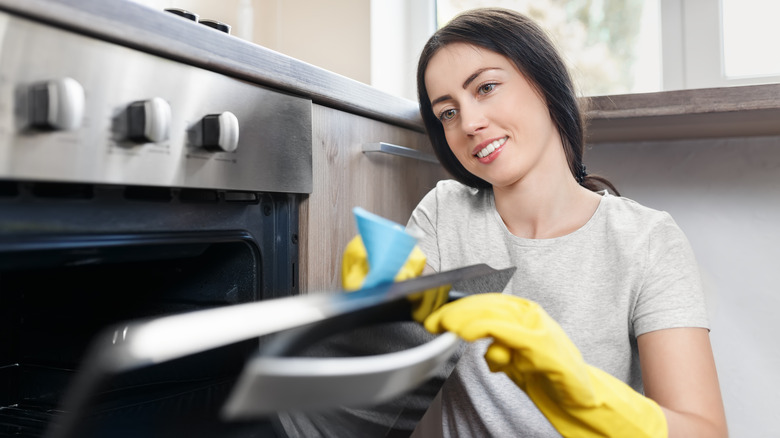
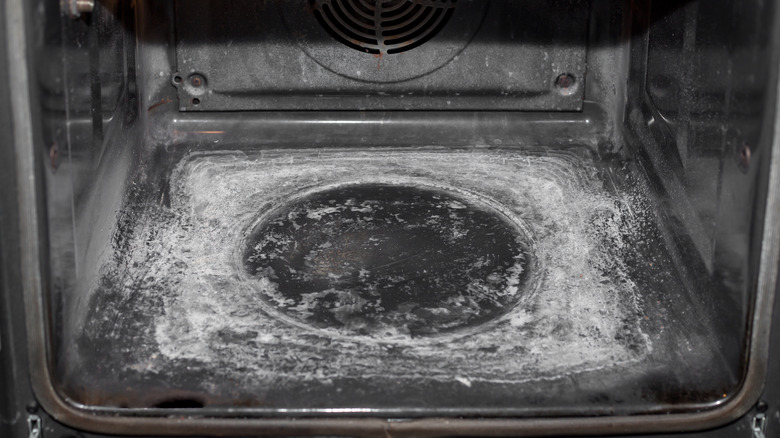
Oven cleaning is one of our least favorite things to do, and for good reason. The processes that go into creating the grime inside an oven are the very processes that make it a challenge to deal with. But with a little patience and planning, cleaning your oven can be relatively painless.
According to Fantastic Services, there are critical reasons to keep your oven clean. Perhaps the most important is avoiding a fire in your kitchen. But a dirty range can also make your kitchen smell bad and your food taste off, as the remnants of last week's dinner continue to cook and smoke in the appliance. Because of this, it's important to clean your oven at least once a month. While most people have a selection of various oven cleaners under their sink or in their cleaning closet, sprays and chemicals aren't the only way to break down stubborn grease or built-up grime. A bevy of natural cleaning solutions can just as easily make your oven sparkling clean.
Many people think they need harsh chemicals to make the task easier. After all, no one likes to scrub stuck-on grease, which is a chore that usually takes some muscle and sweat. But if you're tired of dizzying fumes and are worried about what the chemicals might do to your health, try these healthier alternatives. They're just as effective and a lot less dangerous.
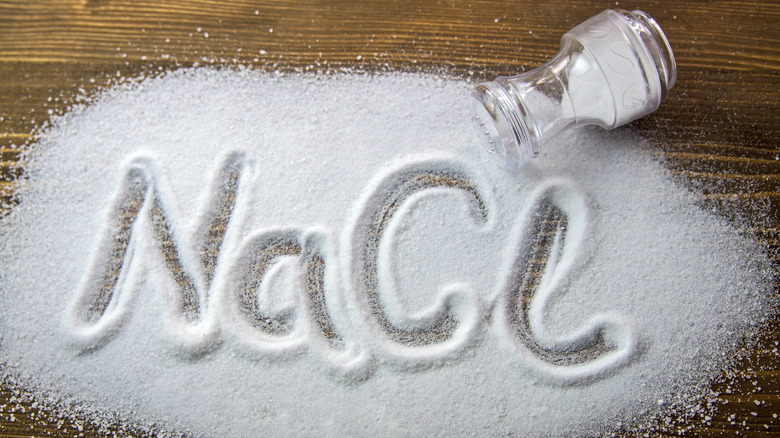
Baking soda with water
Of course, if your goal is to get your oven clean without using chemicals, you don't have a lot of options given that pretty much everything is a chemical in some sense. Baking soda, for example, is also known as sodium bicarbonate or, sometimes, sodium hydrogen carbonate. You probably want to avoid harsh chemicals, as Arm & Hammer puts it, that have the potential to irritate your skin, eyes, and lungs.
Baking soda is a key ingredient in most recipes for safe oven cleaning. By itself, it's not going to do a lot for you, but in combination with effort and an appropriate liquid it works as well as many commercial oven cleaning products. The most common combination is simply with water. It's essential for making a basic cleaning paste and does much of the work of softening the stuff you're trying to get rid of.
Baking soda does its work by breaking down grease in oven grime. It can accomplish this feat because it is a base (that is, an alkaline chemical), while the greasy leavings of cooked food is usually acidic. Through some chemical magic, the baking soda alkali neutralizes and breaks down the acidic stuff coating your oven, making it easier to wipe away. Unless baking soda is completely dissolved, it's also a mild abrasive, which helps.
Alexis of Chemistry Cachet has a few caveats about cleaning with baking soda. She warns that it tends to leave a cloudy residue, and so it's best avoided for cleaning glass, chrome components, and the like. She also warns against combining baking soda in a bottle with acids like vinegar, which is particularly interesting given how common it is to use that combination in cleaning.
Baking soda and vinegar
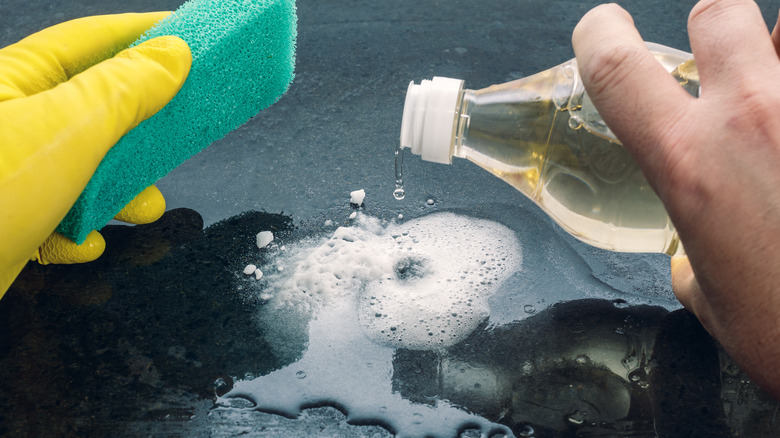
The mysterious force that has spawned a million science fair volcanoes is often pressed into household cleaning service. And it works. But it's not clear that the combination is the most effective way to use either baking soda or vinegar for one simple reason: when you combine the two before use, you're neutralizing the alkaline nature of the baking soda and the acidic nature of the vinegar, thereby eliminating the chemical reactions that you rely on when cleaning a dirty oven. Live Science, like Chemistry Cachet above, advises against combining vinegar and baking soda in advance, as that will neutralize both the alkali and the acid, leaving your cleaner basically inert.
So how do you use the combination without undermining its effectiveness like this? What you have to avoid is combining the two in advance. Keep them separate, and instead add them together directly on the surface that you're cleaning. When you do this, the combination fizzes actively (like that science fair volcano), which can help to lift and remove oven grime.
So, what does keeping them separate until the last minute mean? You'll benefit from making a paste of ½ cup baking soda and 3 tablespoons of water. Keep the vinegar alone in a spray bottle to take advantage of its particular properties when cleaning. To combine the power of the two, sprinkle baking soda on the area to be cleaned, then spray lightly with water. Wipe up the bulk of the mess with a wet rag or paper towel, then get at the more challenging stuff by spraying on a 3:1 water/vinegar solution to take advantage of the reaction with the baking soda residue.
Baking soda and hydrogen peroxide
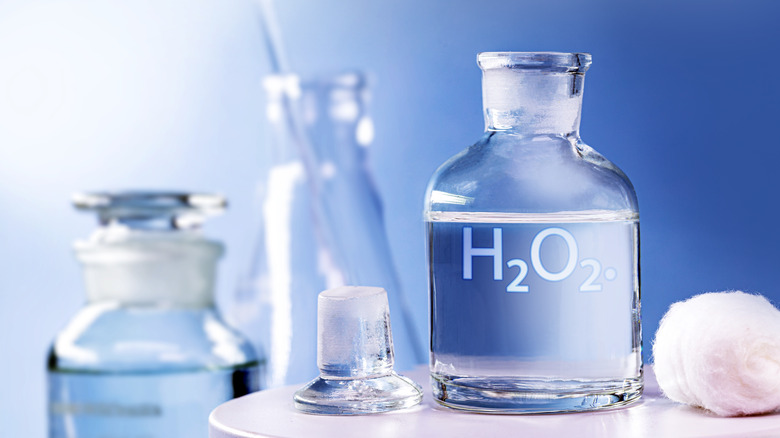
Depending on what you mean by "cleaning without chemicals," the combination of baking soda and hydrogen peroxide might be your best bet. But in this case you'll need to leave out the vinegar, no matter what you read online.
Let's start with some details about hydrogen peroxide. H2O2 is not R2D2's robot wet/dry vac cousin, but hydrogen peroxide. It's something like water with an extra oxygen atom that gives it the power of oxidation. In the era of oxy-everything, most of us know that oxidation can be a great help in cleaning. Hydrogen peroxide is also fairly acidic — typically around 4.5 on the pH scale, according to USP Technologies. As such, just as with vinegar, peroxide shouldn't be combined with baking soda in a way that neutralizes both. The exact pH is difficult to predict for several reasons, making it hard to know how much will neutralize any given quantity of baking soda. So it's best to use them in combination only at the last minute, either combined on the surface to be cleaned or made into a cleaning paste just before use.
Some cleaning experts, even the Queen of Clean, will occasionally recommend mixing hydrogen peroxide with vinegar, along with baking soda or other ingredients. This is a bad idea, as the resulting peracetic (or peroxyacetic) acid is corrosive and can cause problems ranging from minor skin irritation to major breathing issues. And it's not just corrosive to your tissues, but also to many surfaces you might try to clean with it, including many metals. So ultimately, the combination defeats the purposes of making things clean and making yourself healthier.
The salt quick-fix
Most of us clean our ovens every six months to six years, whether they need it or not. But cleaning a mess on the spot can save you a lot of trouble in the future, and salt can be just the trick for messes like drippings. Salt is a quick, safe, and easy cleaning solution that prevents messes from building up in your oven, says Parts Town. You can clean up spills, overflows, and other potential sources of buildup on the spot by simply applying a modest amount of salt and letting it sit for a couple of hours while the oven cools. Then wipe it out with a soft cloth. According to Chemistry Cachet, the ionic properties of salt make it chemically absorbent, which helps in cleaning up fresh spills.
Salt works great with some of the other ingredients we clean with. It is a gentle abrasive, lends additional cleaning power to other cleaners such as vinegar, and will dehydrate some spills and many bacteria, making it a moderately effective disinfecting agent. For oven cleaning, Hello Glow recommends a paste of salt, baking soda, and dish soap. Apply the paste, give it some time, then wipe your oven down. Finish up by spraying on and wiping off a 1:1 water/vinegar mixture.
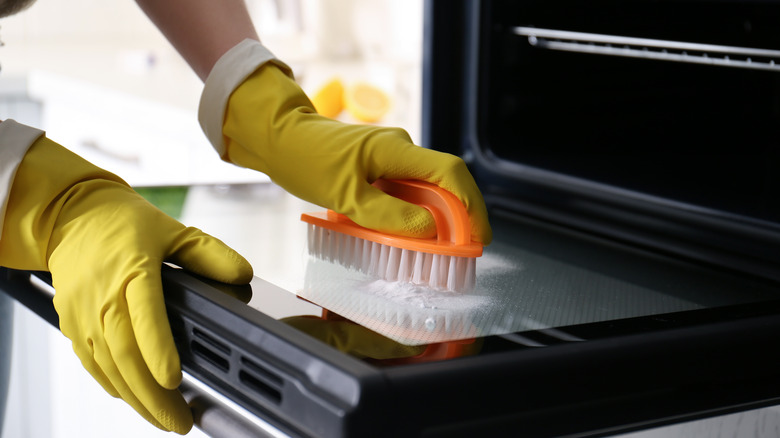
Mechanical grime removal
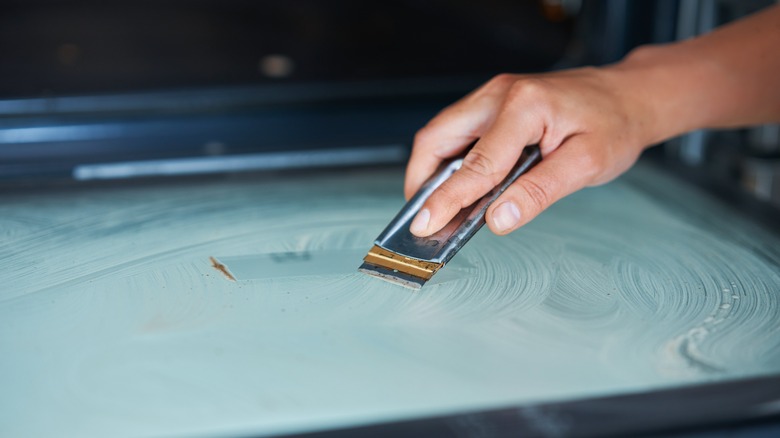
Chemicals like baking soda and salt have abrasive properties that are helpful in oven cleaning, but that's not the only tool available to you. For more demanding messes, a scrubby, scraper, or abrasive pad might be just what you need.
YouTuber and home organization/cleaning influencer Kathryn Snearly shows how to use various implements in conjunction with cleaning chemicals we've discussed to maximize their effectiveness. She uses scrubbing pads and brushes from Dollar Tree, and a scraping tool for particularly tough gunk. (Snearly links to this scraper in the video description, but the one actually used in the video looks more like a dough/bowl scraper or perhaps a Cricut spatula/scraper.)
There are actually quite a few products on the market specifically for cleaning ovens. Sticking with scrapers for a moment, you can find both plastic and metal models, including the bizarrely named InfantLY Bright Multipurpose Kitchen Cleaning Spatula. But take care with metal ones that might scratch finishes on and within your oven. This also applies to brush/scraper combinations made for ovens and grills. Other options include drill brushes, stainless steel scouring pads, brushes in every conceivable specialized shape for various oven crevices, and oven liners to make this whole thing easier the next time around.
Your oven's self-cleaning function
If you're sitting around wishing ovens would clean themselves, take heart. Many do, and it tends to work great. But are there downsides? And what about newer versus older self-cleaning ovens?
Traditional self-cleaning ovens do so by locking and heating the oven compartment to 800-900 degrees Fahrenheit, effectively converting everything you would have scrubbed to ash that can be wiped away. This process understandably makes many oven owners nervous. Consumer Reports calls the oven self-cleaning feature "taboo," noting that there are reports of oven failure, smoke, fumes, ruined oven racks, damaged control panels, and the indiscriminate heating up of everything in sight. But the fact is that self-cleaning problems only occur in about 1% of cases, a fairly small risk to take for a feature that everyone seems to want, and which almost always produces good results.
Making the self-cleaning function work for you requires some attention, according to Merry Maids. Carefully read and adhere to the instructions in your oven's manual. You will need to remove the oven racks and anything else in or on the range. Don't use cleaners of any sort, and leave the oven alone during its entire cleaning cycle. Keep pets and children away, and ventilate your kitchen well during cleaning.
The least and most expensive models might not have a self-cleaning feature at all, and some manufacturers have replaced the self-clean cycle with a steam-cleaning function (sometimes called AquaLlift). Consumer Reports finds the steam cycle insufficient for the deep cleaning you might do with a traditional heat cycle. Steam cleaning is quicker, and useful for more frequent cleanings that require more elbow grease. And if you find this function potentially useful, you don't need the capability to be built in. You can DIY a very effective version.
Steam cleaning
Letting the oven do some of the work for you is always smart, and cleaning with steam is a great way to do that. If you don't have a built-in steam cleaning function, it's easy enough to do on your own. Just put an oven-safe container of water in your oven at 450 degrees Fahrenheit. Typically, you'd let this go for 20-30 minutes or as long as an hour if your range needs extra care. Then turn off the oven, remove the bowl, and allow the oven to cool. Finally, wipe out the gunk and condensed water with a clean cloth (or another weapon of your choice).
Use caution with your choice of water container. Typical steam-cleaning instructions call for a 450-degree oven, and tempered glass bowls can handle temperatures up to about 482 degrees Fahrenheit, according to Baking Like a Chef. Borosilicate glass like Pyrex can handle roughly 570 degrees, but glass not specifically made for such high temperatures will shatter spectacularly in such heat (via Pyrex).
Using a vinegar solution instead of water for steam cleaning will give your effort a bit more punch. You can use 100% vinegar if you're dealing with a real mess. You can also add lemon juice or slices to water, which might help in concentrations high enough, and will certainly smell good even if it doesn't clean better. Steaming the inside of your oven isn't going to have the same dramatic effects as a superheated self-cleaning cycle. Instead, you should do this when you have a minor mess or if you clean your oven frequently and it doesn't have much build-up.