Repurpose Plastic Bottles To Create A DIY Strawberry Planter On The Cheap
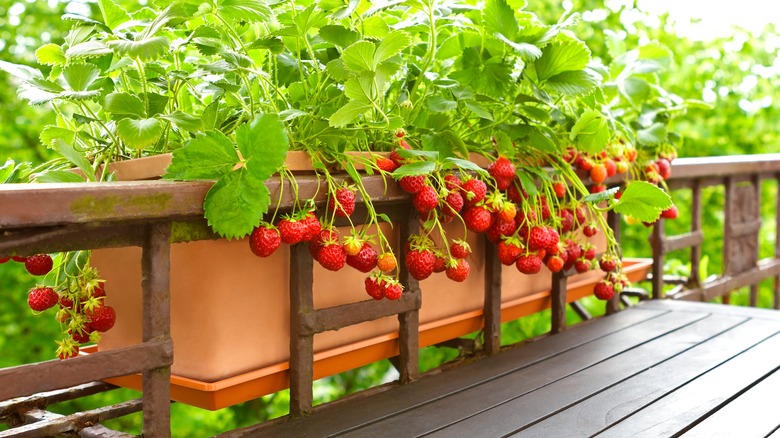
There's nothing like plucking a fresh, sun-warmed strawberry straight from the garden and popping it into your mouth. While strawberries are one of the easier foods to grow in your garden, they are susceptible to frost damage, drought, and fungal diseases, and their sweet fruits attract slugs, birds, and other pesky wildlife. Growing them requires special steps to ensure the plants stay healthy and the berries are edible. By growing strawberries in planters, you can keep them closer to your home and off the ground so they are safer from pests, rot, and mildew.
But buying all those planters can quickly get expensive, and many containers have drainage issues — a big problem for growing strawberries, which are susceptible to root rot. Luckily, there's a simple way to make strawberry planters — and it won't even cost you a dime. All you have to do is grab an empty plastic jug from your recycling bin.
A simple tutorial shared by Terrace Garden Ideas on YouTube shows how to transform old water jugs into colorful strawberry planters in a matter of minutes — with surprisingly fruitful results. Here's how to make well-draining planters for homegrown strawberries and tips for ensuring a healthy, juicy harvest.
Cut, flip, and stack for simple planters
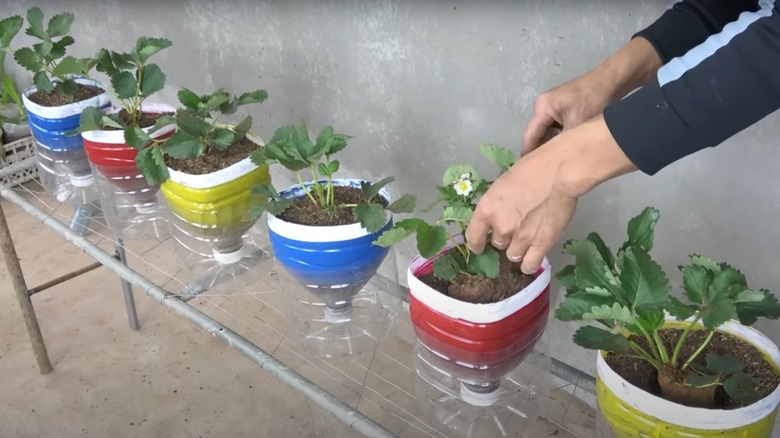
To make an upcycled strawberry planter, you'll need a large plastic jug, a soldering iron, and a box cutter or crafting knife. Single-serve soda bottles may not be large enough for this hack, but gallon jugs, 2-liter soda bottles, and similar plastic containers will work perfectly. Start by giving the jug a good rinse and removing any labels, then use your cutting tool to slice the bottle in half. You should now have two separate pieces: the top of the bottle with the mouthpiece, and the bottom, which looks like a bowl. Use the soldering iron to create holes in the plastic cap and the bottle near the mouth. These will be your drainage holes. Alternatively, you can remove the cap and use a mesh screen to prevent dirt from falling through the funnel.
Painting the plastic jugs isn't necessary, but if you'd like to add a splash of extra color to your garden, you can spray-paint the top half of the bottle. Be sure to paint only the outside of the bottle — not the inside, where roots could be exposed to paint. Use a strip of electrical tape to cover the edge of the cut plastic, making it less sharp. Finally, insert the bottle's top half upside down into the bottom half so the drainage holes drip into the lower container. Then, you're ready to plant.
Helping your strawberry plants thrive
Now that you've made your DIY planters, how do you grow and care for strawberry plants in containers? Because they have small root networks, strawberry plants are usually pretty happy to be grown in containers as long as they aren't overcrowded. For the best results, give each one its own upcycled jug, and ensure the roots have plenty of space to grow on all sides. Strawberry plants prefer slightly acidic and well-draining but rich soil, such as sandy loam lightly enriched with compost or manure. When planting, keep the plant's crown – the tight, brownish portion just above the roots — exposed. Burying it can cause the plant to rot and die.
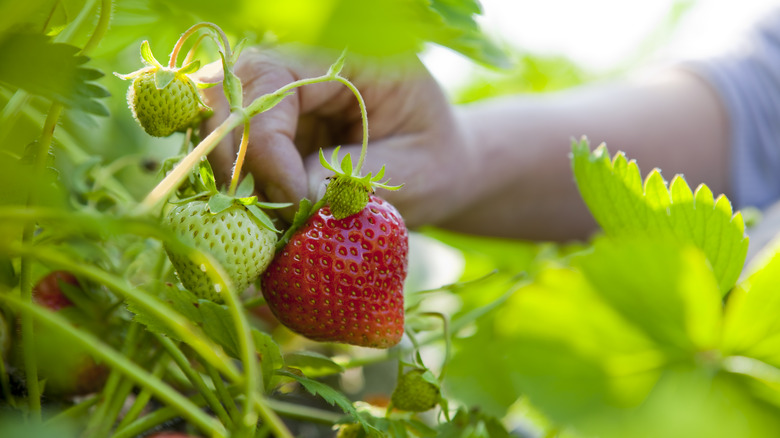
Full sun and excellent drainage are a strawberry plant's best friend. Place your containers in a bright spot that gets between 6 and 10 hours of sunlight per day, and avoid growing the strawberries in an area that stays too damp throughout spring or into summer. Keep the soil moist, but not soaked, and regularly empty out the excess water. It's much easier to quench dehydrated plants than it is to rescue water-logged ones. With that being said, strawberry plants do need adequate hydration to grow large, plump, and juicy fruits. Underwatering your plants can result in berries that seem stunted and sour, so aim for 1-2 inches of water per week during fruit production.
Looking to grow strawberries? This garden tip is the secret to a luscious strawberry harvest.