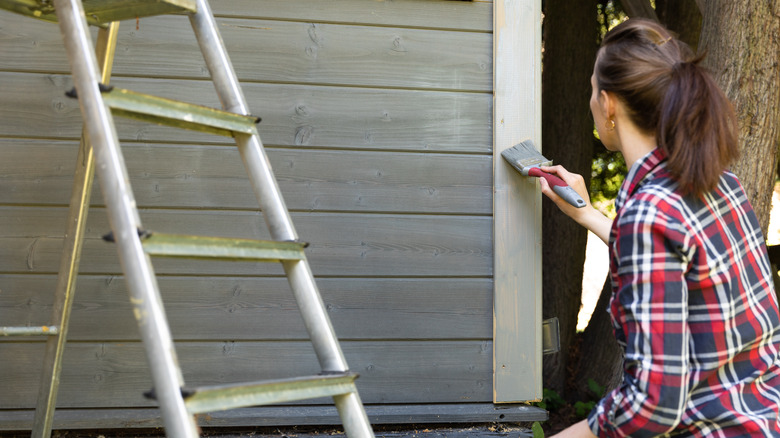
5 Things To Consider Before Painting Your Garage Door
The garage door plays a huge role in influencing your home's curb appeal, which means you need to include it during your house renovation or occasional maintenance. Painting your garage door the right way can renew its beauty and cover up the ugly areas that are chipped off. However, before you get to it, you need to make a list of all the necessary materials for the project, as explained by Calgary Garage Door Fix. Doing so will make your work easier since this project requires extra special attention, unlike other types of painting.
If you have a wood or vinyl garage door, you need to identify the right tint and primer for it or you risk making a big mistake. As daunting as the entire task may seem, blending the paint well with the style and theme of your house can make the whole remodel seem surreal. In addition, it will improve the quality of your property in case you put it up for sale. Here are five fundamental things to consider if you want to paint your garage door like a pro.
1. Picking out the right paint
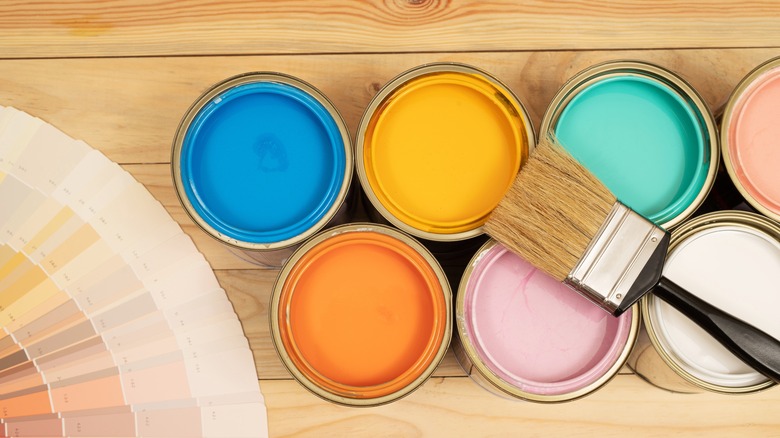
As mentioned, the right product will get the job done better, even if you are a first-time painter. According to Easy Lift Door Company, the three key things to consider when buying the materials for the project are the size, type, and color of your garage door. Choosing the right paint will ensure its longevity and ability to grab people's attention. In addition, depending on what it's made of, every garage door needs a specific type of primer and paint, so choose one with the material in mind.
Aluminum doors, for one, work best with acrylic paints, while vinyl doors with a plastic top layer will need a latex-based primer and a bonding agent. Latex- or oil-based paint is better if the door is made of wood or steel. Another aspect you must keep in mind during the shopping part is picking pigment suitable for exterior use, as one meant for interior surfaces won't withstand extreme weather conditions: After a short time, it will begin to chip or fade. You can achieve this by carefully checking out the label on the containers, along with the manufacturer's instructions.
2. Getting the necessary amount of paint
The amount of paint you will need for this project also depends on the garage's color, material, and size. Modernize says that you should buy 1 gallon for any kind of garage door to avoid ending up with too little quantity for that last layer. This will enable you to get the job done well and perhaps even have some extra pigment for a retouch or your next outdoor painting task.
Unless covering in the same color shade or tone, you will either need more pigment or less. For instance, when going from a darker color to a lighter one, you will require more paint than if you are covering the surface with the same light shade. On the other hand, an aluminum door will take less covering than a wooden one. It is also worth noting that a wooden garage door will also need sand and primer first before painting. Once this aspect is set, all that is left is for you to secure the time for the project.
3. Checking the weather
Looking at the weather plan a few days before diving into the process can save you a lot. The best day for garage door painting is when the temperatures are around 50 degrees Fahrenheit and not below 32 degrees Fahrenheit, says Consumer Reports. This means you have to choose three to five consecutive days of sunlight with the smallest chance of rain. Next, pick the days with low humidity that are neither too hot nor cold. For example, painting a metal garage door when it's too hot, cold, or wet will make the layers look faded or cracked since the pigment won't dry at optimal levels.
Another thing to keep in mind is that metal doors tend to be hotter than external temperatures, so, consider aspects like how hot your garage gets during warm periods of the year. Finally, while a darker shade might be your preference, the hue can make the whole space even hotter during the summer. So if you live in a region that gets hot summers, the best solution is to opt for a lighter tone.
4. Preparing your door for painting
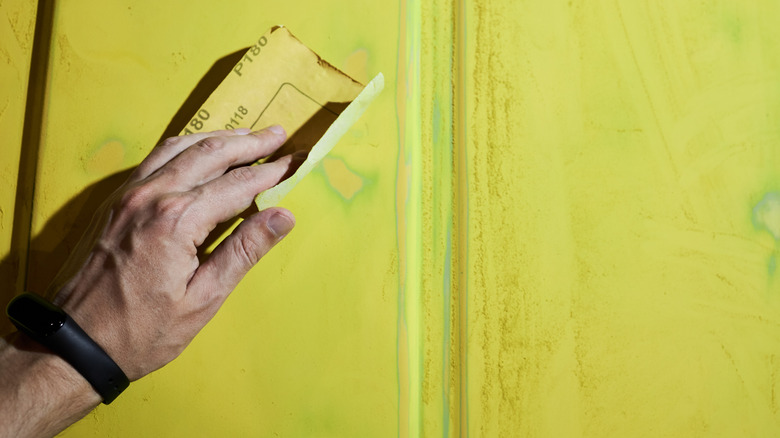
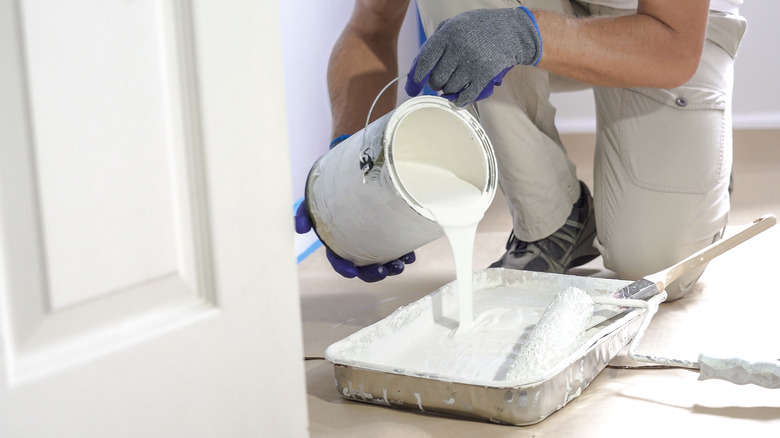
Remember that this task is nothing like other types of painting, such as wood furniture. To that end, you need to make the necessary preparations for your garage door before you get on with the project; this will ensure the layers hold well and your work is easier. The first thing to do is sand the surface, but an even more important step is to put on protective gear for your eyes and nose. The scrubbing will lift off any loose paint and get rid of dust. After that, you can power wash the garage door using dish soap and a washcloth, then use a garden hose to rinse.
Mymove explains that you need to protect the areas you don't want to paint by covering them with painter's tape or using drop cloths. Well, unless you don't mind the paint splashing around. After that, check for cobwebs and any debris left on the hinges and sides of the door. Once you have let it dry or used a cloth to dry it, apply a thin layer of your primer on the surface using a paintbrush. Prime the inset panels first and then the stiles and rails, and let the surface dry for close to 12 hours before applying the paint. Finally, wash the brushes you're going to use to paint the door and let them dry well.
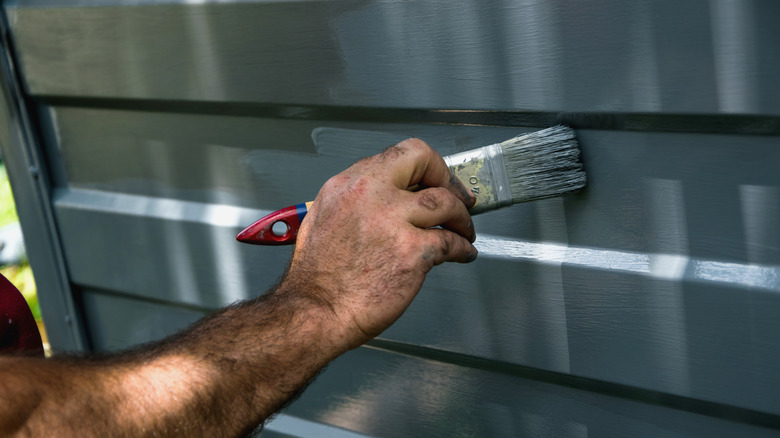
5. Getting the painting process right
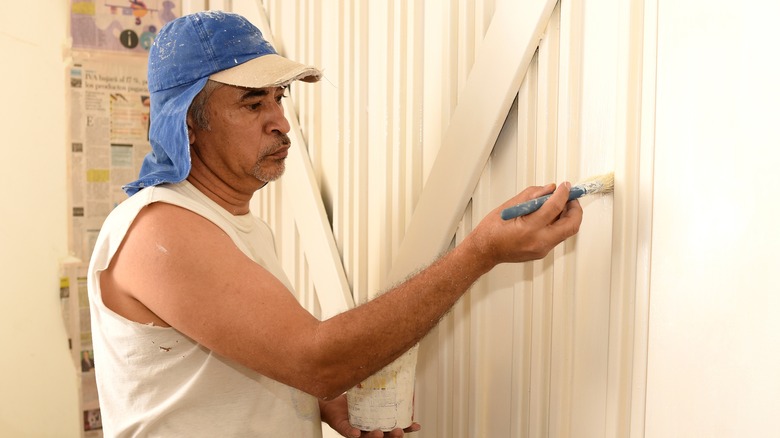
Now you are ready for the final part, the painting process. First, consider how you will go about covering the stiles and panels using appropriate brushes for each section. Start painting from bottom to top, from recesses of the door, then move to the inner panels and the main areas, working your way to the stiles. Focusing on the recessed panels before moving to the other sections helps you track how many of them you need to paint and the number of coats they have. This can make your cleaning work easier if there are smudges or drips. PPG advises using the angled brush on the recessed or beveled panel areas.
Use a roller and a pan to paint the stiles to keep your strokes smooth. This is the easiest part of the whole project. Add another layer if the primer is still visible through the first coat, and continue with the second or third coat until nothing is visible and your work looks like a professional's. However, allow each coat a 12-hour period to dry before adding another paint layer. Once done, store the remaining pigment for your next outdoor painting task and wash the door once in a while to maintain its bright appearance.