How To Paint Any Kind Of Wood Furniture
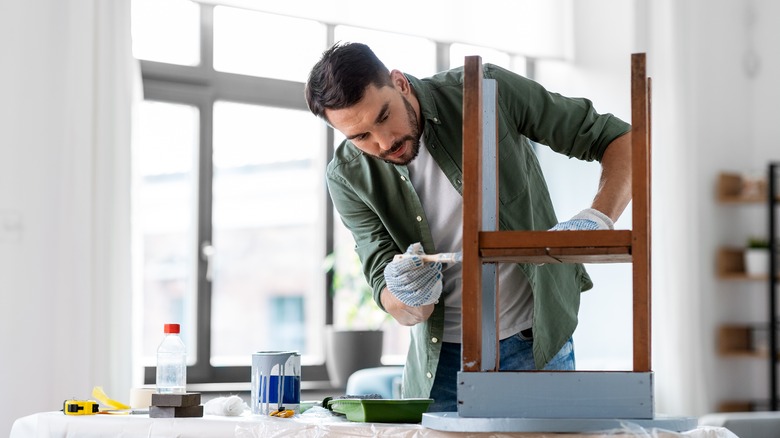
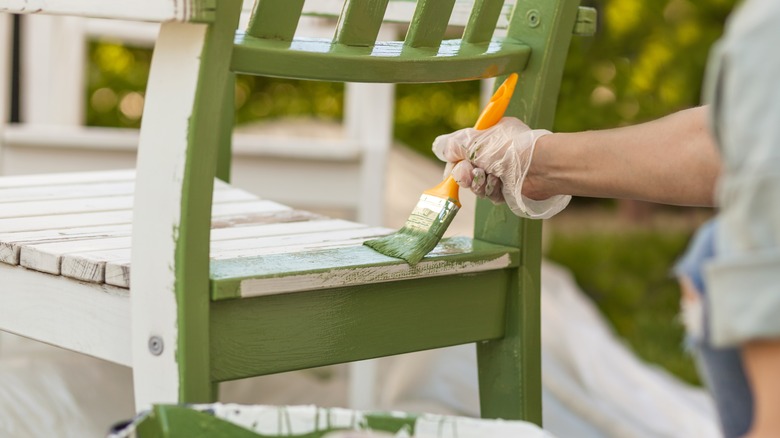
Don't spend a fortune on new wood furniture, don't toss your old wood furniture in the landfill, and don't switch out old pieces because they no longer match your decor. Painting your wood furniture is the answer to all of these problems, and it doesn't have to be an overwhelming undertaking. Follow these tips to learn about painting any wood furniture that you have or find.
There are more than a few reasons to consider painting your wood furniture. The price of new furniture, especially wood, can be astronomical, depending on where you make the purchase. Save money by sprucing up your old furniture rather than replacing it. You can upgrade a wooden piece with a few simple coats of paint and make it the centerpiece of your decor. You can also help the environment by upcycling old wood. According to the United States Environmental Protection Agency, in 2018, landfills took on over 12 million tons of wood. Reusing wood furniture with a fresh coat of paint is the perfect way to save more wood from ending up in a landfill.
There are many types of wooden furniture, and each particular kind requires a unique set of materials, special preparation, and care. There are over 50 types of wood to consider when it comes to painting, from teak and African Blackwood to more common types such as oak and maple (via Woodworking Network). Follow these simple tips to understand different kinds of wood furniture and how to paint them like a pro.
The many, many types of wood furniture
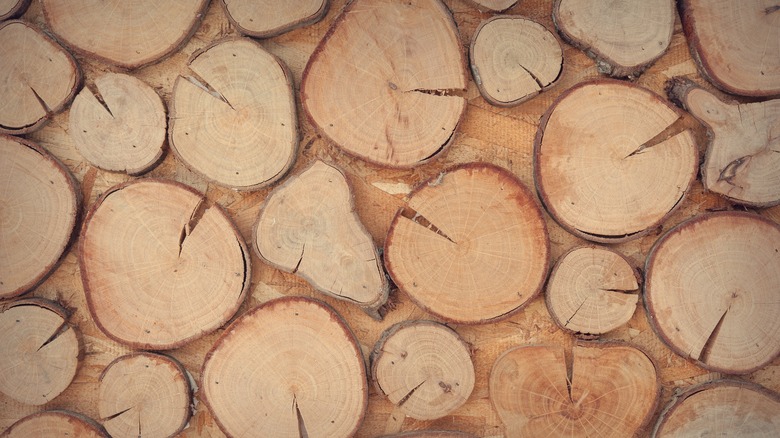
There are thousands of species of trees all over the world. However, when it comes to furniture, there are three basic types of wood: hardwood, softwood, and manufactured wood. They are important to understand if you're painting or building. The first two are raw natural materials, and manufactured wood is typically a combination or mixture of natural wood and some filler.
The first step to painting any wood furniture is understanding the type of wood you're working with. Common hardwoods can be traced back to the idea of deciduous trees, which are species of trees that display fall colors, drop their leaves in colder weather, and sprout new growth when the weather turns again (via Treehugger). Different oak trees, maple, hickory, birch, beech, and cherry trees are the most well-known hardwoods. These trees are simple to identify and commonly known in North America. Hardwood trees tend to grow slowly and are considered more high quality because they are dense and solid, which is ideal for long-lasting furniture and building.
Most softwoods come from coniferous trees that grow faster, are less dense, and produce cones (via American Conifer Society). Spruce, fir, cypress, redwoods, and, of course, pine trees are the most commonly known softwoods available.
Manufactured woods are usually much cheaper than natural wood, but they are less solid and risk splitting, swelling, cracking, and more. Most manufactured wood is made of a mixture of real wood chips or slices of real wood and then compressed with glues and sawdust (via Woodworkly). Particleboard or chipboard, plywood, laminate, and veneer are the most common manufactured woods that tend to make up a lot of furniture that is lightweight, assembled at home, and inexpensive.
Materials for preparing and painting wood furniture
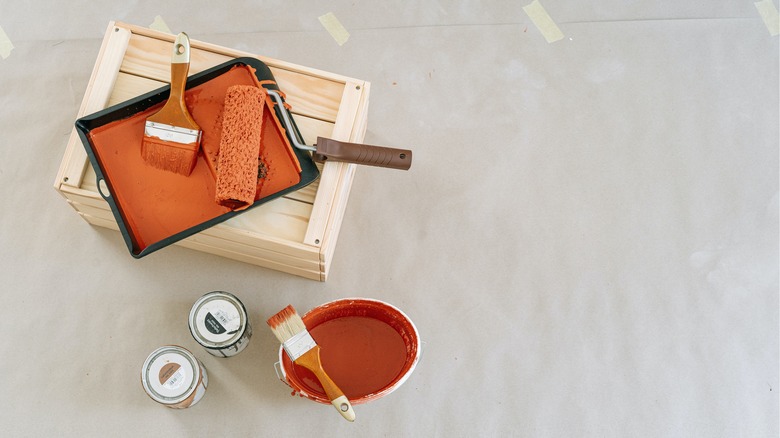
Starting a DIY or home improvement project is a lot like starting a recipe in the kitchen. You need your mise en place. Gathering your materials and getting organized from the beginning will take the guesswork out of your painting job. Painting furniture will require a drop cloth to protect your floors and any other surface from drips and drops of excess paint. You'll also want to don some old, unimportant clothes, a smock, or an apron to protect your clothes. Safety goggles are not always necessary, but being too cautious never hurts anyone, and no one wants paint in their eyes. A paint stirrer, a paint tray, a paint can opener, painter's tape, and a lint-free cloth will also come in handy. You'll also need a mask or respirator, especially if you use any sprayer. Primer, wood filler, and a putty knife may also be necessary, according to Lowe's.
You'll also need a paintbrush and sandpaper, but different types of wood require different grades of sandpaper and other types of brushes, which will be covered later in this article. The best way to prepare for painting furniture is to understand your project, know the wood, and think about how your furniture will be used in the future. Will it be placed in a corner out of the way, around water, or will it be used daily in a high-traffic room? Take a moment to plan ahead and save yourself time in the long run.
How to repair wood furniture before painting
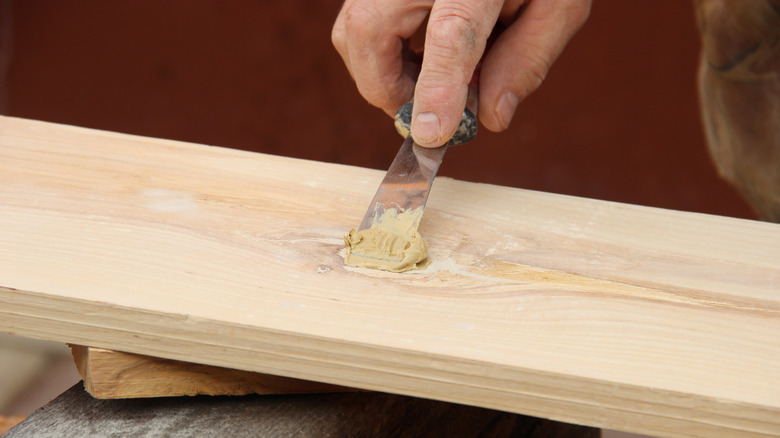
Have you been considering buying used furniture or repainting your old pieces? Are you worried about small imperfections, chips, dents, or other repairs that need to be made? Don't let these challenges set you back. Try these easy fixes before you toss anything. Common repairs to wood furniture include dings, dents, nicks, splits, and empty or cracked nail/screw holes. You'll find that minor imperfections like these can be smoothed out and repainted to look brand new. According to Canadian Woodworking, there are a few common choices regarding good wood fillers and putty, including lacquer, latex, or oil-based products. Depending on how big the job is will help you decide which product to use.
Lacquer-based fillers dry fast, and they become hard enough when they dry to create a sturdy finish that will look great repainted. However, the downside to lacquer-based fillers and putty is that they can become smaller when it dries and are more likely to crack. These fillers aren't a great choice if you're planning to add hardware or other screws and nails.
If you choose an oil-based product, you won't have to worry about cracking, but the products don't dry as hard and can react unpredictably to some finishes. If you are aiming for an extremely smooth surface or planning to paint over it in a light color, which will show imperfections, this may not be a good choice. Latex-based fillers are great because they dry quickly, and the newer recipes even work well with wood stains and clear finishes. You can even find types of latex filler that are pre-tinted in different colors.
Stripping old paint from wood furniture
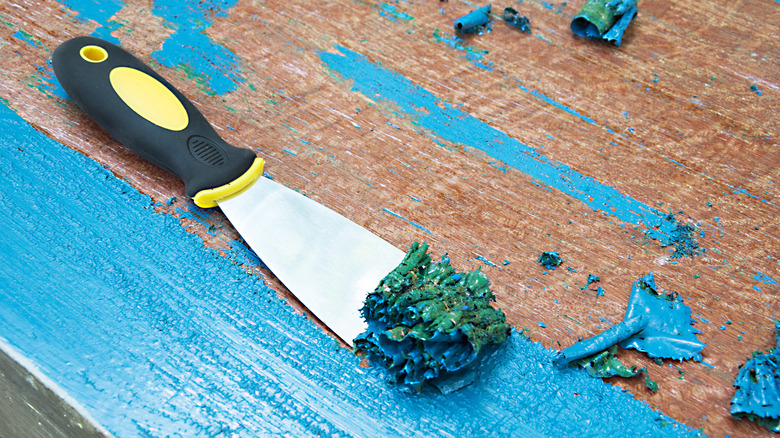
The best way to begin a project is with a fresh, clean canvas. This means that old paint, layers of varnish, hardware, glue, and other debris should be removed before you even think about picking up a paintbrush. Follow these tips to strip wood furniture and get it ready for fresh paint.
Citristrip is one of the most common products on the market when it comes to scraping away those old layers of paint. According to Citristrip, the products are extremely user-friendly, have a great fresh smell, and cut through tough layers. Safety comes first, and even though it may smell fresh, this is a chemical that is capable of cutting through paint and varnish. You should protect your eyes, face, and lungs with safety equipment prior to using any paint stripper. Don't also forget to protect your floors with a drop cloth and keep the area well-ventilated.
Begin by wiping the furniture with a lint-free cloth to clear away dust. Citristrip recommends testing the product on a small, inconspicuous area of the furniture to ensure the results are what you expect. Next, using an old, clean towel, a paintbrush, or a scraping tool, apply a thick, generous coat all over the painted areas and let the gel sit for 30 minutes up to 24 hours. You should then be able to wipe or scrape away the majority of the old layers of paint (via Instructables Craft). Depending on how many layers of paint you are trying to strip, you may need to reapply or gently use a metal or plastic scraper on stubborn areas. Be sure to keep the gel away from your skin and let the cleaned area dry completely before fully sanding or painting.
Foam brushes versus synthetic bristles
The brush you use does not depend so much on the type of wood you are painting but more on the finish you are looking for. Are you searching for a more natural, grain-like finish, or are you hoping for a smooth, seamless finish? Consider what you want the end result to be, and then feel free to test out a few different brushes.
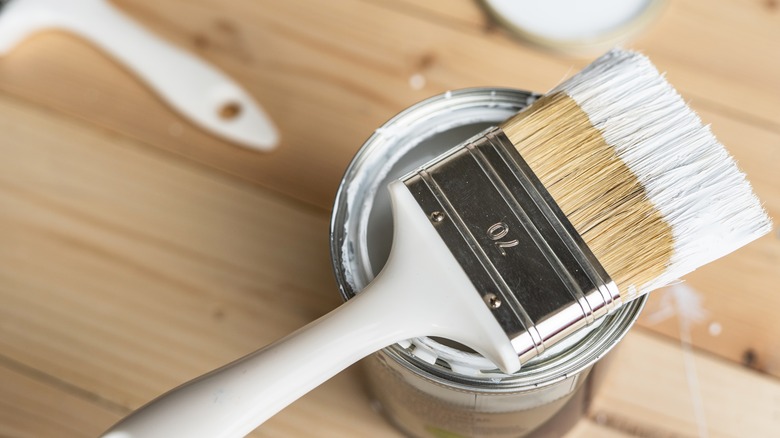
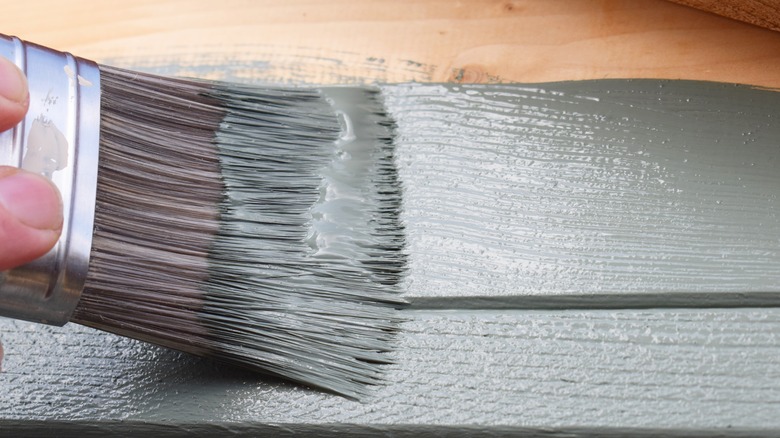
Foam brushes and synthetic brushes will both get the job done, but there are some pros and cons to both tools, according to Paint Seeker. Synthetic brushes are more traditional. They have bristles held in place by a metal bracket that wraps around them and the handle. This is probably the type of brush that comes to mind when you picture painting and are easily found in most stores. Synthetic bristles can help if you want to create grain in the paint. These brushes are also great at getting into tiny creases and crevices as the bristles bend and flex in tight spaces. In addition, they are a better option for large surfaces and big projects because they can hold more paint and are sturdier than most foam brushes.
Foam brushes and rollers are well-known for creating a smooth, professional finish, similar to sprayed paint. The paint is distributed more evenly, which can be great if you're applying a lighter color that shows imperfections and unbalanced layers. If you're using a foam brush, keep the paint close because you'll be dipping your brush much more often. Another tip is to buy an extra brush if you have a big job. The foam is more delicate and can break down if you wash it repeatedly.
The truth about priming wood furniture
What's the deal with primer and do you need to apply it? The truth about primer is that it does make a difference, and it does depend on the type of wood you are painting. For example, according to Lowe's, if you're painting wood that's already been stained or painting new redwood or cedar, consider a stain-proof primer that will block any bleed-through.
It's not a given that paint will stick to wood. Wood often absorbs and adheres with paint better than plastic or metal, but if you want a paint job to last and avoid chipping, then the added primer step is suggested. The primer is what makes paint really stick to wood (via Storables). Another reason to consider primer is when it comes to weathered and older wood. If you've been to the thrift store, are upcycling, or planning to keep a piece of furniture where it's exposed to the elements, then bite the bullet and prime it. The primer will add another layer of protection and make your wood furniture last longer. This is also great if the piece is going to be heavily used or in a high-traffic area. Consider primer to be another layer of defense between the wood and everyday life. Don't forget to choose a high-quality primer for the best results.
Oil-based primers are great for most types of wood, but use shellac primer if you're prepping outdoor furniture. Water-based or latex primers are better for softwoods, except for cedar, which needs an oil-based primer. Shellac-based primers are used for items that stay outside all year. They dry fast and can block out smells, but make sure you use proper ventilation when applying, as some ingredients are toxic and flammable.
Preparing and painting solid hardwoods, cherry, oak, walnut, maple
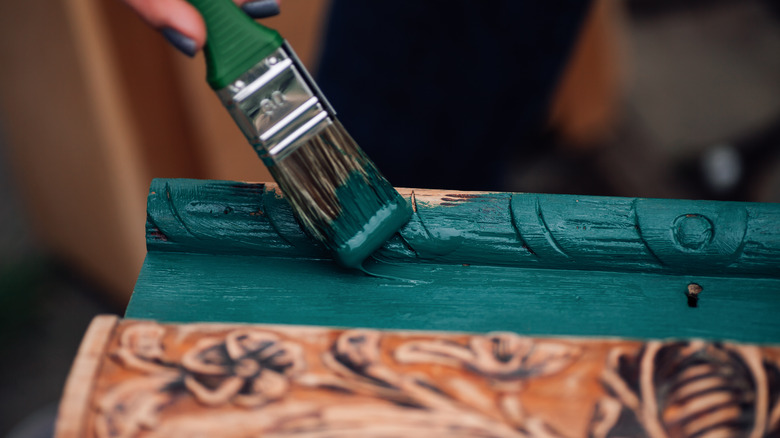
Some people might shake their heads at you for trying to paint hardwoods in the first place because the natural look can be beautiful on its own. However, if you want to extend the life of your furniture, spruce it up, or add some color, follow these steps. Staining hardwoods is common because it offers the same protection as paint and primer but still showcases the wood's natural beauty. This can also help with changing colors. According to Vermont Woods Studios, most woods change color over time, becoming more muted or darker as the years pass. A fresh layer of stain can prevent that. To prepare hardwoods, begin with sanding. For woods such as oak, beech, and ash, try aluminum oxide sandpaper sheets with an electric sander or by hand. Zirconia sandpaper is recommended for rough edges and spots on hardwoods, and nonwoven abrasives are also better for hardwoods (via Empire Abrasives).
Oil-based paint can be great for hardwoods because they create a nice glossy finish with only one or two layers. However, do not use oil-based paint if you used a latex-based primer underneath, and be sure to use a high-quality brush (via Wood Improve). Latex-based paints on hardwoods are great for DIY projects because they are easy to clean up, but brush strokes are more visible in the paint, and you may need a top coat to get the shine you're looking for.
Water-based paints can be used on hardwoods because they do not always require a primer and dry quickly. These paints also rule out the possibility of mildew setting in. Acrylic paints are typically a bit cheaper, but they are not as sturdy and will require a top coat or sealant.
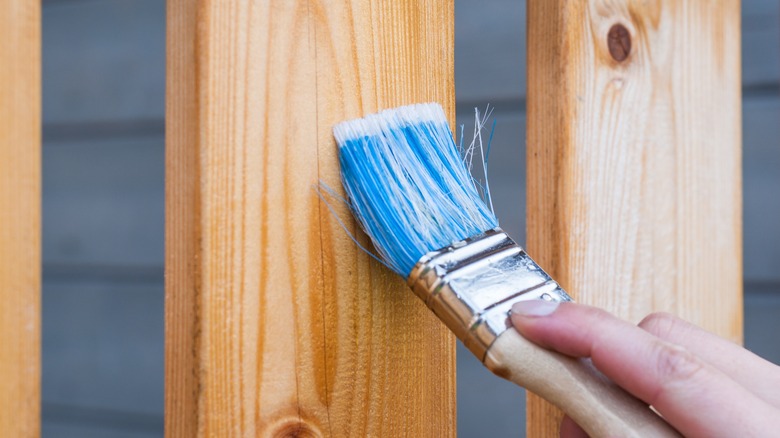
Preparing and painting softer woods
Softwoods need slightly different preparation when it comes to sanding, according to Empire Abrasives. You may opt for a few similar sandpaper types, such as aluminum oxide, silicon carbide, or ceramic, but you should consider working with the paper by hand or using your hand-held round sounder on a very low setting. Always sand with the grain and not against it, especially with softwoods, which are more susceptible to scratching and uneven spots if you sand too hard.
Softwoods are also great for creating distressed pieces or antique-looking furniture. The best paints for this are latex paints with a matte finish (via Wood Improve). This, paired with a synthetic brush, can achieve that weathered look that can go great with a minimalist aesthetic. For a smoother, more refined finish, oil-based paints also work great for softwoods. Oil-based paints work well with softwoods because they're sturdy and strong, which means scratches, scuffs, and chips are less likely and perfect for chair legs and table legs, which can get bumped often.
Preparing and painting manufactured wood
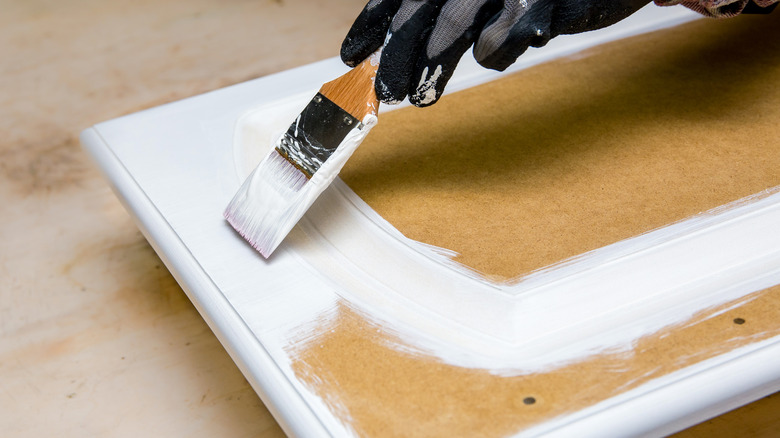
Laminate and veneer are two common types of manufactured wood commonly used for furniture. You may want to upgrade this less expensive furniture with a fresh coat of paint, but this can be tricky if you skip essential details. Follow these steps to prepare and paint manufactured wood.
The ultra-smooth surfaces of laminate and veneer furniture make it difficult for paint to bind to it. According to Sherwin-Williams, you can start by wiping the surface down with a quality degreaser. This can take away some of the shine. Next, try 150-grit sandpaper on a hand-held sander to create some texture and help the paint stick to the wood. Remove the dust before the next step, and apply a high-quality bonding primer. Once that layer has completely dried, do another round of sanding with a higher grit paper, around 220-grit, and clear away the excess dust.
Latex paint is easy to apply, and its lasting qualities make it perfect for laminate and veneer. Apply a thin coat with foam or synthetic brush, depending on the finish you are looking for, and let it dry completely. Add a second, thicker layer until the surface is completely and evenly covered.
Common mistakes to avoid
Painting various types of wood can become challenging if you do not use the right materials or rush the project. Each type of wood should be carefully planned to ensure a smooth, successful process. Follow the tips in this article and beware of these common mistakes. Not cleaning the surface between steps can lead to dust and debris getting caught in the layers of paint, primer, and varnish reports Adinata Furniture. This will result in a rough, unfinished end product.
Skipping the sanding or primer altogether is a mistake that will cost you time and money in the long run. If the paint doesn't adhere properly to the wood, it will chip, peel, or bubble after a short time.
Another mistake is using too much paint. The first layer should be just enough to cover the surface completely, but not drip or run while it dries. The second coat can be thicker, but there should be no chance of the paint dripping, especially near grooves and over the edges. This will create unsightly bumps on your furniture that will stand out and look unprofessional.