5 Simple Shed Organization Tips
Organizing your shed can seem like a daunting project. While it can be time-consuming, there's no need to complicate things. In fact, there are many ways to use the existing space to ensure all your items have their own spot. The best place to start is to take out each and every item. Doing this will let you see what you already own, and if possible, you can get rid of stuff you no longer find necessary. You Should Grow recommends either donating or selling these items.
Once you no longer have the extra clutter, start thinking about how to put everything back. Having a plan in place will provide the best way to make the most of your shed. Of course, you have the option of using both the overhead and vertical spaces. If you categorize all your items and find a spot for them to live, any cluttered shed can be easily organized.
Label stacking totes
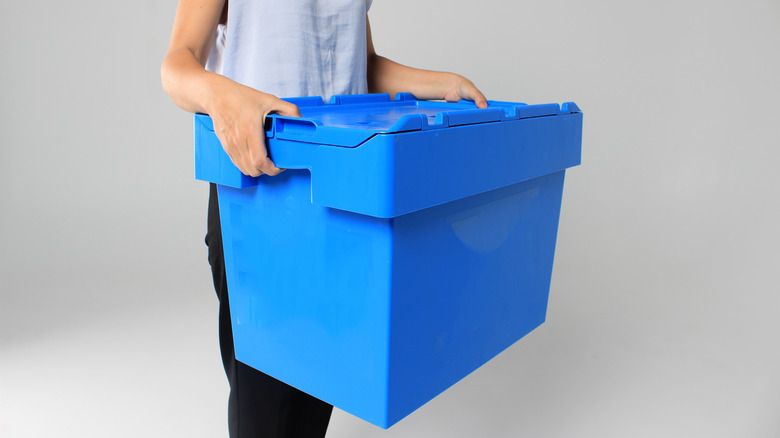
An essential part of organizing a shed is using quality, stackable bins, which will help you store things in groups. However, clear totes will be more beneficial because you can see the contents without having to open them and dig around, according to Storables.
Now, if you don't have any or don't like their look, another option is to label everything. You can do this with stylish stickers, a label maker, or simply write on each item with a permanent marker. Additionally, it's a good idea to categorize and itemize the contents depending on how detailed you want to be.
The type of tote you use can also be significant based on what you plan to store inside. Some bins are waterproof and even airtight, while others aren't. If you're storing items that can be easily damaged, you'll want to go with more protective containers that will keep out the elements and any bugs.
Build shelves
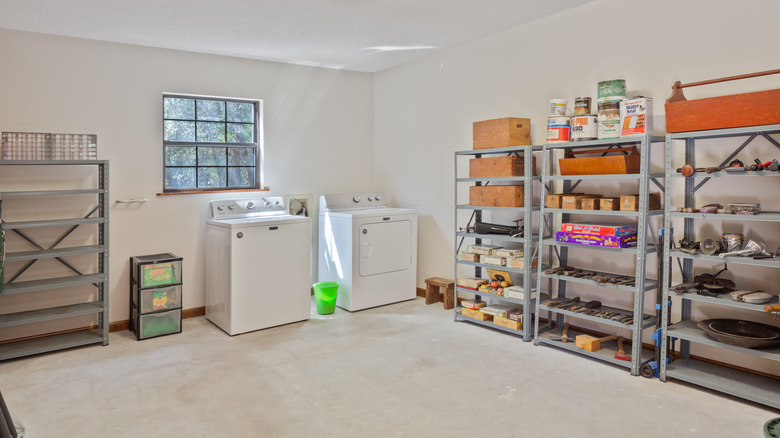
Shelves offer a large amount of storage space to help you stay organized. But instead of placing bins on top of one another, keep them on a shelving unit and assign a category for each one to make your space look cleaner. In doing so, you'll be able to access what you need more easily, allowing you to make use of all the vertical space that's available. Secrets of Shed Building explains that there are three material options for shelves: plastic, metal, and wood.
Of the available choices, you can either build custom wood shelves to fit your space or purchase a plastic or metal kit. When deciding which is best for you, think about the style and function of the shelves to maximize space. While there are plenty of attractive units to buy, they won't be useful to you if they can't hold your items. Pro tip: With most kits, you can adjust the height of each shelf, so take the extra time to customize the placement and make it the best fit for your things.
Add overhead storage
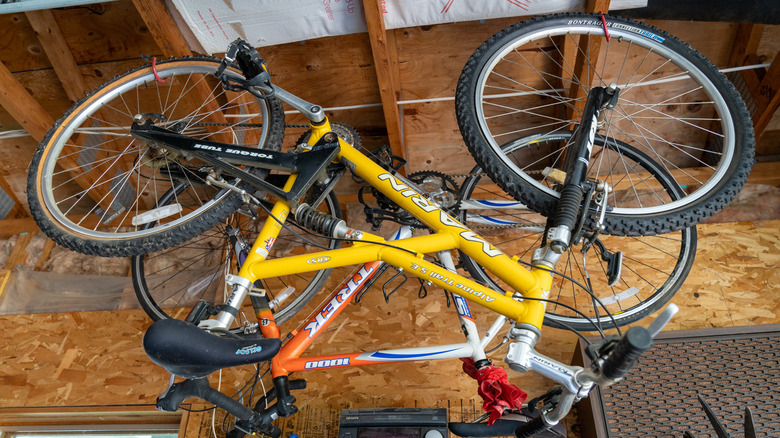
Overhead storage is often overlooked, but it can make a big difference to a cluttered and disorganized shed. For example, it makes sense to dedicate a spot for any out-of-season items, like bins of holiday decorations or beach chairs, which you don't need to access as frequently. That way, you have more room at eye level for the things you use daily. Using overhead storage can also safeguard your items because they'll be off the floor and away from potential water damage.
There are many different types of storage rack systems in the marketplace, according to Homedit. Before choosing one, you need to decide if it's necessary in the first place. Some systems are better for holding bins, while others include hooks to hang bikes from the underside. There are even motorized racks that you can control with a smartphone app, so you don't have to worry about getting a ladder and carrying heavy boxes.
Use pegboards
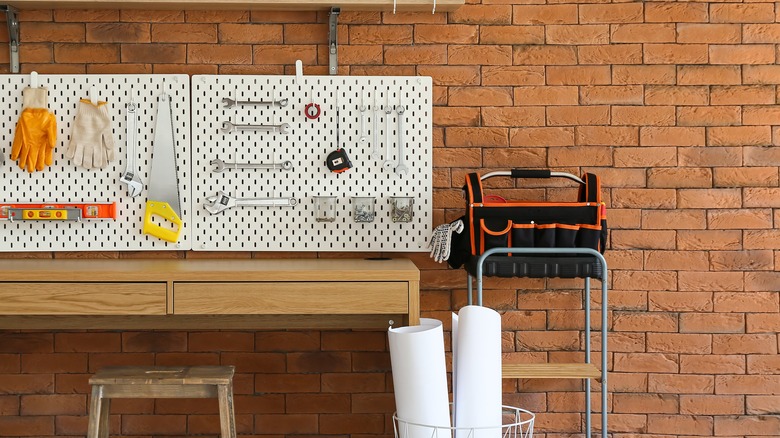
Organizing with pegboards is an excellent option for the workspace in your shed. They utilize empty wall space and are customizable for various purposes. Plus, they make it easy to quickly access what you need by allowing you to pull anything off the board instead of digging through bins. Shed Liquidators recommends painting your pegboard to keep it even more organized. Once you know what items you'll be hanging, categorize them, and then paint shapes onto the board for each group.
Another tip when installing a pegboard is to use a variety of hooks. Different hooks can even allow you to hang bins on the board. Plus, doing this gives you the option to store all kinds of items on your board, from a tiny jar of nails to large power tools. Depending on the space you have available and the size of your pegboard, you can organize more than your workbench. Sports gear is another option, with hooks to hold helmets or bags and baskets for balls or gloves.
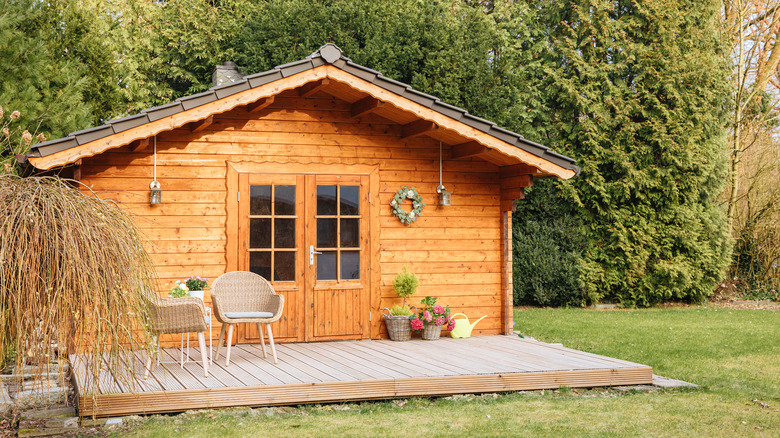
Hang mason jars
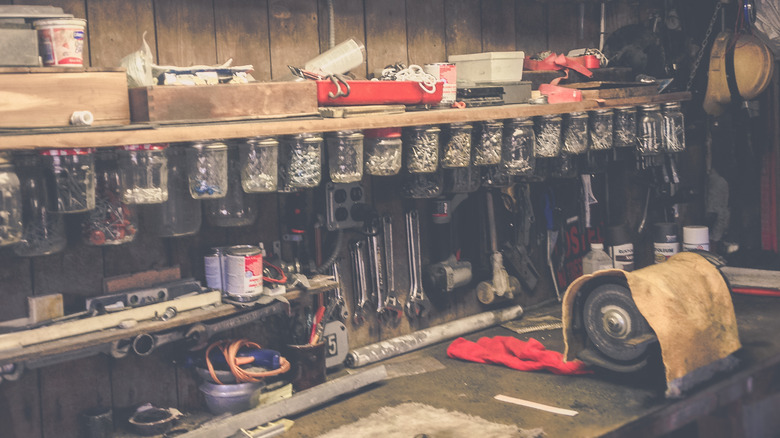
Hanging mason jars is another stylish DIY project you can incorporate into the organization of your shed. Undertaking such a project will give you a place to store and easily access small items, such as screws or nails, while making good use of leftover containers. To get started, you'll need jars, wood screws, a drill, hammer, glue, and either finished shelves or cabinets.
When measuring where to place the jars, Lindsay Lane Interiors recommends leaving 5 inches and staggering the placement if you plan to add more than one row, giving you a chance to see everything. It can be tricky working underneath installed cabinets or shelves, but an essential step is to ensure any screws you plan to use aren't long enough to poke through the top of the wood.
To prep your containers, use a hammer to create a hole in the center of the lids. If you're using mason jars, you must glue the ring and flat lid together. Then, you can take your screws and drill the tops in place. Adding two additional screws to the lids will help keep them from spinning while you twist the jars onto their tops.