Protect Your Garage Floor This Winter With A Simple DIY
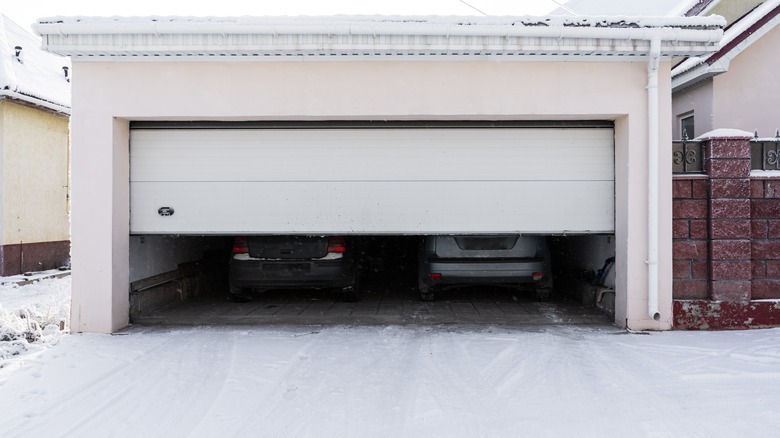
The winter months can wreak havoc on your garage floors. When you pull into your garage in a snow-covered car, the melted snow can leave large puddles of water all over your flooring. Many people store belongings that can easily be destroyed by water damage, like electric tools, in their garages. However, this water is hazardous not only to your belongings, but also to your flooring. Depending on the material used to construct your garage floor, it may become damaged by prolonged water exposure. Thankfully, you can create a dam around your vehicle to contain melted snow and water that drips off your car during winter.
YouTube channel The Jeff of All Trades shared a tutorial on how to create this dam. The materials you will need to craft this DIY include a sponge and soapy water, landscape adhesive, measuring tape, vinyl door trim, and a table saw. The Jeff of All Trades on YouTube shared that he spent $25 for his materials, but it appears that he already had a few of the supplies on hand. If you do not already have some of the materials in your DIY supply stash, you may be looking at spending a bit more than $25. Still, this DIY dam likely saves far more in the long run, as it protects your belongings from water damage.
How to build this DIY dam
The first step to building this dam is to clean your garage floor so that the vinyl door trim can adhere properly. As shown in the video, you can simply use a sponge and soapy water to scrub any residue away. Next, you will need to take measurements to determine the dimensions of your dam. Your exact measurements will depend on the size of your car and your garage.
You may want to start by measuring the length and width of your car, and then add enough feet to each of those measurements to allow the melted snow to pool between the vinyl door trim strips. The Jeff of All Trades shared that he added about an extra foot to his measurements to account for the snow and water runoff. Mark the measurements on your garage floor.
After taking your car measurements, cut your pieces of vinyl door trim to size. Cut the edges at a 45-degree angle. The Jeff of All Trades used a table saw to accomplish this, but you could also use a standard circular saw. Next, apply adhesive to each vinyl door trim piece one by one. Make sure to put the adhesive on the flat side of the trim rather than the decorative side. Press each piece of door trim in place according to the measurements that you previously marked. Allow the trim to dry for one day, and then you should be ready to go.
Keep this in mind to ensure your dam protects your garage

There are a few things to keep in mind to ensure your DIY dam is effective. Make sure that your adhesive is completely dry before getting the area wet. In his video, The Jeff of All Trades places heavy objects on top of the corners of the vinyl door trim pieces to ensure that they are sealed tightly while drying overnight.
When you park your car within your dam, melted snow should pool within the structure rather than flow throughout your garage. You can then use a tool like the one shown in the video to sweep the water into your driveway and away from your garage. This way, you can keep your garage floor dry.
You might consider foam insulation as an alternative to the vinyl door trim pieces shown in the video. You can use the same technique to create a dam made of foam insulation that contains melted snow just as well. This is another great option because you can drive over this insulation without destroying it. You also can simply peel it up during the warmer months when you may not need to use the dam.