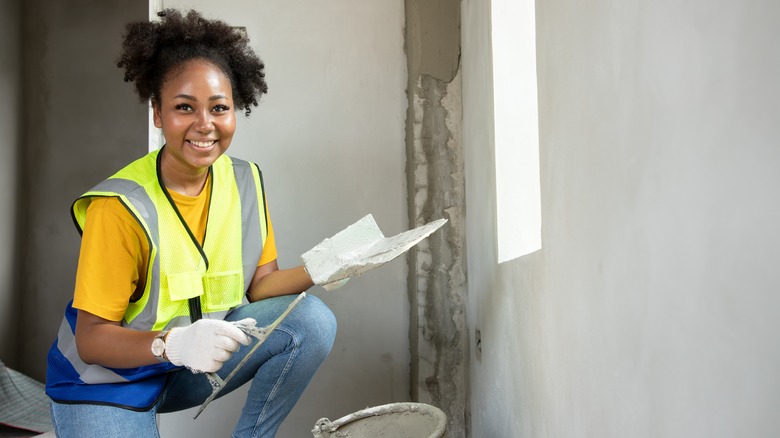
Give Your Walls A Stunning Textured Upgrade With This Budget-Friendly DIY
Texturing and then painting walls is a tiring process. You spend many hours rolling, waiting for layers to dry, and texturing and painting. What if we told you there was a way to skip all that and get everything done in one easy step? Well, there is! Mix spackle with water-based interior paint in your preferred hue, apply the mixture to your walls, and texture as desired. What's more, your imagination is your only limit to the many ways you can texture the colored spackle. Use everything from a specialist plaster comb to betta fish tank gravel to achieve your desired effect.
You might be thinking: Aren't regularly painted flat walls already pretty awesome? Sure, but textured walls are arguably superior, as a long history of non-smooth surfaces and contemporary design experts attest. The development of all the types of wall textures that will add personality to your home is the result of centuries of architectural experimentation; evidence of textured walls appears in the carved plaster walls of Medieval Spanish architecture to turn-of-the-20th-century Arts & Crafts homes in America, where ochre walls crafted from clay plaster reigned supreme. Today is no different. Wanting our walls to stand out has led to a trend for textured plaster that started around 2023 (via Livingetc). "Plaster walls add a beautiful texture to any space," says Marie Flanigan, interior designer and founder of Marie Flanigan Interiors, to Homes & Gardens, in an article espousing the current appetite for rough plaster.
Explore wall texture types
You can use specialist or DIY tools to achieve unique wall textures. Create line-filled walls with texture combs featuring differently spaced teeth. The stomp or crow's foot technique uses one to two oval stomp brushes fixed to a pole — a mop or large wallpaper brush works, too — to create a circular brushed-on texture. If you're a traditionalist, consider skip troweling, where you use a trowel to create peaks and troughs in the spackle. Other tools include sponges, stencil brushes, textured rollers, and even an old credit card. The popcorn and orange peel ceilings popular in the 1970s and 1980s were sprayed on using a hopper gun, and you can also add things — sand, fine bird or aquarium gravel, or tiny seashells — to the joint compound with the paint.
One important thing you need to know to spackle a wall is that professionals recommend practicing textures on test or sample boards. Buy a bunch of patching-sized pre-cut drywall boards — like half-inch USG Durock 3 feet x 5 feet cement board, $18.99 each from Ace Hardware — and try out various spackle textures for yourself. Although we recommend using spackle over joint compound in most circumstances simply because it's easier for newbies to get a handle on, test boards allow you to play with both products to decide which you prefer working with. Once dry, test the boards in the room you plan to renovate to see which textures work best with your decor and the room's lighting.
Sourcing materials and the how-to
Joint compound vs. spackle: What's the difference? You can use joint compound for wall texture, but it's generally looser and messier — less stretchy — than spackle and, therefore, more challenging to work with. Spackle doesn't shrink as much as joint compound and dries a little faster; you must work quicker to finish that texture. You'll also need water-based interior wall paint (you choose the tint) over oil-based paint. The oil repels the water in the spackle or joint compound, inhibiting mixing. Next, get your texture tool of choice, a bucket for mixing the spackle and paint (and any other additives you're using), and standard spackle or joint compound application tools — a paint tray and a roller. Drop cloths will protect the room from rouge spackle, and painter's overalls, goggles, and a face mask will protect you from the same.
Clean your walls with warm water and allow them to dry — this could take up to a few days. As the manufacturer directs, combine the joint compound or spackle with water in a big bucket (6 gallons or more), then add your paint at a one-and-one-eighth-part spackle to one-part paint ratio. Mix thoroughly with a stick or, better yet, an electric paint mixer. Apply the mixture to the wall as you usually would, leaving enough time to texture the surface with the tools of your choice before the product dries. Allow the surface to dry completely before removing the drop cloths and using the room.


