15 Types Of Wall Textures That Will Add Personality To Your Home
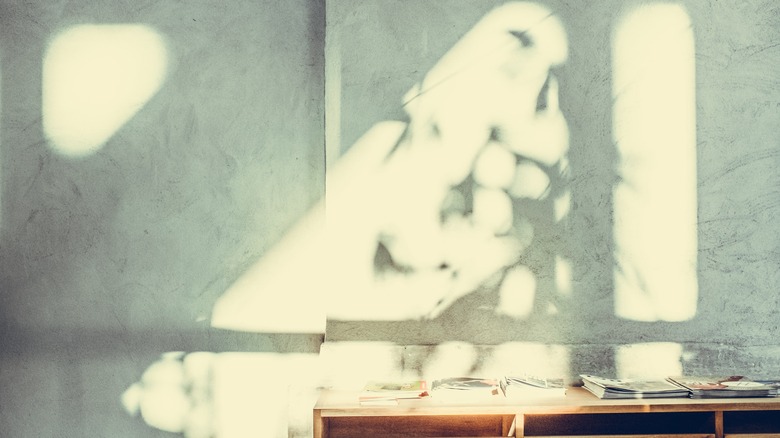
You've likely thought of an exciting new paint color, some groovy wall art, or a funky new wallpaper to spruce up your living space, but how about a bit of wall texture? Most of them are quite beginner-friendly and will instantly add depth, warmth, and character to your home. A good wall texture can also be the perfect way to hide any cracks or flaws in your walls, per Home Depot, not to mention a very fun DIY project for a boring Sunday afternoon.
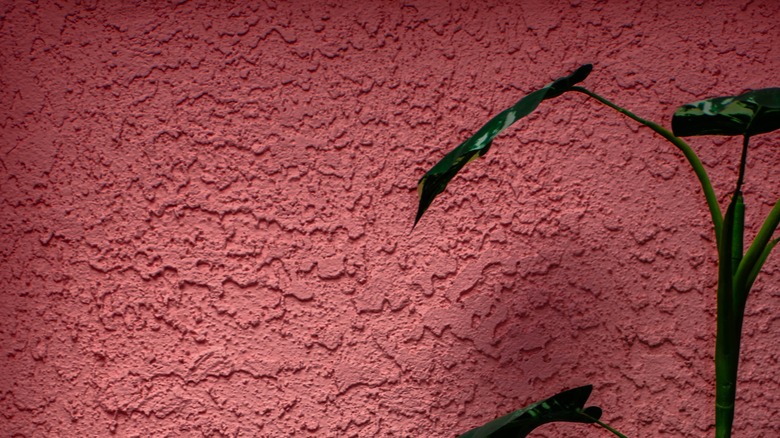
There are a few things to keep in mind, however, like the size of your space for starters. Professionals recommend using texture on all four walls in a small space for a cozy feel and texturing the ceiling or only one wall in a larger room. Another good thing to remember is the kind of texturing you go for and the paint color you chose. It's advised to select a common and timeless design as well as a neutral color to keep the resale value high or improve it. Now that you have the basics, let's dive into all the best wall textures so you to make an informed decision for your home.
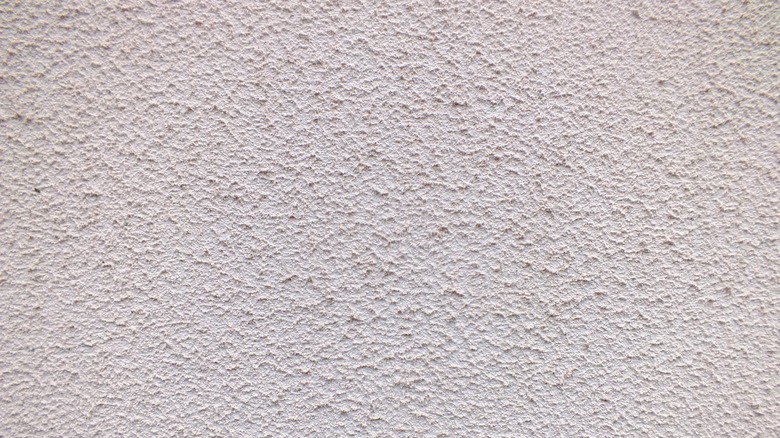
1. Orange peel texture if you love the classics
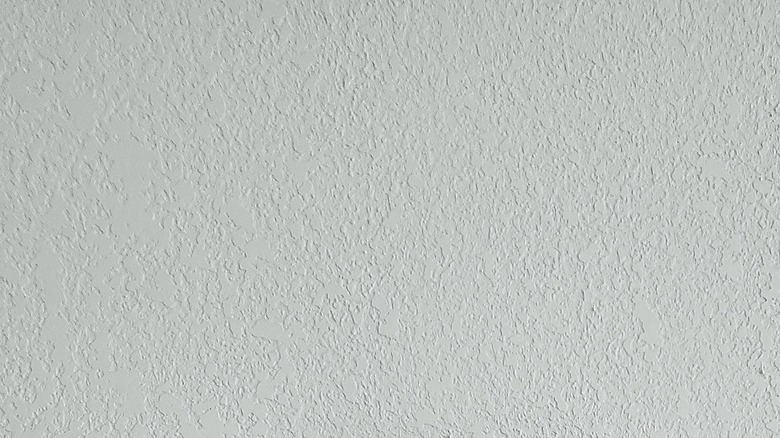
This wall texture option is amongst the most popular ones, according to Design Ideas Guide. Its dimpled orange peel look is not only subtle but also easy to create, which is great for anyone new to wall textures. All you need is a sprayed-on (or rolled-on) mixture of drywall compound and water applied over a cleaned, sanded, and primed wall. It works perfectly for smaller spaces like a home office, den, or bedroom.
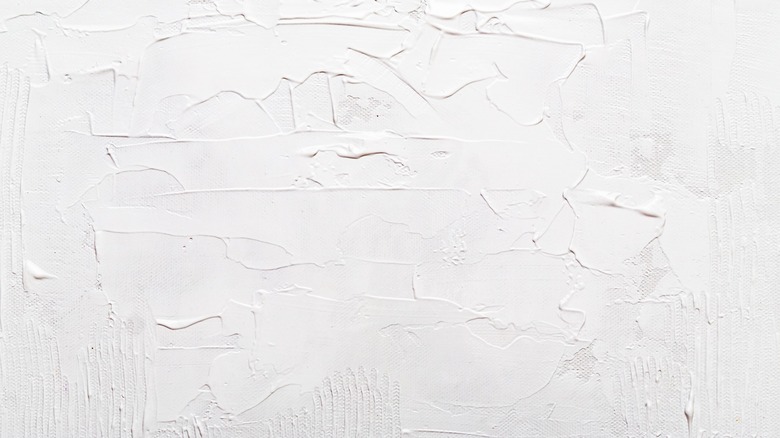
2. Knockdown texture for a bit of an edge (but not too much)
Very similar to orange peel, knockdown texture uses the same process and then goes one step further, says Bob Vila. Once you've created an orange peel finish wait about 15 minutes for it to dry, and then grab a knife or trowel to press down on any bumps. This technique will give you a smoother finish than orange peel while still adding depth and warmth. Contrary to orange peel, knockdown works great in larger, open spaces such as a kitchen, living room, or dining room.
3. Popcorn texture for the ones who love tradition
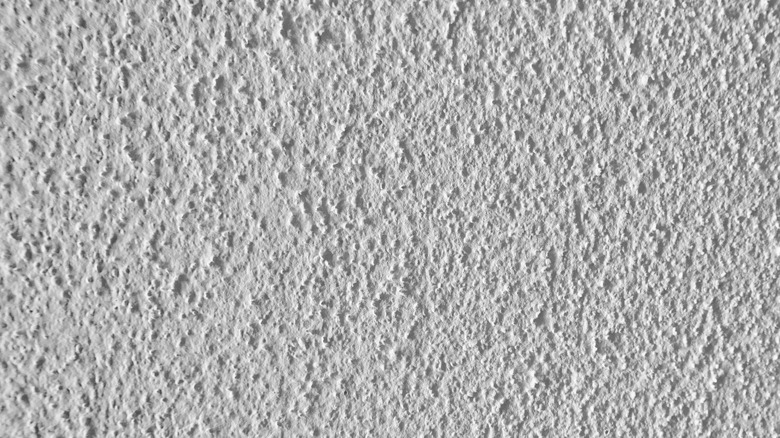
Popcorn texture might be the most common due to its rise in popularity during the housing boom of the 1960s. As a result, and due to the fact it's quite difficult to remove, a lot of houses today still have this wall texture. Per Apartment Therapy, it's known for its noise-cancelling properties and is often used in studio spaces. However, it is also very common in living rooms and bedrooms. The mixture is a bit more complicated than others as you'll have to combine popcorn drywall texture with water, polystyrene, and Styrofoam. Once the mixture is complete you'll want to apply it using a spray gun and compressor.
4. Comb texture for the artists
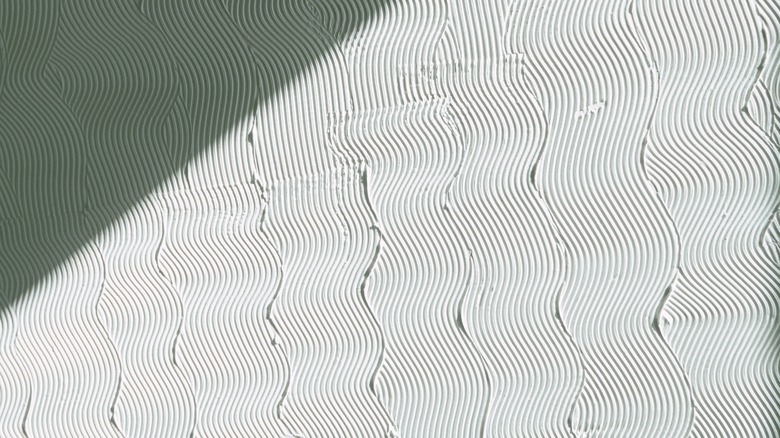
Comb texture is loved by artsy types as it accompanies perfectly a vintage or art deco style space. It's also, like orange peel, one of the easiest looks to achieve for beginners, according to Design Ideas Guide. Grab your trusty drywall compound and a comb-like trowel to start creating lines. It's really up to you what the end product will look like as you can go for a symmetrical pattern, draw horizontal or vertical lines, make them curvy or straight, close or far apart — the possibilities are endless.
5. Slap brush texture for the farmers
This fun-to-do and easy wall texturing technique is great for rustic-style homes, as noted by per The Spruce. Slap brush texture is achieved by rolling drywall compound onto the wall and then quite literally slapping it with a stiff bristle brush. You can have a lot of fun with this one as there really are no instructions to your slapping — do whatever feels right and don't be afraid to go over previously slapped areas. You can even make a fun pattern or make it completely random.
6. Rosebud texture for some romance
Similar to the slap brush technique, rosebud texture has you use drywall compound that you literally slap onto your wall with a thick bristle brush (you can use any but some are specifically made for rosebud). As opposed to the slap bush technique that allows you to be all over the place with your slaps, the rosebud technique requires more precise slapping in order to create the look of a blossoming flower, according to Drywall 101. If you are covering a room that gets good and consistent sunlight, this might be a great option.
7. Slap brush knockdown texture for the southern home
If you've been following along, you've probably already realized from the name that this wall texture is a mix of slap brush and knockdown textures. Additionally, according to The Balance Small Business, it can also be called crows foot. First, you'll want to apply the slap brush technique exactly like described above. Once that is done, wait 15 minutes for it to dry, and then go over the entire wall with a wide knife to knock down any bumps and flatten the surface.
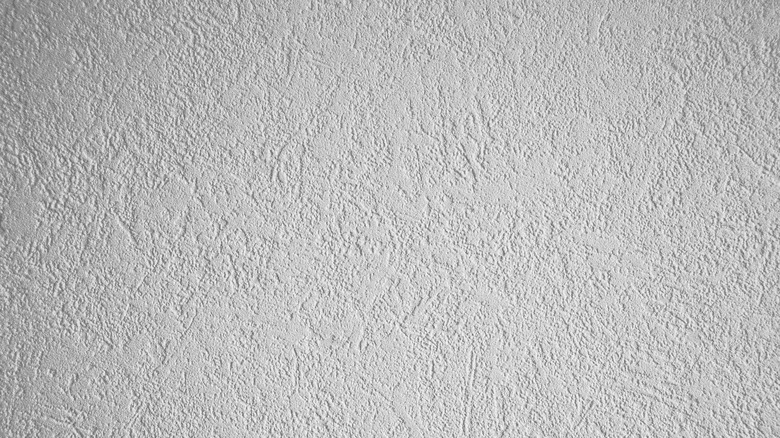
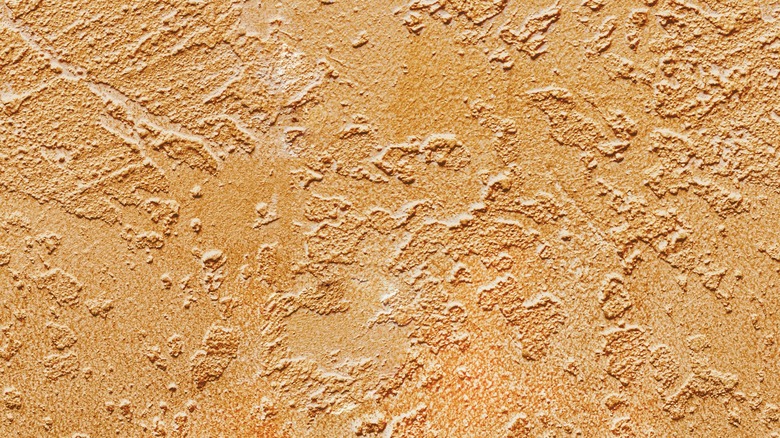
8. Spray sand texture for the patient ones
Spray sand texture is a more subtle wall texture than popcorn and differs ultimately in its application process, according to Family Handyman. As indicated by the name, this one requires you to simply spray sand onto your wall. Unlike other textures, this is a long process as you have to let a bag of sand mixed with water or primer sit overnight. The next day, apply the mixture to your walls with a spray gun. Spray sand may not be for anyone in a rush but is worth it in the long run.
9. Sand swirl texture for the fun and outgoing
The sand swirl texture is ultimately a mix between spray sand and comb textures, per Happy DIY Home. Just like spray sand, you're going to want to mix sand and water or primer and let sit overnight. The next day you can grab a thick bristle brush (instead of the comb-like trowel we used for the comb texture since we are going for a more unpolished look here). Now go crazy with the patterns! Experimenting with different shape lines and lengths is key here as you want a truly fun and whimsical result.
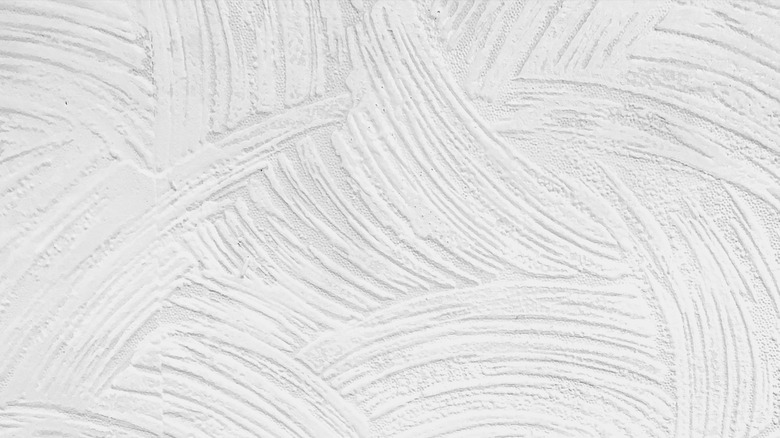
10. Skip trowel texture for the seaside types
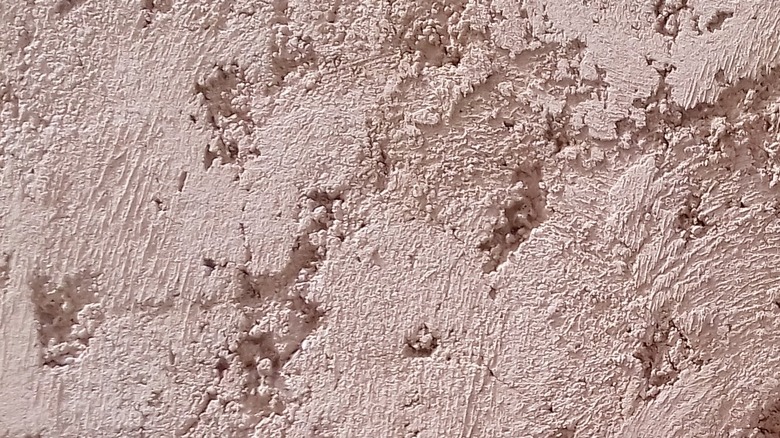
Skip trowel texture can be found in nice households where homeowners have gone for Mediterranean-type décor. According to Texture Master, it's very similar to knockdown, only it's a little bit more subtle and spread out. To create this look you have to apply mud or plaster to your wall by hand which makes this process a bit messier. Once you've applied it, grab a large curved knife of the material you've chosen to put on the wall and while the knife is at an angle, skip it against the wall in repeating motions. Let it set for a few minutes and then, when it's still wet, use a trowel to grab any excess.
11. Spanish lace texture for refined tastes
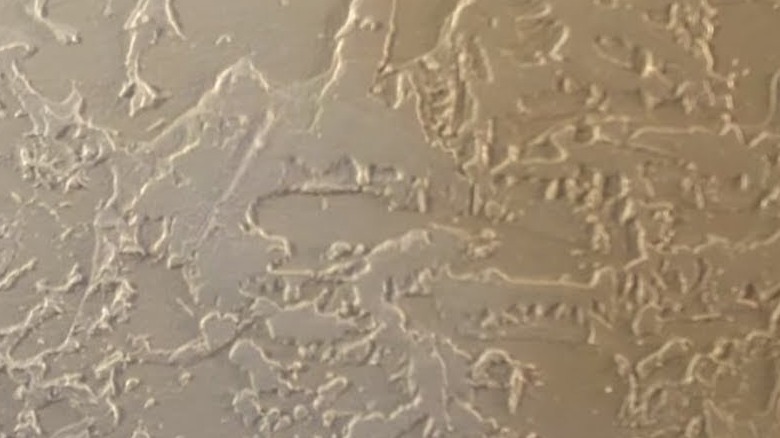
This wall texture is amongst the harder ones to create as well as more time consuming. Often confused with knockdown in technique and appearance, per Design Ideas Guide, Spanish lace takes a little bit more work and has a cleaner, more refined finish. Once you've applied either mud or plaster to your wall with a roller or spray gun, create a pattern with a wide knife and then paint over it all with the color of your choice. After it has dried, repeat the whole process once more creating different patterns and using a lighter paint color.
12. Venetian plaster texture for the history buff
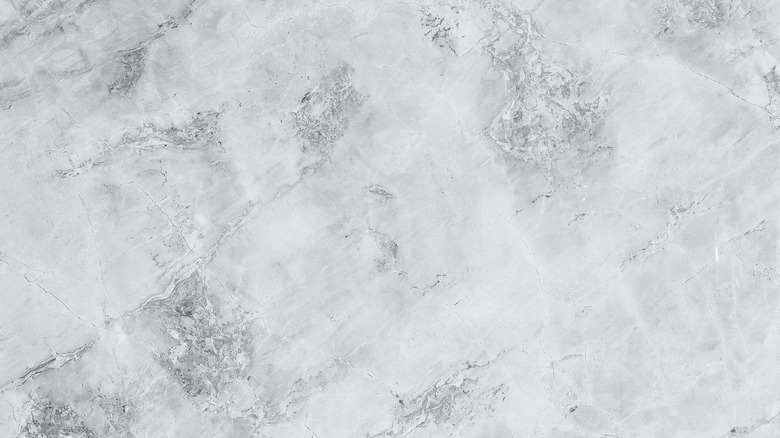
If you're a fan of marble, this is the wall texture for you. A bit more difficult than others, according to Happy DIY Home, Venetian plaster finish is achieved by applying a mixture of plaster and marble dust to your wall in skinny layers. You do so with a wide drywall knife or trowel and in multiple strokes that can be short or long depending on your preference. Once the whole wall is done and dry, go over it with very thin sandpaper in a circular motion. You can definitely repeat this process multiple times to create an even more refined and textured result.
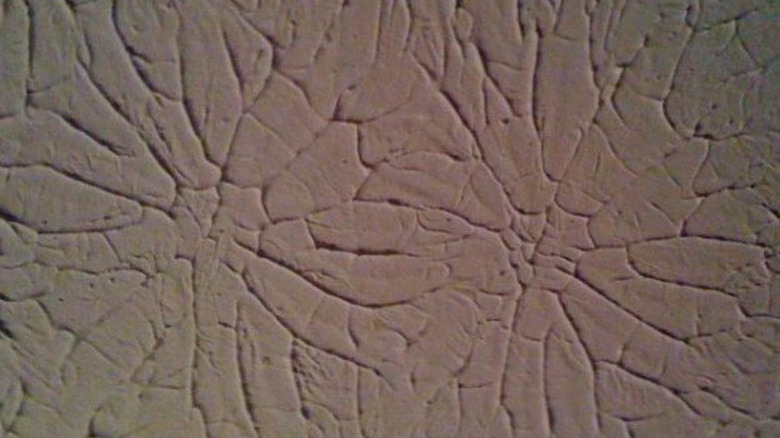
13. Hawk and trowel texture for the experts
The hawk and trowel texture is for the more experienced of you, according to Design Ideas Guide, as it requires a bit more technique than the others. As indicated by the name, you'll need a hawk and a trowel. Using both you're going to want to keep adding drywall compound in different areas of your wall until it's as thick as you want. You need to be quick and know what you want but the result is a beautiful, floral-like pattern that would go great in a contemporary home.
14. Limewash texture for the shy types
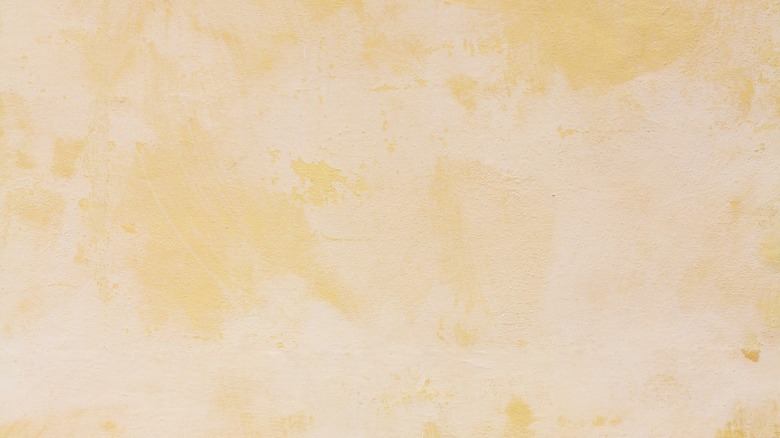
The limewash texture might be the subtlest of them all, so if you are looking to add dimension to your space but are not a big fan of wall texture, lime-wash might be a great option for you. Per House Beautiful, this chalk-like finish could not be any easier to apply. That's right, as opposed to all the other textures, this one requires no technique whatsoever since the limewash paint itself is what will give you texture. All you need is a special limewash primer and your limewash paint and you are good to go.
15. Exposed brick texture for the rustic types
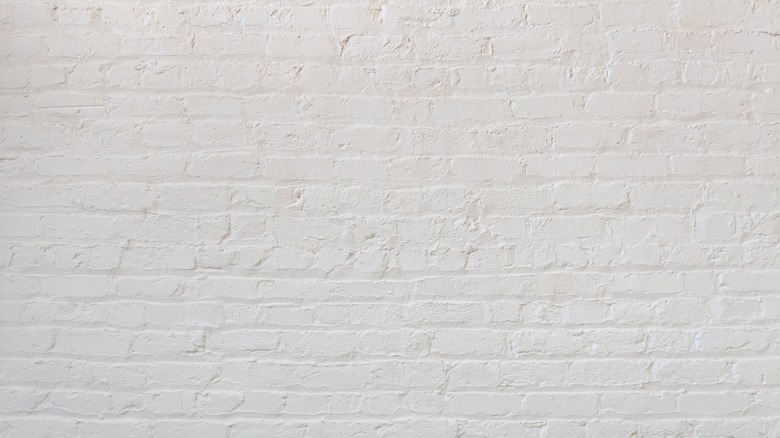
Finally, if you are one of those people that would just die to have an exposed brick wall in your home but don't, no worries, you can do it yourself! Once you've sanded down your wall, use painter's tape to create a stencil of your brick wall. It's going to take some time, but make sure your lines are straight and your "bricks" are all the same size. Now, grab stucco, suggests DIY Design, and apply very thick layers using a large trowel. Let it lightly dry then remove all the tape. Finally, paint over your faux brick wall.