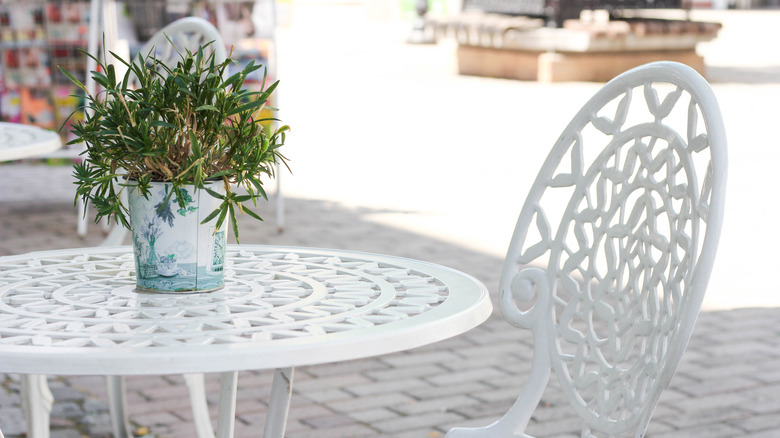
How To Actually Prep Furniture Before Refurbishing It
When decorating your space, you usually want it to reflect your unique personality instead of copying what everyone else has. You may also want to decorate on a budget or carry over pieces that mean something to you. For situations like this, you can upgrade furniture you already have for a new look. Re-Store defines refurbishing furniture as reupholstering, refinishing, installing a new seat, adding a fresh layer of paint, or completely customizing the entire piece.
Refurbishing furniture allows you to keep its functionality while customizing it to fit your space. Additionally, many older pieces of furniture are made of high-quality material instead of plywood or plastic, making them last longer while providing versatility in how you can customize it. It's also ideal for adding more beauty to a piece and making your home look unique instead of straight from the store. Restoring furniture is also an environmentally friendly way to update a piece while preserving its value (via Paint Core Finishes). Plus, you can enjoy amazing repurposed furniture transformations. Here's how to prep your furniture before refurbishing.
Do you have to prep your furniture before starting?
While it can be tempting to skip prepping furniture before a refurbishing project, it's a good idea. According to A Ray of Sunlight, prepping is an essential step for a durable finish and preventing paint from peeling away or flaking. If you notice excessive cracking, it's best to throw your wood furniture away. It also ensures that everything goes on smoothly and looks good. If you don't properly clean your piece before refurbishing, built-up dust, oils, or wax can create irregularities or flaws in your finished product (via HGTV).
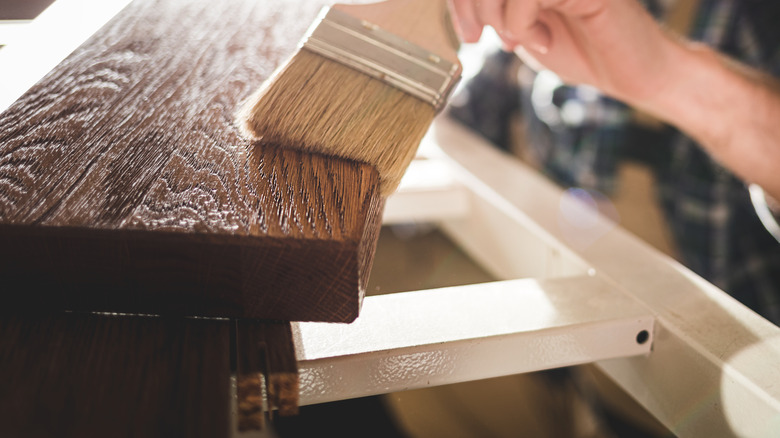
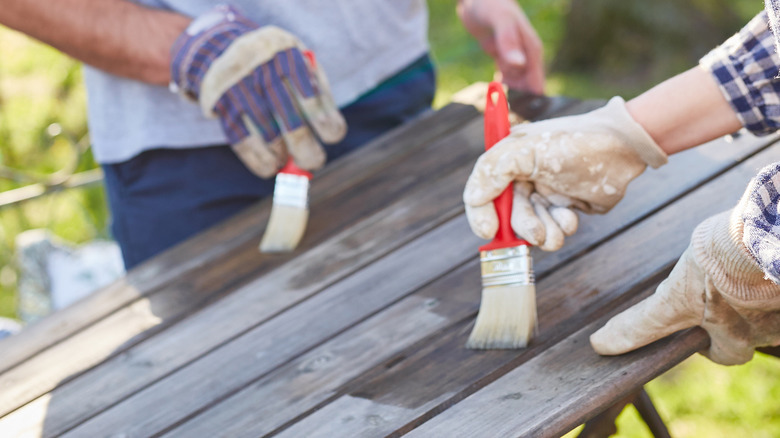
To properly prep your furniture, ensure it's cleaned, sanded, and primed, and any necessary repair work complete (via The Copper Elm). Additionally, when working with wood, sanding the piece will help stain or paint stick to the wood better because it helps open the pores (via Woodworking For Mere Mortal). This tip allows the finished product to last longer and makes it easier to maintain.
How to clean before prepping

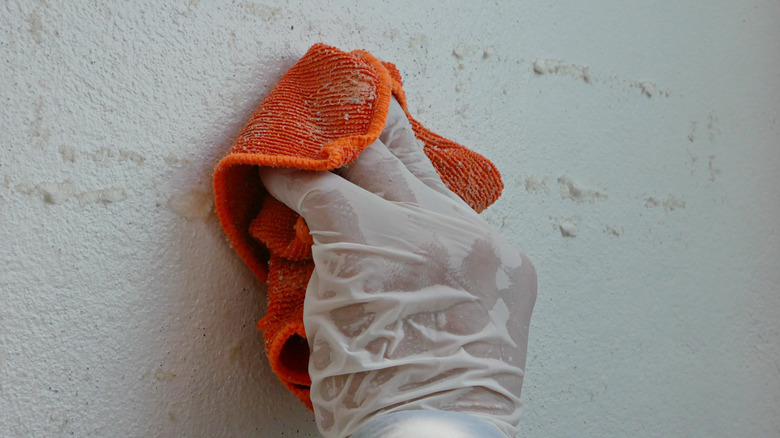
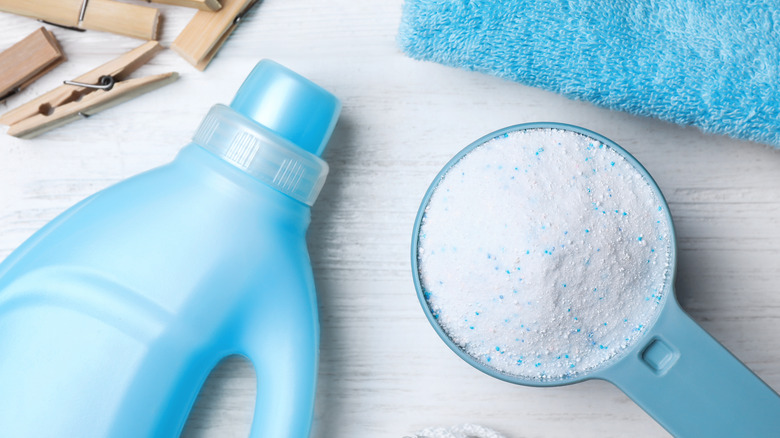
It's best to clean your furniture before refinishing or refurbishing, per Amish Outlet Store. Cleaning a piece properly will depend on the material and the condition, but you don't always need to use harsh chemicals to get the job done. You can clean most surfaces with water and dish detergent since they are gentle enough to clean up oil and grime but not harsh enough to penetrate porous material like wood.
If you need a heavy-duty cleaner, use a denatured alcohol-based product to defeat tough buildup. However, these products can be harsh on wood and porous materials (via That Sweet Tea Life). Additionally, you can clean most furniture with sponges or rags. While you can utilize more abrasive cleaning tools, they will most likely damage wood surfaces. Instead of using rough tools, try tackling difficult grime in stages with multiple passes, ensuring the furniture dries each time. Since wood is so porous, it needs additional drying time to ensure no cleaning solution is absorbed.
How to sand wood
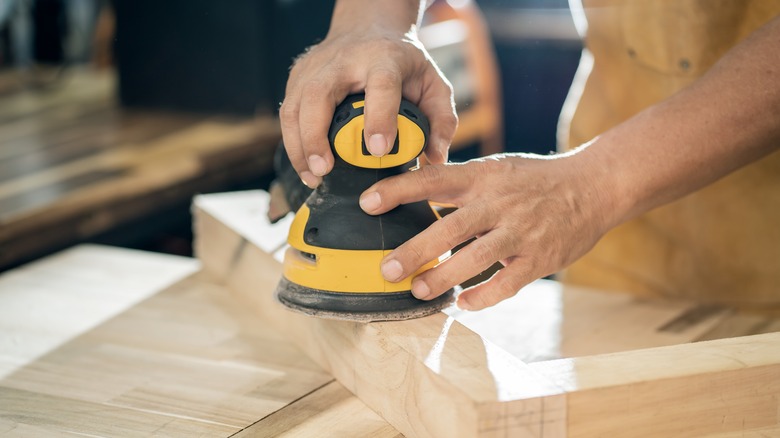
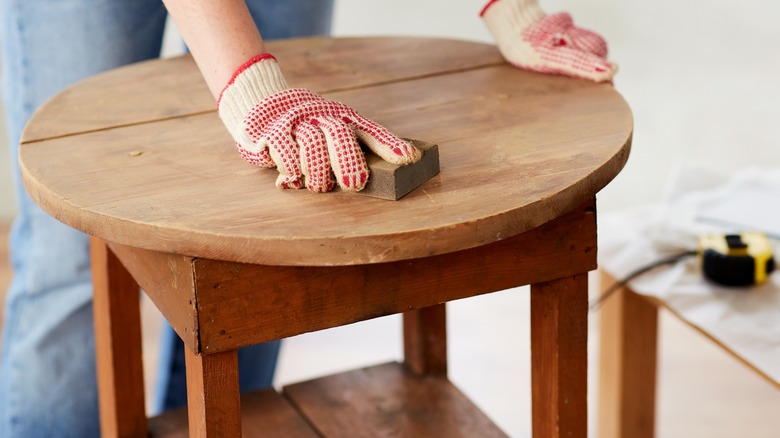
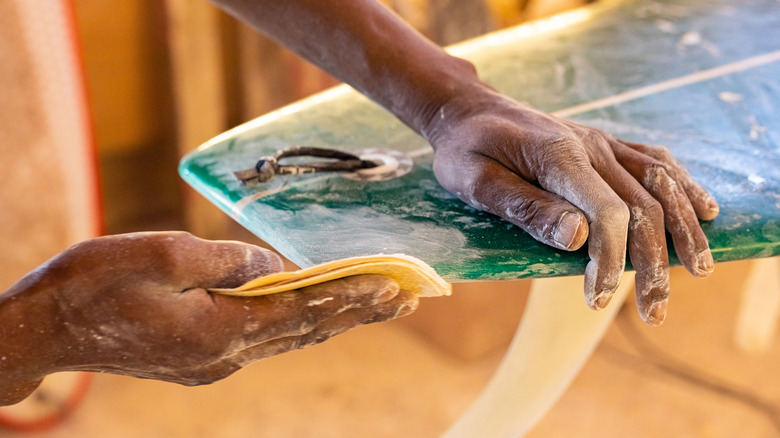
In most cases, you should sand wood furniture before refurbishing or refinishing. According to Renovated Faith, sanding is scuffing a surface to make it ready for paint or stain. The stain will have difficulty adhering to the surface if it's unsanded. How much you sand will depend on your goal and the condition. For example, a piece that does not have an original finish or paint won't take as long as an item covered in chalk paint.
When sanding a piece, you want to remove any color or shine from the surface. You can choose to sand using an electric sander or by hand. Your choice will depend on your goals, the furniture details, the location that needs sanding, and how skilled you are. Since breathing in wood dust can be harmful, it's best to complete the sanding process outside or in a properly ventilated area. You can also choose to wear a mask when sanding.
How to sand plastic
Depending on your paint, plastic does not always need sanding. However, sanding it down can make painting simpler, and the result lasts longer. Crafts by Amanda recommends sanding down plastic using fine grit sandpaper. Since plastic doesn't have pores, sanding allows the paint to stick onto the surface instead of wearing off the smooth surface.
Additionally, instead of traditionally sanding plastic, you can use a liquid sander, also known as a liquid deglosser. The liquid sander removes gloss varnish without scratching up the material, making it perfect for plastic since the material cannot be repaired, like wood (via YouTube). When choosing between a liquid sander or regular sandpaper, there are a few things to consider. Liquid sander is harsh because of the chemical additives, making it toxic and not favorable for homes with children or animals (via Makey). Additionally, you should apply liquid sander in a properly ventilated space, even if it has low volatile organic compounds (VOC). While manually sanding is more time-consuming and less messy, it can damage the furniture if not done carefully.
How to prep metal
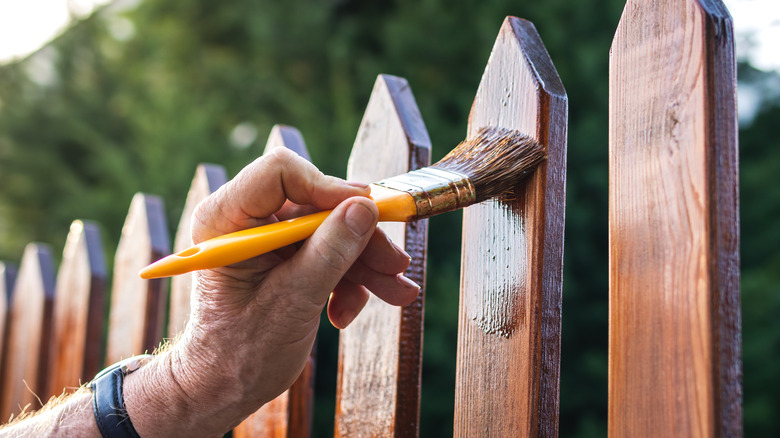
Don't forget to prep your metal! Metal is not exempt from needing proper preparation before painting. Clean and apply a primer with rust-inhibitive properties to the metal prior to painting, per Performance Painting. Rust inhibitor is a water-based solution, sometimes mixed in with primer or on its own, that helps prevent rusting in the short term (via Chemtrol). Additionally, remove any existing paint by sanding, scraping, or using a wire brush.
Remove all of the rust on the metal before painting. To get rid of rust, rinse the area with vinegar and apply salt to stubborn areas. Allow the mixture to sit for 10 minutes before brushing with steel wool (via Furniture Maxi). Next, rinse the metal thoroughly and let it air dry. You can also use a baking soda and water paste mixture to remove moderate rust, scrubbing after no more than 20 minutes and rinsing with water.
How to prep ceramic tile
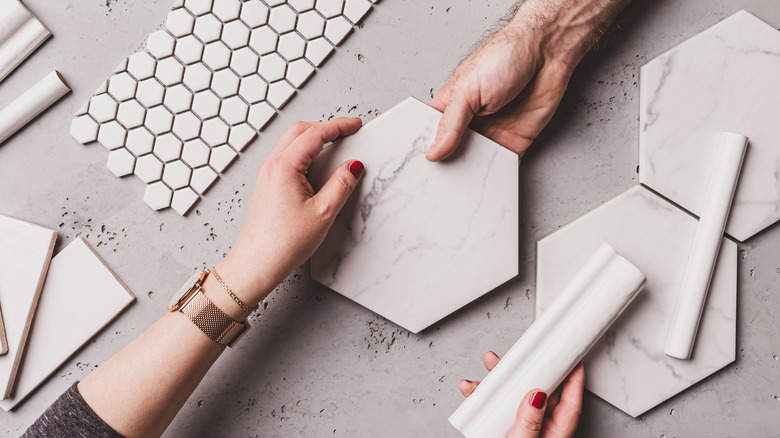
While it's rare in furniture, sometimes you stumble across a table or chair with ceramic tile that needs a paint job. According to Cleaning Tile, you should wear protective goggles or eyewear while sanding ceramic tile. While you may want to sand the tiles with a machine, ceramic is fragile and should be sanded manually with light grit sandpaper. It's best to use 220 grit. When sanding ceramic, the goal is to remove the shine, not the color. This tip will allow the paint to stick.
It's also essential to repair any chips or cracks to the ceramic with epoxy filler. If the grout is damaged, remove the ruined grout and apply new grout or use a grout repair kit to fill in the damage (via Melissa Vickers Design). Additionally, with ceramic tile, you should use a primer made specifically for ceramic or one designed for hard or glossy surfaces (via Sherwin-Williams).
When to manually sand or use a power sander
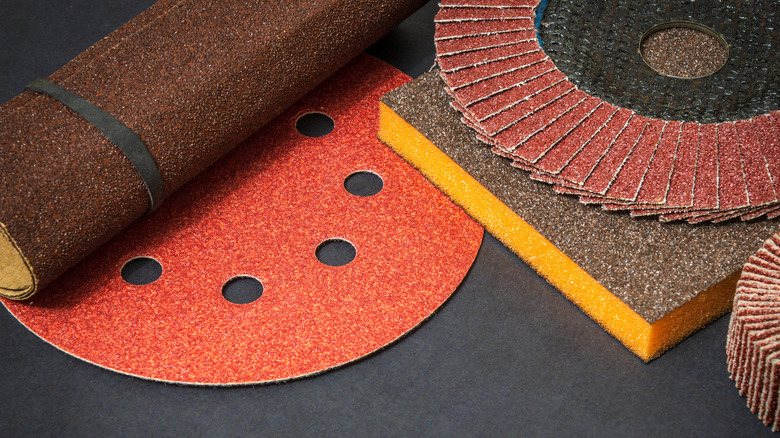
Before prepping furniture, remove the top protective layer or shine, which helps the paint or stain adhere to the surface. Use a power sander or sand by hand to complete this step. According to Bosch, the type of sanding tool you use will depend on the result you want to achieve. For example, manually using a roller or a sponge will help you conform to the shape of material. On the other hand, a power sander will make the job easy if you're sanding down wood and composite material. Power sanders come in different shapes and sizes, each with unique purposes.
One of the most common types of sanders is a palm or sheet sander (via Fine Power Tools). This sander is so tiny that it fits into most people's palms and is ideal for lighter jobs, like smoothing woodwork. However, the sander is not great at removing rust. A random orbital sander is best if removing paint or prepping a large, flat surface. Additionally, a portable belt sander may be perfect if you need a tough sander that can be aggressive and quick. This sander uses two rotating rollers to finish the job, while the other two rollers use flat sheets.
How to remove shellac from surfaces
Many surfaces you'll come across will feature a coat of shellac. According to Woodworking Clarity, shellac was the preferred wood sealant before the 1920s and is still around today. Shellac is popular because it is good at protecting furniture, but before you can refinish your piece, you need to remove the shellac coating. A common way to remove shellac is by using denatured alcohol, although it is not sold in some states (via Popular Woodworking). If you cannot find denatured alcohol, you can use isopropyl or rubbing alcohol (via Delta Kits).
To remove shellac from a surface, apply the alcohol liberally on the shellac and let it sit for two to three minutes. After, you should be able to use a plastic scraper or rag to remove the dissolved shellac. You can also sand off shellac finishes with a palm sander. To sand the finish off, start with 150 grit sandpaper and work your way up to 220 to finish. Make sure that you clean off the dust between sanding.
How to prepare concrete for painting
Concrete is a super fun and versatile material in decor and interior design. You can find it on walls, floors, decor pieces, and as details in furniture. While prepping wood is a popular topic, it's also essential to prep your concrete.
According to Drylok, preparing concrete depends on how old it is. However, in all cases, you'll have to clean the material and make sure that no debris is stuck on the surface. This step may take a heavy-duty cleaner or degreaser because concrete is so porous. You can also try pressure washing, as long as you don't go above 1,750 PSI. Additionally, make sure to remove as many stains as you can. Next, use an etching solution to clean the surface. Etching solution will remove any salt deposits and prime the area. Additionally, if there are any cracks, you can fix them with cement or a crack filler mixture. From there, you can paint your surface, making sure to pick a paint specifically formulated for concrete.
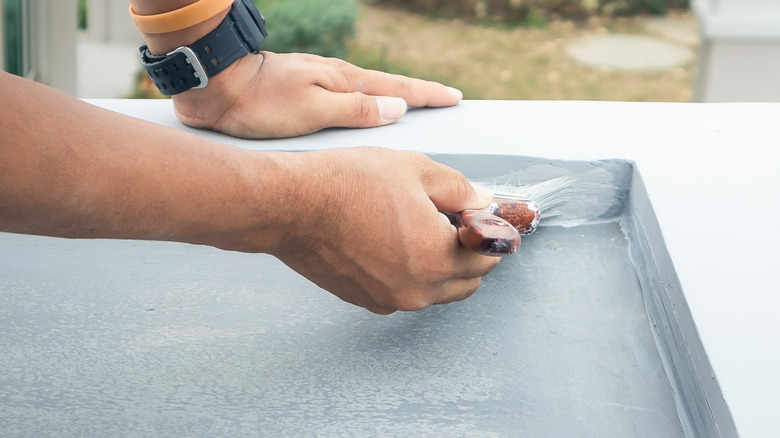
Picking the right primer
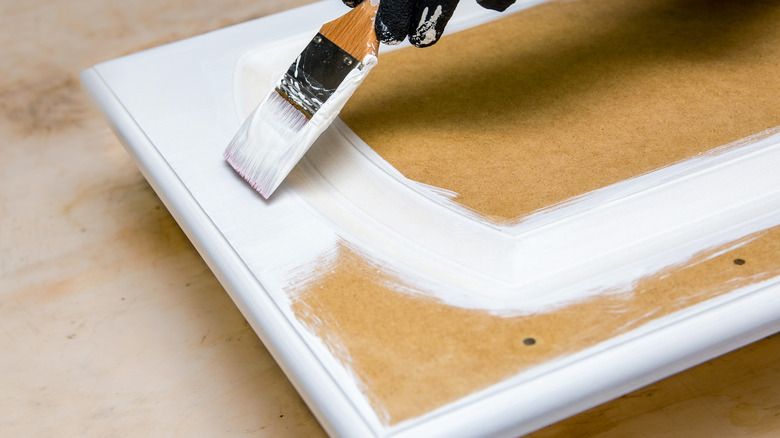
A refurbishing project depends on how well you prep the piece. Based on the condition of your item, you might be able to skip sanding. However, unless a paint has a built-in primer, never skip priming before painting. According to The Balance Small Business, priming is an essential step because it helps seal the surface and prevent paint from soaking into the material. Some primers may also have stain-blocking properties and help hide discoloration and stains. Primer is usually a neutral-based tint or paint that comes in different chemical formulations for their unique task. For example, water-based or latex primers are for blocking stains and offer crack resistance. On the other hand, oil-based primers are for high-touch surfaces, like doors and windows. There's even a shellac-based primer for covering stubborn stains and oil-based adhesives.
The only time to skip primer is when you're going to be painting over an item with the same paint type in pristine condition, and the paint you're covering up is a light shade (via Paul Schubert Painting). For example, if you are redoing kitchen cabinets and want to paint over eggshell latex paint with green paint, you don't need a primer. However, if painting over black latex paint, you'll want to prime the surface.
Which type of stain to pick
Stain is another critical part of the refurbishing process, and how you prep your surface will largely depend on the type of stain you're using. According to The Finishing Store, there are seven types of commercial stain commonly used: oil, varnish, water-based, gel, lacquer, water soluble dye, and metal complex dye. An oil stain is the most common consumer stain and the easiest to find at your local home improvement store. It contains a linseed oil with a bit of pigment or dye and a binding agent. These stains dry soft, so you should wipe away any excess. If you want to avoid this, use a varnish stain similar to an oil stain in every way, except it dries hard and doesn't need to be wiped clean.
If you'd like a natural and environmentally-friendly option, use a water-based stain that consists of water-soluble dyes (via Woodworking Clarity). However, these stains don't penetrate the wood surface, so they offer little protection, and you'll have to use a sealer on top.
When can you paint without sanding?
Depending on the condition of your furniture and the type of paint you'll be using, you don't always have to spend time sanding. According to Fusion Mineral Paint, no sanding is necessary if painting with mineral, chalk, or milk paint with a bonding agent. You can also use a bonding primer or liquid sandpaper if you don't want to sand your item.
If you're painting wood veneer, you don't need to sand it down unless it's for touch-up purposes because there's no actual wood grain. Make sure to use an oil-based bonding primer and at least two coats of your chosen paint. If you're going to skip sanding the wood piece, ensure that you properly prime it with a bonding primer (via Grace in My Space). Bonding primer is best for slick surfaces like glass or metal because it gives the paint something to adhere to (via ArtRadarJournal).
Why prime your furniture
Unless your painting product already has a built-in primer, you shouldn't skip the priming phase when taking on a refurbishing project. According to RawHyde Furnishings, a primer serves three main functions. First, it helps offer better adhesion and prevents bleed-through, allowing the color of the paint to come through. While it can be tempting to skip the priming phase, especially after you've sanded everything down, avoiding priming means your piece will chip or bubble up later.
Additionally, lighter colors tend to bleed when working with porous materials like wood. Not every wood is pre-treated by the manufacturer to prevent bleed-through. Bleed-through in wood projects looks like a pink, brown, or yellow coming up from the surface due to a chemical reaction caused by the paint. Primer can also help save you time. Without primer, paint can absorb into the surface grain and require even more paint for coverage. To choose a primer, take into account the surface and your goals. If the outside has stains, look into a thicker primer, like a shellac base. If you think bleed-through will be a problem, especially if you're painting light wood, purchase a stain-eliminating primer that uses a water base to prevent bleeding.
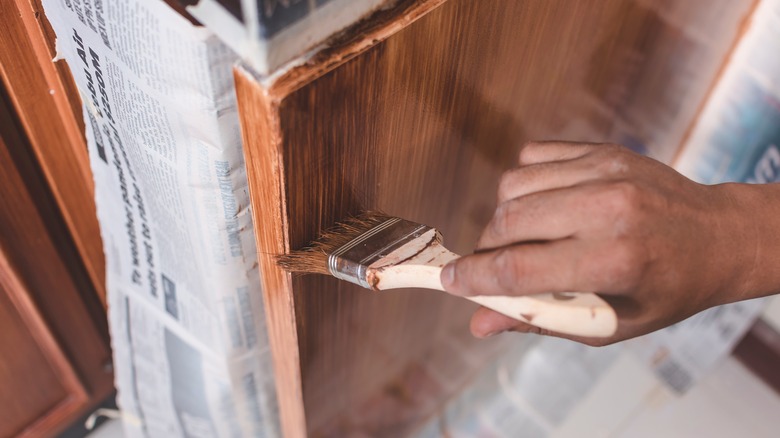
How to strip wood
If you want to stain a piece of furniture that is already varnished, it's best to strip it instead of sanding it down. According to The Coastal Oak, you should strip furniture if you want to stain it. Stripping should only be used on wood and not veneer because the chemicals will damage the integrity of the veneer. If you're looking to re-stain an older piece covered in shellac or a thick varnish, consider using a product like Minwax Furniture Refinisher. This product gently dissolves the varnish without raising the grain or eating away at the outer layer.
Every product used for stripping will have different instructions, but most will require a well-ventilated area and that you wear appropriate protection. To strip a surface, apply the paint or varnish stripper in a thick layer and cover it with a plastic swap (via I Restore Stuff). Next, press down the wrap to remove as much air as possible. After the time indicated on the stripper, usually one to two hours, you can scrape off the surface and clean it with a gentle cleaner.
How to bleach wood
There are many reasons you may want to bleach wood. Perhaps you want to stain it a lighter shade or want the item to be a lighter shade than the natural wood. According to Baton Rouge Woodworking Club, bleaching wood can also remove stains and dye, preparing wood for color and finish. Before you bleach wood surfaces, strip off as much varnish or paint as possible (via Remington Avenue). Complete this step using a paint stripper or sanding it off. There are many different types of ways that you can bleach your wood. Some people use a household strength bleach on their items, applying it with a sponge and allowing it to dry between coats. This method gives wood what designers call a beachy effect.
You can also use oxalic acid, a natural compound diluted with water (via The Coastal Oak). This mixture removes stains and restores wood to its natural state but cannot change the color of the wood. Each brand of oxalic acid will have a different set of instructions. However, this formula is incredibly harsh, and you should take proper safety precautions.