Everything You Need To Know To Paint Wood Panelling
We may receive a commission on purchases made from links.
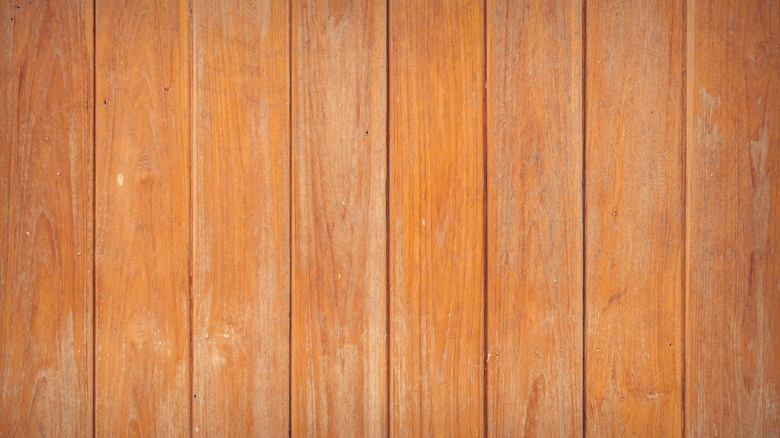
Once a popular trend, wood-paneled walls are now a feature that immediately makes a home look dated. Unless you're going for a groovy 1970s look (nothing wrong with that!), you may be trying to solve the challenge of how to modernize your space without having to sink a lot of time and money into removing all of the paneling. Luckily, with a quick trip to your local hardware store and just a few extra steps to your painting routine, you can update your space for a relatively low cost.
For this project, you'll need spackle or caulk, a putty knife, primer, 150 grit sandpaper, a paint roller and brush, and the paint of your choosing. If your walls are already painted, you need to ensure that the paint does not contain lead. Per the EPA, it is best practice to assume that all homes built before 1978 were painted with lead-based formulas. If you want to be sure, you can purchase a lead testing kit at a hardware store, or hire an inspector to assess the paint by calling 1-800-424-LEAD (via EPA). If you find that the wood panels were painted with lead-based paint, you will need to skip sanding the walls and purchase a good primer instead.
1. Prepare the area
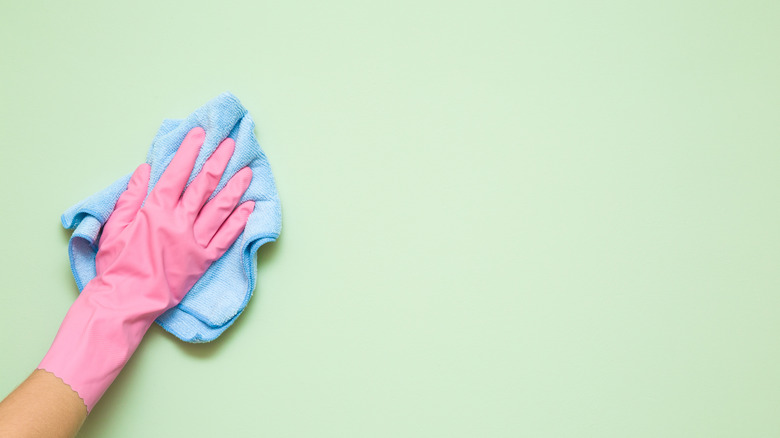
For a polished result, it's crucial to start with clean, dry walls. Use a damp cloth to wipe down the entire wall. If there are stubborn stains or greasy spots, try wiping the problem area with a rag and a solution of dish soap and water. According to HGTV, any lingering grease may be visible through the paint, so it's imperative to be thorough with your cleaning. Next, lay down a drop cloth to protect the floor and tape over any areas that you don't want to be painted, such as outlet covers or trim.
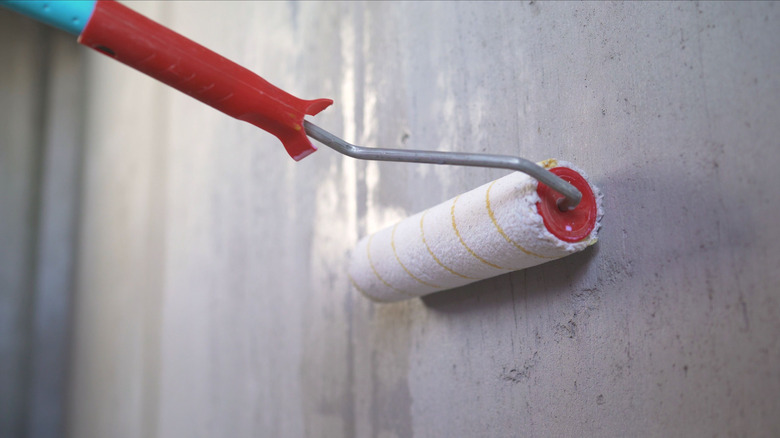
2. Fill the grooves
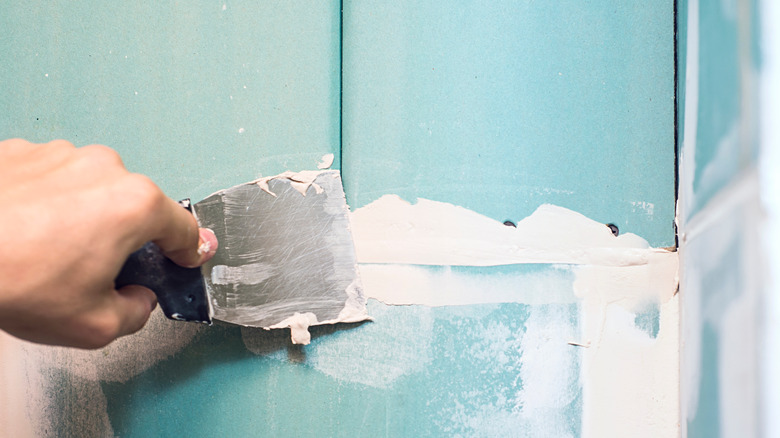
Use the spackle or caulk of your choice to fill any cracks, nail holes, and the telltale grooves in between the wood panels, using a putty knife to scrape off excess spackle. The Home Depot points out that a caulk gun is great for filling the grooves in between the panels to create an even finish and minimize any traces of the wood panels. For best results, HGTV recommends waiting a full 24 hours for the spackle or caulk to dry completely before painting.
3. Sand
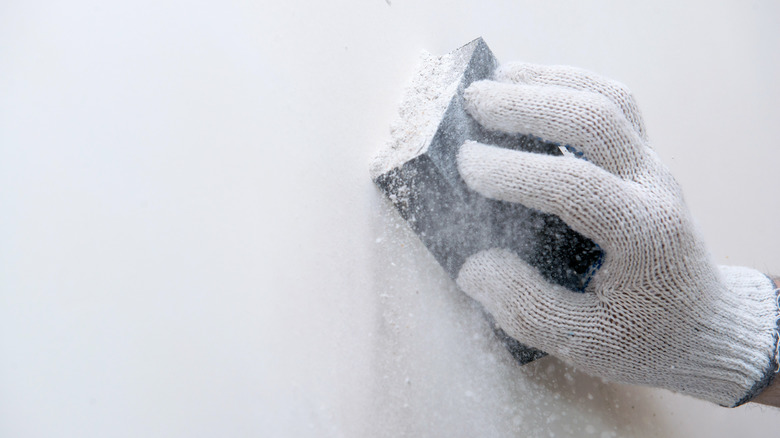
If you have determined that your walls do not contain lead paint, it's time to sand. As The Home Depot explains, most wood-paneled walls have a shiny finish that must be sanded off so that the paint can properly coat and stick to the surface. While wearing a respirator and protective eyewear, use 150 grit sandpaper to lightly sand the entire area. Once finished, use a damp cloth to clean away any excess dust before moving on to the next step.
4. Prime the walls
The next step is to cover the walls in primer, including the trim if you plan to paint it. The Home Depot recommends an oil-based or stain-blocking latex primer, which is especially important if you skipped sanding. According to HGTV, you can use a paintbrush to ensure that the grooves in between the panels are thoroughly coated in primer, and apply a second coat to the entire area if you can still see the paneling through the first coat. A paintbrush is useful for smoothing over any drips or excess primer.
5. Paint the walls
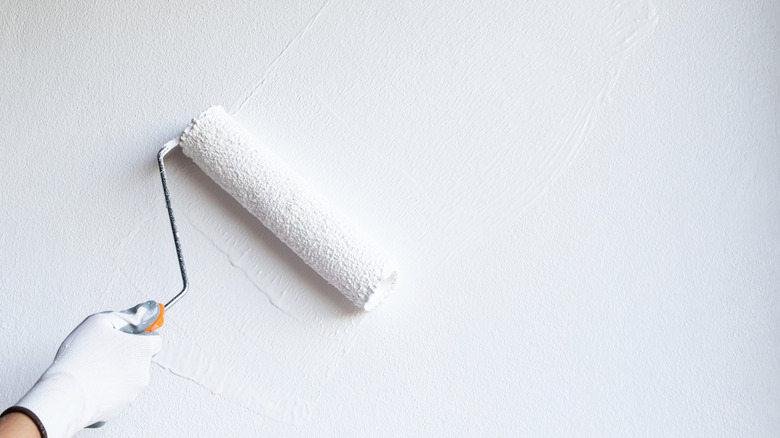
Finally, it's time to paint! Starting at the top of the wall, use a paint roller to apply a thin coat over the entire area, being sure to quickly smooth over any drips. In the same fashion as priming the walls, that handy paintbrush can be used for detail work to get in the grooves. Of course, be sure to follow with a roller for a smooth finish, HGTV advises. Let the paint dry completely before applying a second coat. Per the Home Depot, remove any painter's tape before the final coat fully dries.