Mopping Tips That Will Keep Your Floors Looking Like New
We may receive a commission on purchases made from links.
Preserving the glow of your floors involves a lot of things, but it boils down to your daily or weekly maintenance routine. While it's important to Swiffer and sweep, mopping makes the biggest impact. With the right techniques, you can prevent damage, preserve luster, and even infuse them with new life. However, if the damage is extensive for delicate floors such as those made of hardwood, you may need to tailor your rehabilitation efforts according to the advice of an expert.
The issue is, many people jump right into the option of hiring a professional. For example, people with hardwood floors are often anxious about maintaining their alluring beauty, so they consider complex techniques like using floor polishing sealants or renting professional-grade buffers. These options cost a lot but are fueled by the belief that these high-tech methods are the only ways to bring hardwood floors back to life, which couldn't be further from the truth. Here are some simple and easy mopping tips that will effortlessly allow you to take your floor back to its glory days and keep it that way.
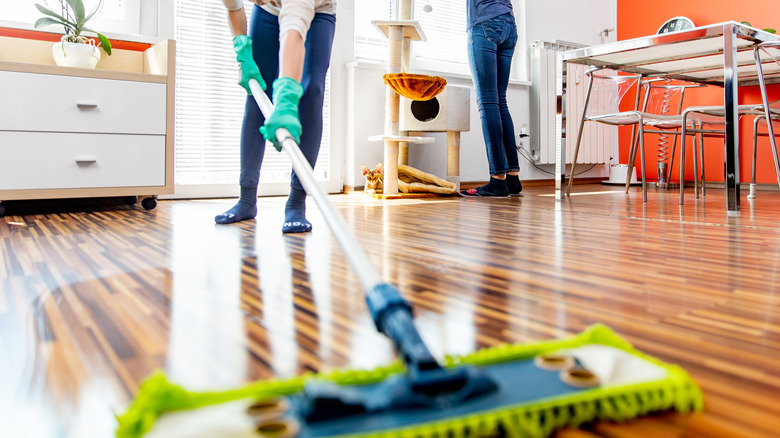
Wring your mop properly to avoid streaky floors
Maintaining the appearance of your floors can be challenging, especially when it comes to avoiding streaks. The problem often lies in the mopping technique and the tools used. Not wringing it out properly or using the wrong type of mop can result in excess water being left on the floor. This water can then dry into streaks, leaving your floor looking less than perfect.
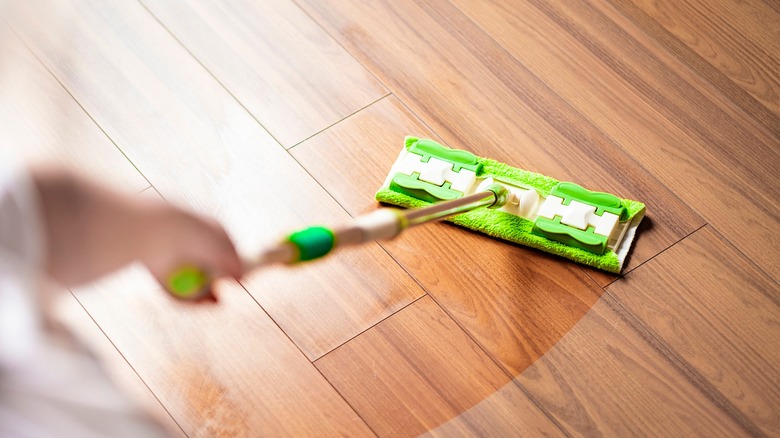
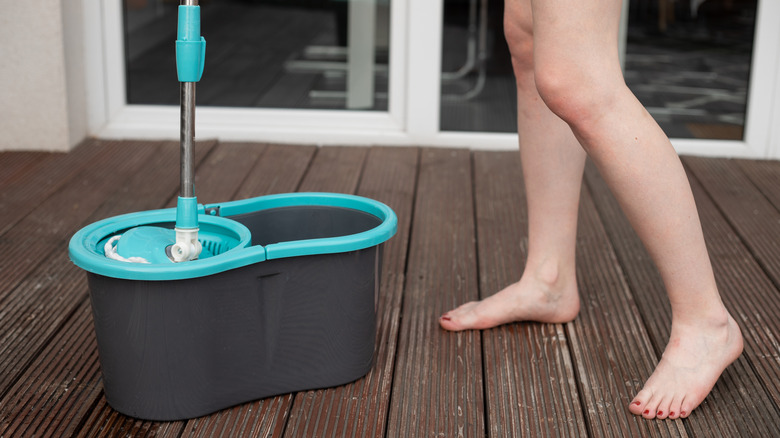
The first step in preventing streaks is choosing a mop that is suitable for your floor type. For instance, the simple secret to streak-free laminate floors lies in using a microfiber mop because they are super absorbent and can effectively trap dirt and grime. Secondly, use a mop bucket with a wringer. This allows you to easily squeeze out excess water from the mop.
When mopping, start from one corner of the room and work towards the exit to avoid walking on the freshly cleaned floor. After washing a section of the floor, rinse your mop in the cleaning solution and wring it out again before moving on to the next section. Finally, allow your floor to air dry completely before walking on it to avoid leaving footprints.
Avoid excess cleaning products to prevent residue buildup and cloudy floors
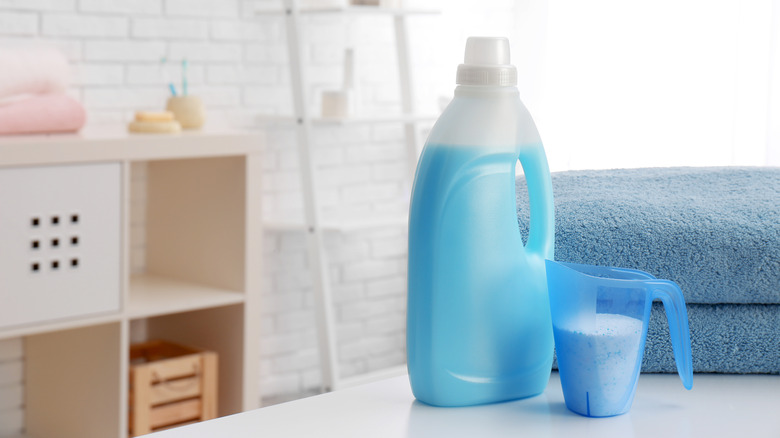
Excess cleaning products can lead to residue buildup, which can make your floors look dull and unattractive. It's important to remember that using more products does not necessarily mean a cleaner floor. In fact, it can often lead to the opposite effect, leaving a hazy or cloudy film on your hardwood.
Preventing residue buildup and maintaining clean, shiny floors lies in moderating the quantity of product you use and selecting sufficiently strong cleaning products. For example, it is recommended to add 1 teaspoon of floor cleaner to warm water for effective cleaning. Adding two or more teaspoons will not make your floors cleaner but will leave them at risk of looking hazy. To fix hazy wood flooring, use a stronger cleaning agent like glass cleaner that can help cut through layers of product buildup. To use a glass cleaner, spray a heavy mist on a two-foot area of your wood floor. The exact amount would be a 1/4 teaspoon of cleaner per square foot.
Prevent fading by using the correct chemicals for each floor type
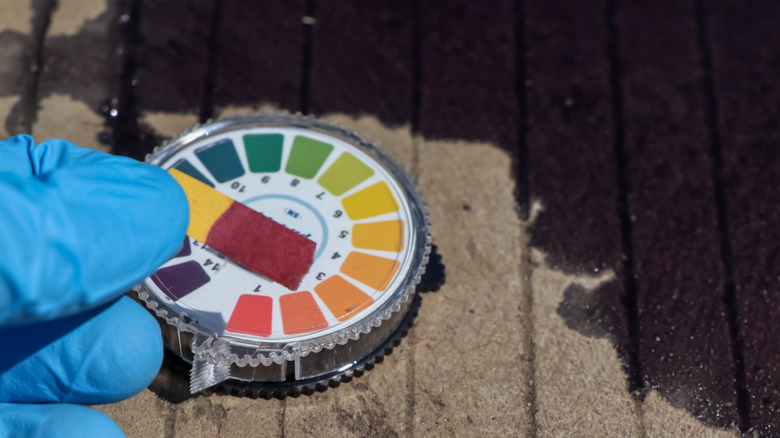
Each floor type has unique molecular properties. Because of this, each interacts with various detergents' chemistry differently, meaning some reactions will be more violent and damaging than others. One of the properties that determine whether or not a reaction is corrosive is the pH. If a chemical goes beyond a certain pH range, it has the potential to damage the finish or protective layer of your floors.
For hardwood floors, it is best to use a pH-neutral cleaner. It's also important to note that you should not use certain substances on your hardwood floors to give them a longer life. At the top of this list, we have ammonia-based cleaners whose alkaline properties can damage the acidic surface of the wood. For vinyl floors, it is recommended to use a homemade solution of 1/2 a cup of apple cider and a 1/2 cup of pH-neutral floor cleaner with a pH of 7. Pour it into a gallon of warm or tepid water for best results. For laminate floors, avoid products that are highly acidic with a pH below 7.
Sweep first before mopping, and use pads under furniture to prevent scratches
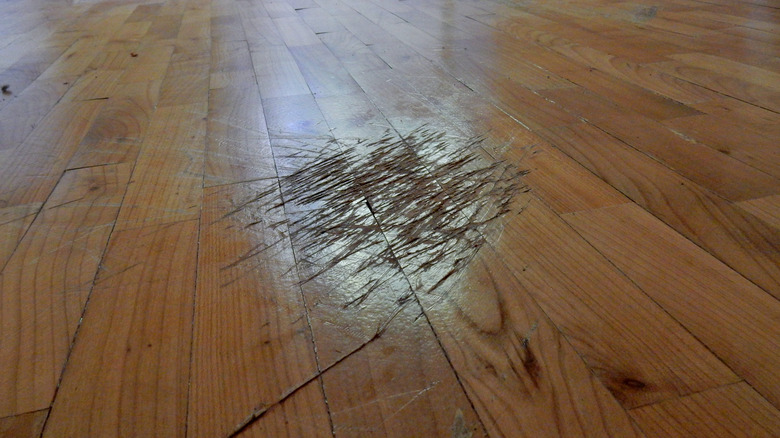
Scratches are one of the main culprits of floor damage. Unfortunately, even if you control the traffic, you can still cause scratches while performing the most innocent of floor cleaning mistakes: forgetting to sweep before mopping. Always sweep the floor with a soft-bristled broom before you start cleaning. This step helps to remove debris that could be rubbed back and forth by the mop, causing scratches. You could also use a vacuum specifically designed for hardwood floors. These vacuums are designed to clean delicate tiles and planks effectively without their hard parts scratching them.
Also, since most people cannot lift their sofas and tables, they end up dragging them on the floor. This action causes damaging friction that may not always be immediately apparent. To prevent this issue, use felt pads on furniture legs. Felt pads provide a soft barrier between the furniture and the floor, helping to protect your floor from damage. They are easy to apply: Simply clean the surface of the furniture leg, remove the paper backing from the felt pad, apply it to the furniture leg, and press firmly to create a tight seal.
Switch wet mops for damp ones to avoid water damage
Hardwood, laminate, and vinyl floors are susceptible to water damage. Hardwood floors exposed to excessive water warp as they absorb moisture and expand. Laminate floors will experience bubbling in the top layer when exposed to standing water. These physical distortions disfigure the floor and give it an aged look.
The good news is that you can minimize water damage every time you mop by using a damp mop instead of a soaked and dripping one at all stages of the process. At first, most people use a wet mop to spread the cleaning solution on the floor as they rub gently. Then, they wring the mop and dry off the excess solution. So, instead of using a dripping mop in step one, use a damp one that is moist enough to rub off dirt but doesn't leave small pools of water. Wring the mop thoroughly, then wipe off the solution promptly. Although this water may only be left on the floor for less than a few minutes, it can still seep into the floor and accumulate. After a few months, the damage will start showing.
Replace hot water with lukewarm water when mopping
While hot water can be effective in removing grease and grime, it can cause significant damage to hardwood, laminate, and vinyl floors. Heat can cause these materials to expand and contract, leading to warping and cracking. Laminate floors will even experience deterioration, and vinyl could have its top layer soften. Hot water can then strip the protective finish off these floors, leaving them vulnerable to further damage. Let's not also forget about the steam that can penetrate wood flooring and cause long-term water damage.
Instead of using hot water, use tepid water when mopping. It is less likely to cause damage and is still effective in conjunction with the right cleaning agent. However, the best option is to use cold water and an effective detergent that targets the specific stains you want to get rid of. It works just as well, plus it is energy-efficient and cost-saving. So, knowing when to clean with hot or cold water could not only help you save energy but also preserve your floors.
Add a few drops of essential oil to your cleaning routine
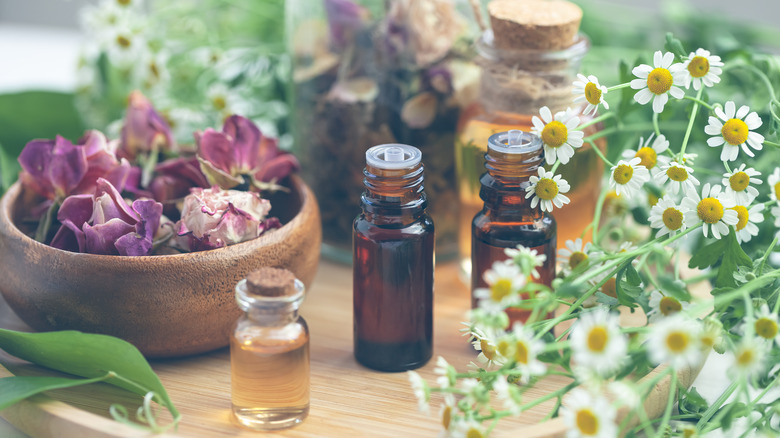
Incorporating essential oils into your cleaning routine can provide numerous benefits, especially for hardwood floors. They will help maintain your wooden floors' natural shine and leave a refreshing aroma that can make your home feel rejuvenated. For instance, with hardwood floors, a combination of orange and cedarwood essential oils can help disinfect and treat the wood. Mix 10-15 drops each of orange and cedarwood oils into lukewarm water, stir the mixture well to ensure the oils are well-distributed, add a pH-neutral floor cleaner, and it is ready for use. These drops introduce a little oil back into the wood, helping to maintain its natural luster.
Another great oil to use is tea tree oil, which is known for its germ-busting properties. To use tea tree oil, add 2 cups each of white vinegar and water, and mix it with 20 drops of tea tree essential oils in a spray bottle. Remember to always dilute essential oils appropriately and test them on a small, hidden area of your floor first to ensure they are safe.
Have a floor cleaner spray handy for spills to prevent staining
Spills on your floor can lead to unsightly stains if not dealt with promptly. Leaving spills on the floor allows them to permeate and seep into the material. One of the most effective ways to deal with this is to have a spray bottle filled with a ready-to-use floor cleaner on hand. This process allows you to quickly and efficiently clean up spills as soon as they happen, preventing them from setting in and causing permanent damage.
Simply spray the cleaner directly onto the affected area and then mop it up. Don't forget to dry the area thoroughly to prevent any moisture from seeping into the floor material, which could cause eventual warping or weakening. For stubborn spills or stains, a soft-bristle brush can be used to gently scrub the area without scratching the floor surface. This method is quick and easy, preventing unexpected spills from spreading further.
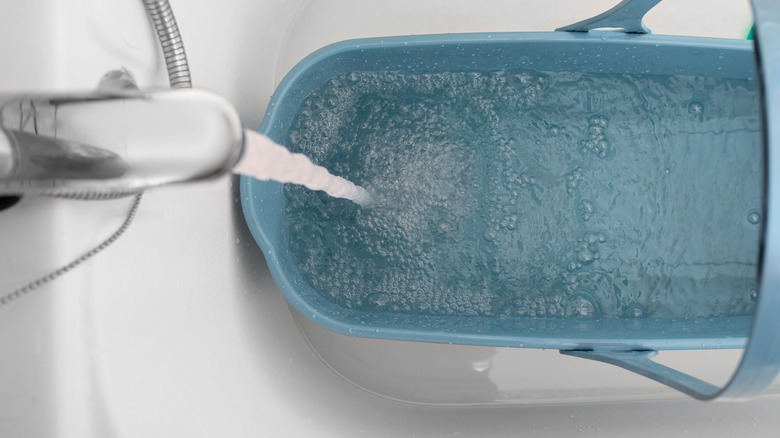
Dump out water frequently if mopping very dirty floors
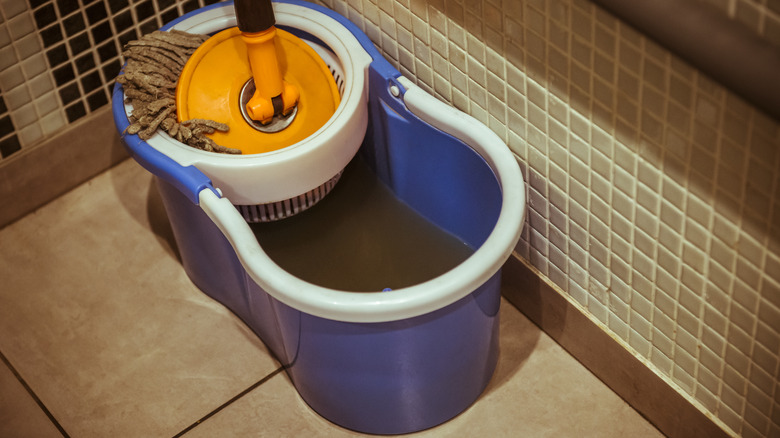
When mopping very dirty floors, it's crucial to change the water in your mop bucket frequently. If the water is turning gray or brown, it's a clear sign that it's time to dump it out and refill the bucket with clean water. Although it may seem like a waste of water to keep changing it out, using dirty water simply spreads the grime around. When the floor dries, it ends up looking dingy and unclean. As you change the cleaning solution, remember to clean your mop as well so that it does not spread the dirt from the previous batch of water.
Investing in a mop bucket that has separate compartments for dunking and rinsing can also be beneficial. This design allows you to rinse your mop in clean water after dripping it in the cleaning solution, helping to keep the cleaning water cleaner for longer. One of the best mop buckets for this purpose is the O-Cedar EasyWring RinseClean Spin Mop system, known for its dual-chamber technology.