Creative Ways To Repurpose Those Old CDs Around Your Home And Garden

We may receive a commission on purchases made from links.
Compact discs, better known as CDs, were first introduced in the early 1980s as a sleeker and more efficient way to store and transmit information like music and computer games, eventually overtaking cassette tapes and vinyl as the most popular way to buy and listen to albums in the later part of the decade. While they were revolutionary at the time, nowadays, we live in a much more digital world. Instead of having to purchase music — or put in the work to burn our own CDs — we can rely on a seemingly-endless library of content available on streaming services, and, as laptops got thinner and cars were built with more technologically advanced consoles, it's becoming more and more rare to have a way to even play these CDs in the first place.
Because of this, many of us are left with a seemingly-useless collection of discs. They might not have much value based on their content anymore, but, if you're attempting to cut down on the waste you produce, they can certainly be used as a material in DIY projects. Thanks to their fairly simple construction, consistent design, and unique look, they can make for an excellent source of building material for your next home or garden décor idea.
Mosaic art

One of the most recognizable characteristics of CDs is their unique, iridescent coloring. The back of most CDs are silvery and shiny, making for a great material to include in your mosaic projects. Cut up CDs in random sizes and shapes and use them to create art pieces, or try your hand at making your own disco ball out of tiles cut from CDs, a foam sphere, and some glue. The possibilities with this idea are only limited by your imagination, so don't be afraid to get creative and try your hand at decorating various items you have around the house for an added dose of shine.
CD clock

Clocks are one of those items that most people don't think they can build themselves, but the mechanism is actually incredibly simple and easy to install, especially when using a CD. To do this yourself, all you need is your CD and a clock kit, like this TIKROUND Youngtown High Torque Long Shaft Clock Movement Mechanism from Amazon. Install your kit, sandwiching the CD between the mechanism and the hands, and you're good to go. You can also choose to draw or stick on numbers or cover the surface of the CD with contact paper or paint, but this all depends on your desired final look.
Mini painting
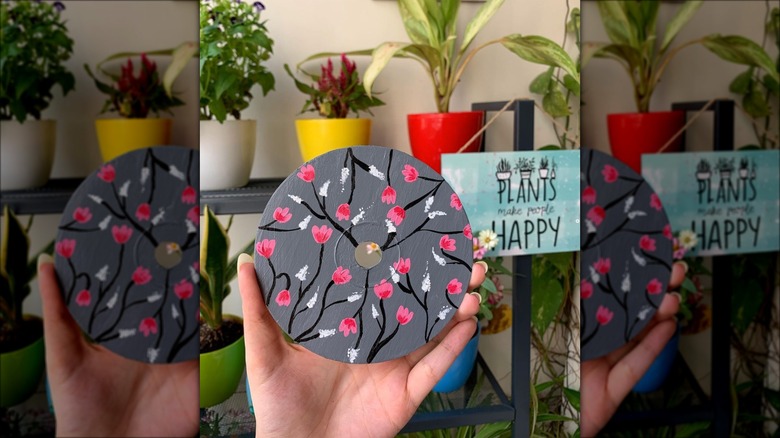
Just about anything can become a canvas if you're willing to get creative, but a CD you no longer use is one of the best options. Because of their small size, CDs make for an easy mini-painting project if you don't have a ton of time to devote to a full-size canvas. They're also non-absorbent, meaning they don't require a ton of paint to cover, and, when you're done, they can be hung on the wall with a simple pushpin through the middle. Just make sure you prime and seal everything if you want to display your masterpiece, as dried paint might peel with handling.
Suncatcher
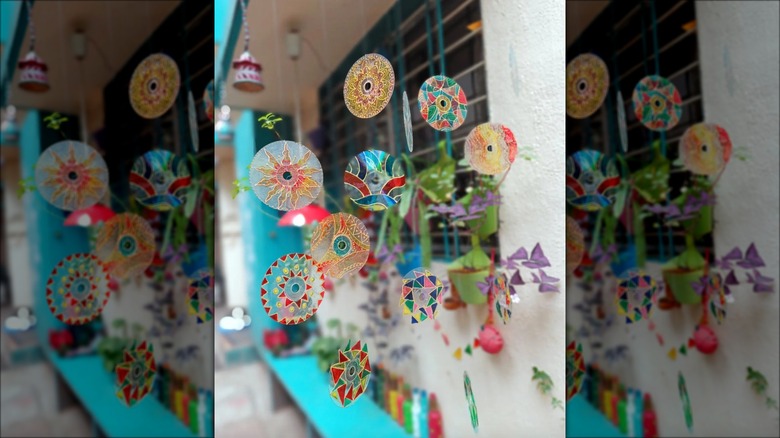
DIY suncatchers are a great way to bring some color to your outdoor spaces, and CDs provide a great base for your project. To start, you'll need to remove the silver layer of your CD. Gently scratch at it with some scissors, then use packing tape to help peel it off. From there, begin painting on your design with suncatcher paints — they're specifically designed to allow light to filter through and will leave you with a look similar to stained glass rather than something opaque. Tie your CDs together with some fishing wire, and you have a beautiful display to hang in your window.
Plant markers
Because CDs are made of plastic, they make for excellent plant markers if you're looking for something that won't degrade over time or wear down with exposure to the elements. Write your plant name on the CD with a permanent marker or paint pen, then attach it to a stick using some glue. The silvery color of CDs will help you easily find your markers and identify what plants you have growing in a certain area, but you could also remove the reflective coating and simply use the clear plastic if you're looking for something that isn't quite as obvious-looking in your garden.
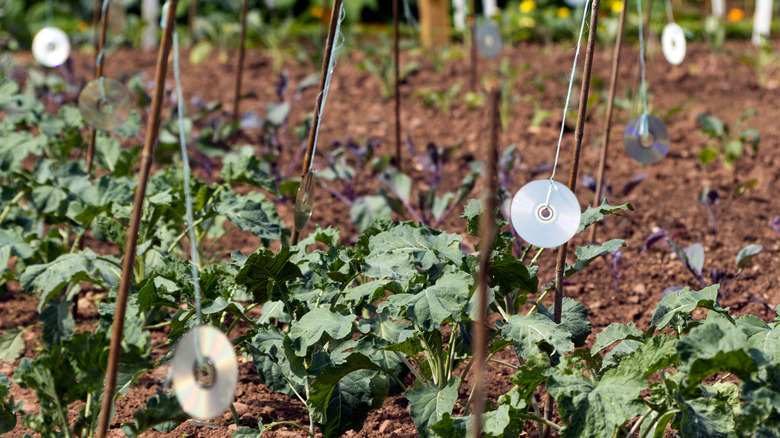
Bird deterrent
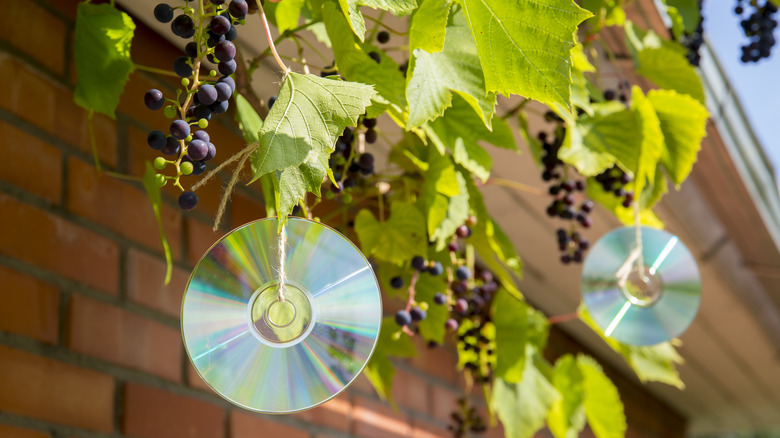
Another way to use CDs in the garden — either as a complement to or instead of creating your own plant markers — is as a bird deterrent. Because of their bright, reflective surfaces, CDs can help to prevent birds from munching on your garden fruit. Simply hang them from your plant's branches or from stakes using some string or ribbon. To maximize the dazzling effect, make sure the CDs are hanging loose enough to move around a bit with the wind. You might even end up with some vibrant prisms scattered around your garden that you can enjoy, too.
Accent wall
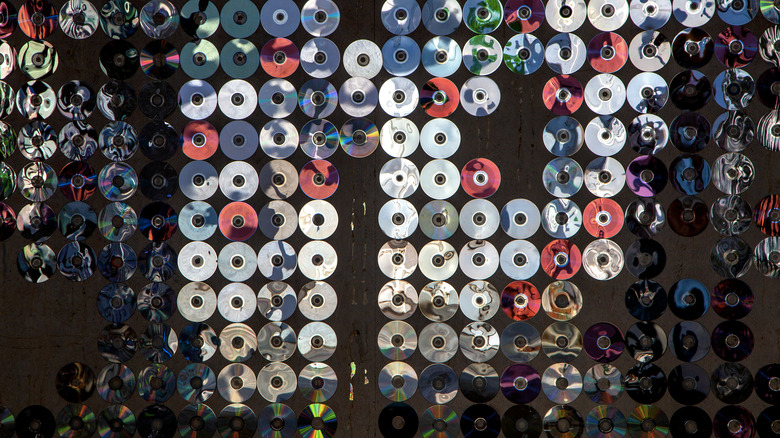
While a wall full of CDs might not be the most relaxing home décor choice out there, it can certainly make an impact. CD walls have been making the rounds on TikTok as a way to bring some shine and interest to a space without spending a ton of money. You can either flip your CDs with the graphic out if you're looking to display a music collection that you no longer use, or you can flip the reflective side out for a more mirrored finish. Because they're so lightweight, you can hang them using pretty much anything, but heavy-duty double-sided tape is a popular choice.
Coasters

You can make your own coasters out of pretty much anything, but CDs are one of the easiest bases to start off with thanks to their size. Begin by painting your CDs, covering them with a layer of fabric using Mod Podge, or simply leaving them as-is if you like the graphic. You can stop here, or you can go on to add a bit of additional cushioning and absorbency. Cut a thin sheet of cork, felt, or thick card stock to the same shape and size as your CD, then glue it to the bottom to thicken up your DIY coaster and give it a bit more heft.
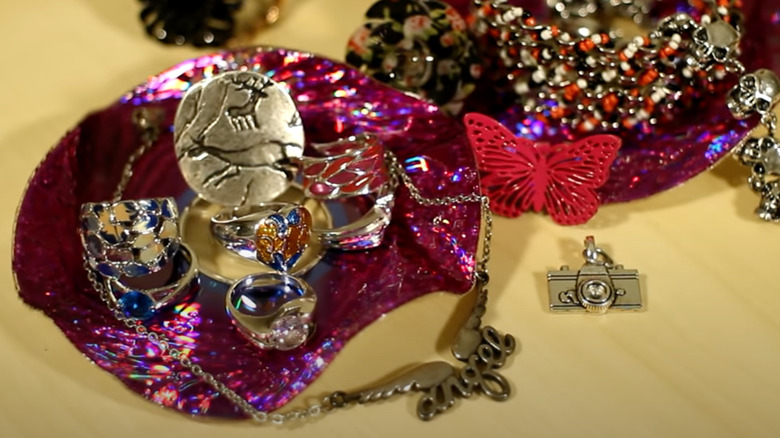
Earring holder
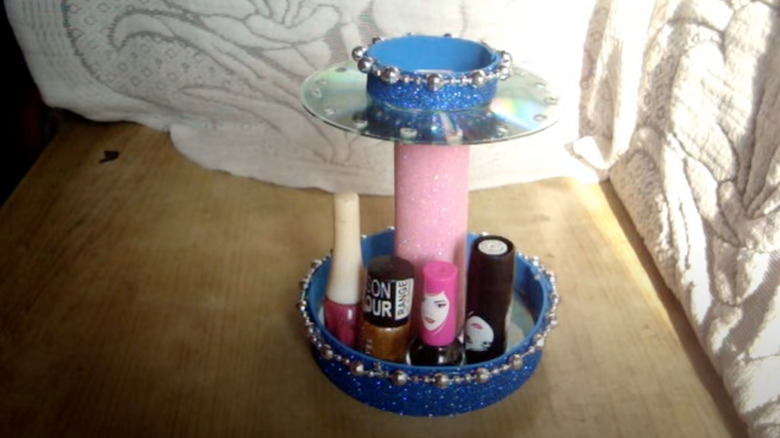
CDs aren't made of the thickest material in the world, so it's easy to create holes in them for your projects. For this DIY, you'll need a plate or bowl, a tube of plastic of some sort or a candlestick, glue, your CD, and a screwdriver. Heat your screwdriver and melt holes into the plastic, making sure you use extreme caution, then assemble your jewelry holder with the plate on the bottom, tube in the middle, and CD on top. You'll be able to loop earrings through the holes on the CD and store other small items or jewelry pieces on the bottom plate.
Planter
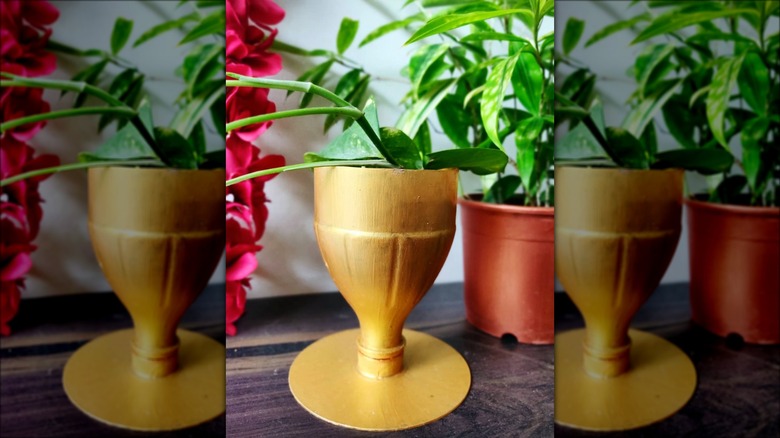
If you're in need of a new home for your plant, look no further than this inventive DIY that upcycles not one but two pieces of plastic that would otherwise go to waste. To begin, grab a plastic bottle and cut it in half, glue the top down to a CD, and give everything a coat of paint. Put your plant inside, and, if you find you've overwatered it, you can simply unscrew the lid to let off a bit of the excess liquid. Make sure you hold on to the bottom of your bottle, too. You can turn that into a beautiful planter, as well.
Candle holder
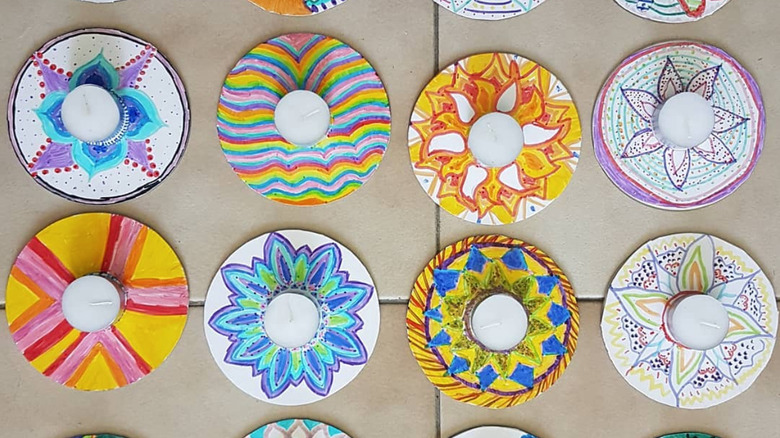
Tea lights can bring some ambient lighting and coziness to a space, but they can be a bit boring on their own. With this DIY candle dish idea, however, they instantly become a centerpiece. Simply paint your CDs or draw your design on a sheet of paper and cut it to size. Seal off your masterpiece, then set your candle on top and light it. If you're using a real candle, however, make sure it doesn't burn too hot, as CDs will melt and burn when exposed to excessive heat. For a simple alternative with less risk, you can use LED tea lights as a substitute.
Key holder
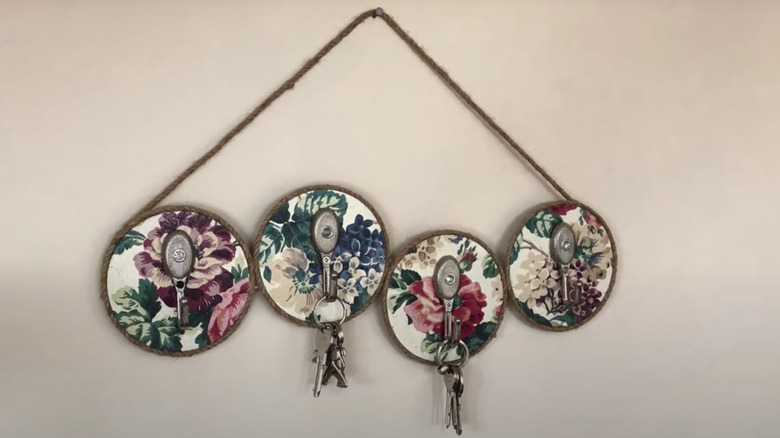
For this DIY, you're going to need your CDs, hot glue, your fabric or paper of choice, some twine, and a few hooks. Begin by hot gluing four stacks of three CDs together to increase their thickness. Cover these stacks with your fabric or paper, then wrap the outside in twine to conceal the edge, making sure to glue as you go along. Glue these four pieces together in a line, then attach a hook to the front of each section. Finally, finish everything off with a string across the top so you'll be able to hang your DIY key holder on your wall.
Photo stand
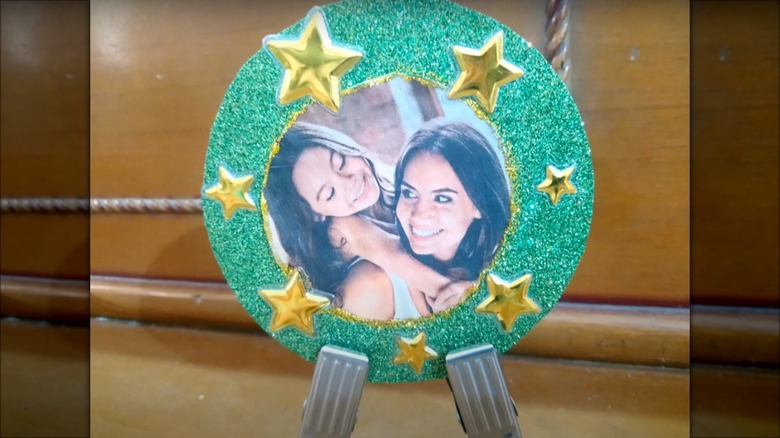
If you don't have a frame to display a photo that's near and dear to your heart, consider mounting it on a DIY photo stand to create the same effect. For this project, all you'll need is your photo, some scissors, glue, a couple of metal clips, and something to cover your CD with — this can be anything from glitter and Mod Podge to contact paper. Cover your CD with your decoration of choice, then cut your photo down into a circle. Glue the picture to the center of your CD, attach your metal clips, and display your photo on your shelf or table.
Curtain pullbacks
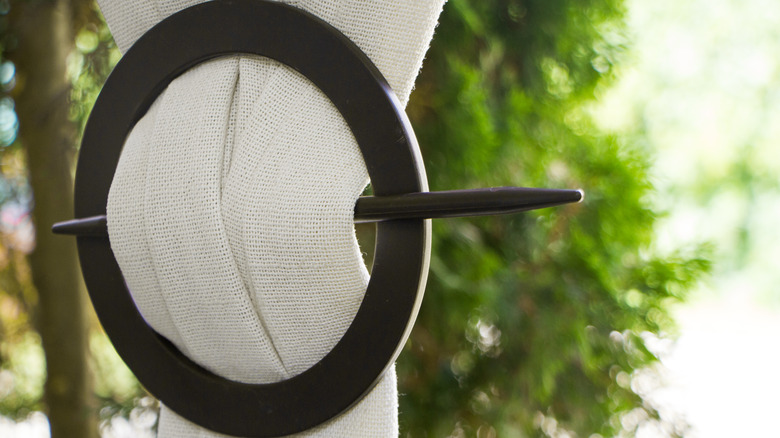
Round curtain pullbacks are a great option if you want to allow sunlight in through your windows but you don't want to have to install something directly into your wall, and making your own is incredibly simple if you have spare CDs lying around. To build this yourself, begin by cutting out the center of your CD until you're left with a ring. Cover this ring in ribbon or fabric to polish it up a bit, then bunch up your curtain and pull a small amount of material through. Wedge a chopstick between the fabric and your hoop, and your curtain should stay put.
Floating shelves
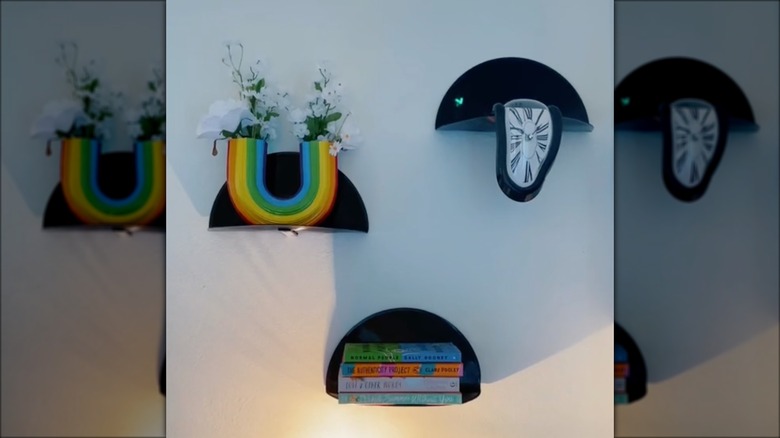
If you're willing to get a bit more flexible with your materials, CDs can make a great base for some tiny floating shelves. When heat is applied to a CD — gently, gradually, and with extreme caution, of course — it can be bent into your desired shape. Gently heat your CD by running the section you intend to bend over the flame of a small candle, then start to work it into a right angle. Once it's completely cooled, hang it on your wall using a floating shelf bracket, and you have a surface to display your knickknacks, photos, and smaller décor pieces.
Bookends

If you're comfortable with working with a flame for these DIYs, you could also consider making a simple set of bookends. To do this, all you need are your old CDs and a candle. Bend them with the help of the flame, making sure you don't linger on one spot for too long, then allow them to cool. Once they're bent in half, you can slide them under the end of your books to keep them standing upright. At this point, you could also paint your bookends or decorate them with fabric or paper, though the final look is completely up to you.
Wreath
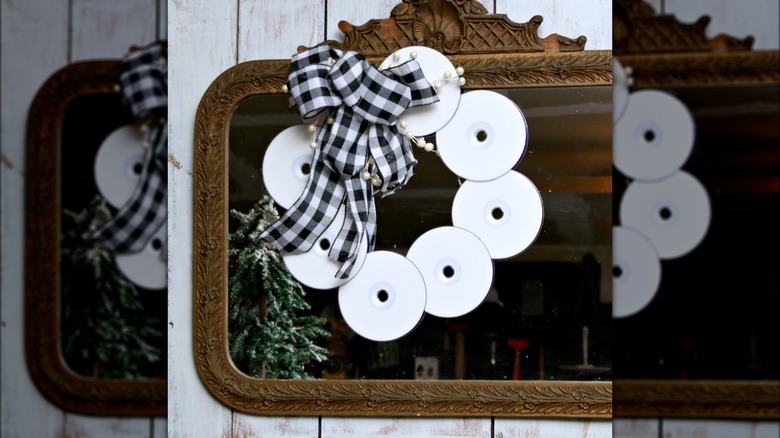
If you're looking to create a creative twist on a classic wreath, consider using old CDs as your base. For this project, all you need to do is hot glue your CDs together in a circular pattern, making sure to loop some string through the top CD to make hanging the final product a bit easier. You can leave it untouched for a shiny, mirrored look, or give it a coat of paint to better fit your holiday or theme. Add on some ribbon, artificial flowers, or tinsel, and you'll have a piece of door décor that makes all the impact at a fraction of the price.
Christmas ornaments
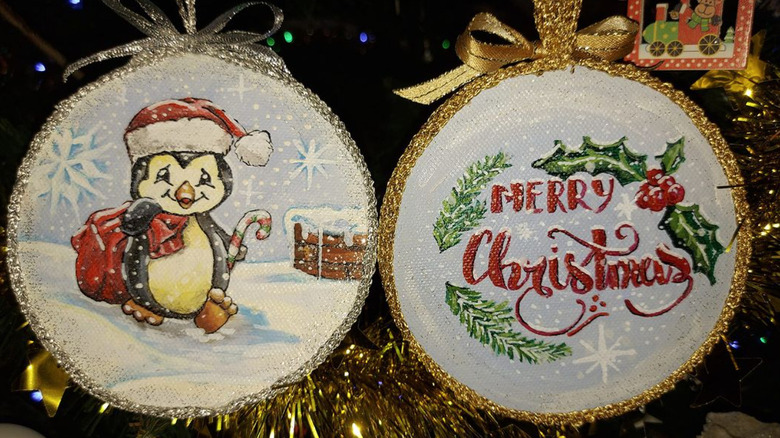
If you like the idea of painting your old CDs but you're looking for a more seasonally-inspired idea, consider turning them into Christmas ornaments. Paint them with your desired design, draw on them with markers, or paste down a layer of your favorite wrapping paper. Once your design is dry, cover the edges with a strip of ribbon, hot gluing as you go, and add on a loop to hang the ornament on your tree. This is a great project to do alone if you're feeling creative, but it can also be fun to do with kids to create a special keepsake ornament.
Mini sewing kit
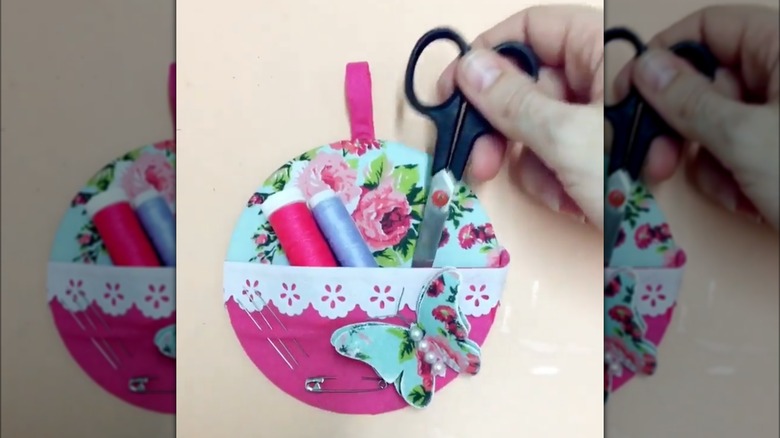
If you frequently sew, you know that most minor repairs only need a couple of simple materials to pull off — thread, a needle, and some scissors. This kit allows you to store all three of those items in one easy-to-find spot. Begin by covering your CD with a layer of fabric, then add an additional layer on top of that to create a pocket. Fold a small piece of ribbon in half and glue it to the back of the CD to create an easy hanging point. Place your scissors and thread in the pocket, and use the fabric as a holding spot for your needles.
Napkin holders
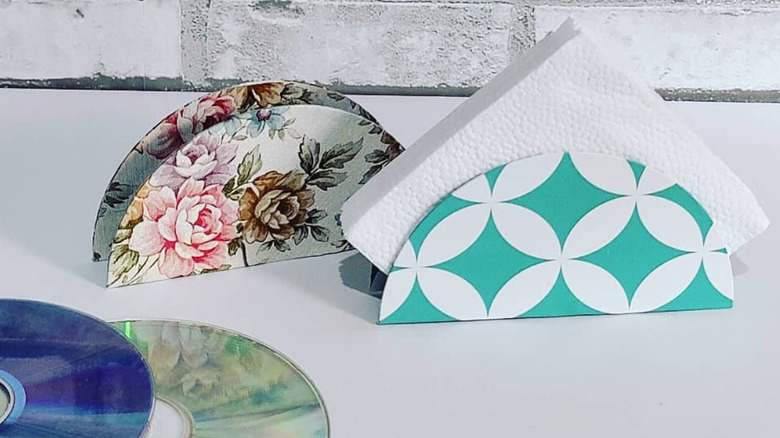
Because they're so thin, CDs can be cut fairly easily with a pair of strong scissors. That means they're perfect for this DIY. To make your own napkin holders, cut your CD in half as straight as possible, then cover with your paint, fabric, or paper of choice. Cut a rectangle out of another CD, cardboard, or flat plastic that's the same length as your CD and about an inch wide, then use it as a base to glue on your two CD half circles. The final product should be able to stand on its own and add a more decorative spin to your napkin display.
Trinket dish
Small dishes and bowls are a great way to help reduce clutter and give everything its own place, and CDs are made of the perfect material to DIY your own. To melt your old CDs into a small trinket dish or bowl, preheat your oven to 325 degrees. Create a ball of aluminum foil that's about an inch to an inch and a half in diameter, and place them on a baking sheet with your CDs on top. After about 10 minutes in the oven, the CDs should start to melt and take shape. Allow them to cool and use them wherever you need some extra organization.
Mini tiles
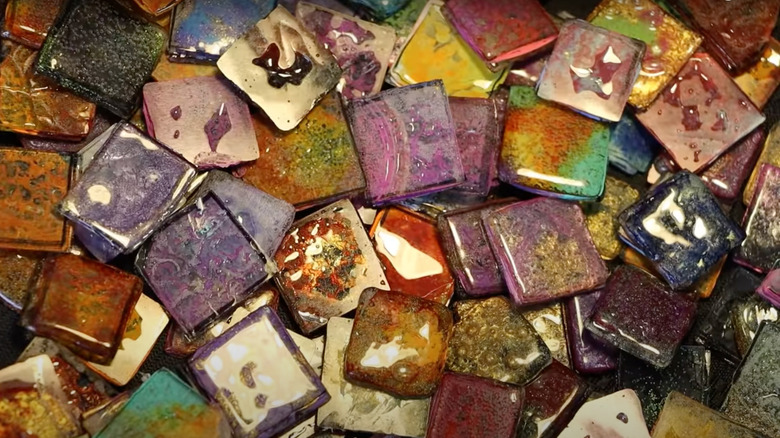
If you like the idea of using CDs in your mosaics but you want some more color and variety, this might be the solution for you. Remove the coating from your CDs until you're left with clear plastic, then cut them into even squares. Add a bit of paint on the bottom square, then sandwich another square on top. Allow them to dry, then place them in your oven on a lined baking sheet at 500 degrees for around 15 minutes. Once they cool, you should have a collection of plastic tiles with varying colors and interesting bubbled textures for use in jewelry, mosaics, or décor.