15 Easy Tips For Drilling The Perfect Pilot Hole
We may receive a commission on purchases made from links.
Previously, we here at House Digest shared proven ways to remove a stripped screw that's gotten stuck. However, it turns out that y'all could have avoided the problem altogether if you knew what a pilot hole is, the importance of it, and the tips for drilling one perfectly. So, to begin with, pilot holes are small paths pressed through the material to prepare it for screw-driving or nailing, writes Wonkee Donkee Tools.
According to The DIY Plan, whether you're building a custom wooden fence or repurposing your old furniture, the practice of aptly pressing pilot holes before fastening wood parts together can improve both your process and results. By improvements, we mean there's less likelihood of wood splitting, no wandering or stripping of screws, less or no drill strains, a professional-looking output, and safer drill control. Throughout the rest of this article, we will show you 15 must-know easy tips for drilling the perfect pilot hole like a professional carpenter.
1. Know when to and when not to pre-drill

A Butterfly House explains you should consider your experience, project size, desired quality, screw type, and durability of wood when drilling a pilot hole. For instance, as Home Decor Bliss describes, pilot holes are a must-carve for someone who's handling a drill and screws for the first time in order to fasten material that can split easily when refacing cabinetry or during a similar light-duty project. However, for an expert working with self-driving screws on massive jobs where appearance is not a concern, skipping the pre-drilling process is a fair call. Get it? Great.
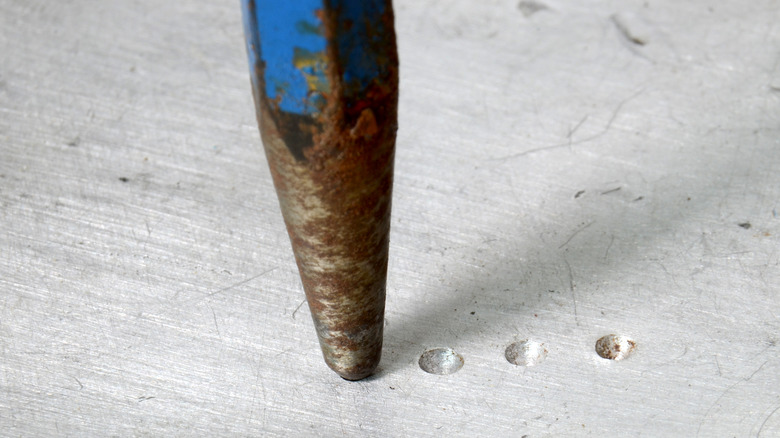
2. Choose the right size drill bit
Home Questions Answered explains that pilot holes punched with overly large bits do not offer enough screw-to-wood grip, while super small holes can be difficult for screws to travel through. The perfect bit size should be a little smaller in length and diameter than the screw (for soft or thin wood), or must be the same size as the screw (for thick or hardwood). As a confirmatory test, Heartwood Art suggests holding the bit over and parallel to the screw in order to confirm the length, and then pointing both the tip of the screw and the bit at yourself to confirm the diameters. Alternatively, you can use the bit size charts prepared by Home Repair Geek.
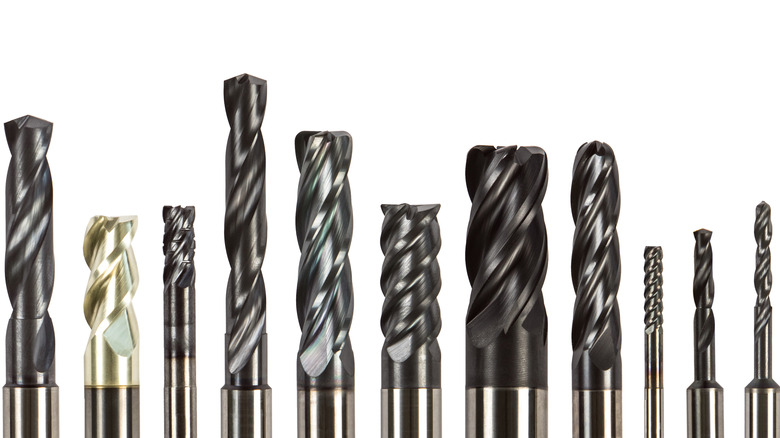
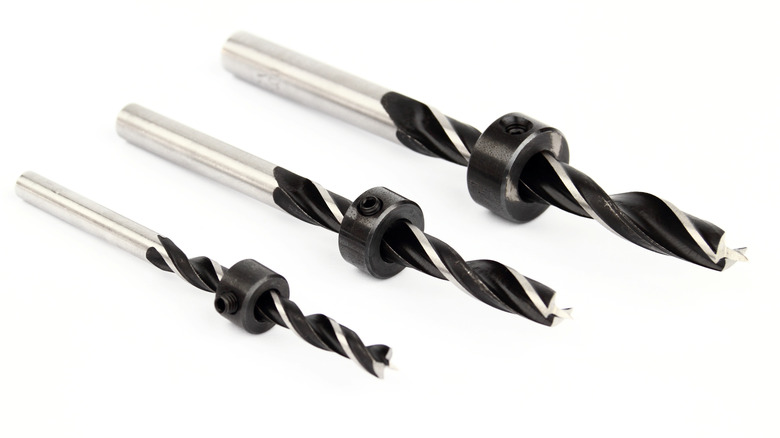
3. Use the right drill bit design
FYI, note the difference between drill bit size and design. Based on House Grail's list, there are 20+ designs of bits. And each time you attempt to use the bits designed for metal (for example, a high-speed steel bit, aka HSS) to bore wide holes through a block of thick wood, you'll wind up with slow progress, bit heat-up, or ugly-looking holes. To that end, Den Garden explains why the best designs for wood are brad point bits, spade or flat wood bits, masonry bits, and hole saws, while a spearhead or diamond bit works best on glass and tiles.
4. Drill straight before drilling at angles
Intriguing, right? Well, according to Saw's Hub, it is especially important when drilling angled pilot holes or pocket holes into wood to start off with shallow ones (preferably 1/18 inch or 1/16 inch into the wood) bored at 90 degrees to the wood surface. The Spruce explains that the purpose of this is to prepare the ground for an easy and precise angular positioning of the main drill tip. Ideally, the drill bit size for this prep work should be half in diameter and length compared to the main drill bit.
5. Mark out the drill spots

Identifying exactly where to punch your pilot holes is required for high-precision drilling. And to you minimalists, nice try, but Bob Vila disapproves of settling for finger-marking or eyeballing your drill's destination, to avoid misalignment. The proper way to do it for fast, easy recognition of a hole's location is to draw clear and visible marks using a pencil. Alternatively, and even better, you can make an X on each location by using masking or painter's tapes (these tapes also serve as protection against wood cracks).
6. Make initial indentations
Indentations are the slight recesses that you should punch to the surface of your material, right in the spots where you want your pilot holes. Bob Vila writes that instead of placing your drill up against a flat surface, these indentations help to maintain the balanced positioning of a drill, thereby preventing slippages. According to Wood Working Trade, the professional tool for creating initial indents is either a center punch or a scratch awl. However, if you're short on tools, your hammer and a nail will do the trick.
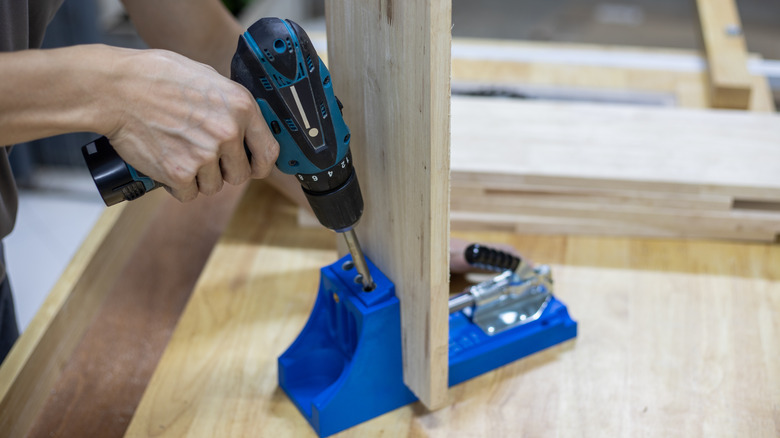
7. Use clamps correctly
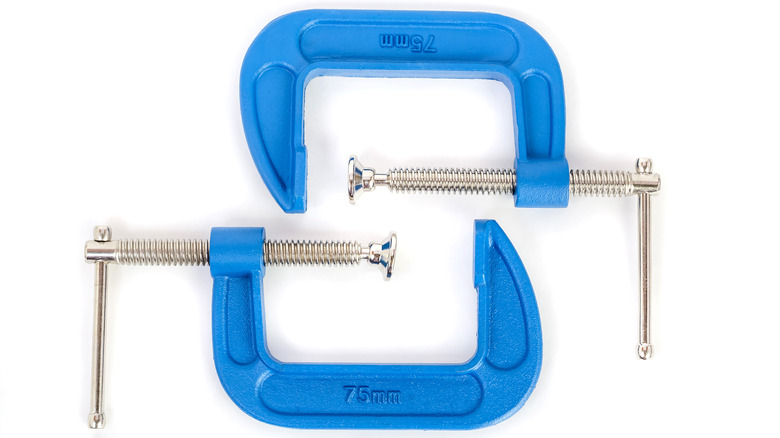
Clamping the wood correctly before drilling will not only prevent your setup from wobbling out of position but, according to Wood Work Junkie, also promotes operation safety, speeds up your process, and ensures that you carve out clean and precise pilot holes with minimal efforts. If you're not new to this tip but these advantages have never been on your side, you've probably been doing it wrong. As explained by Saws On Skates, it takes a minimum of four bar clamps to adequately secure your material in place, with each of the clamps positioned and tightened to apply an equal amount of force on the material.
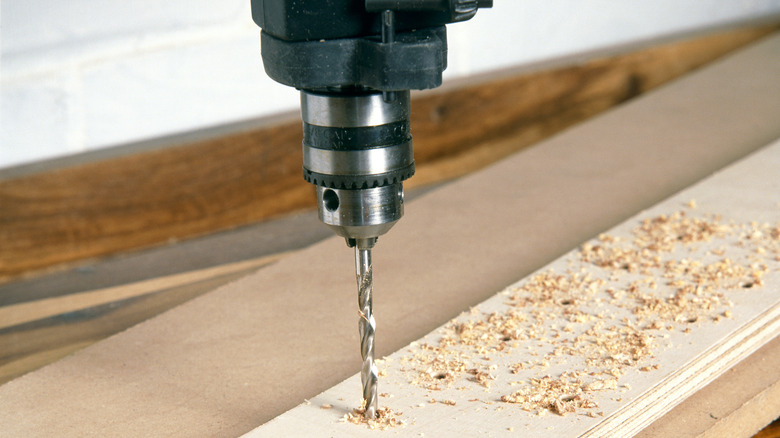
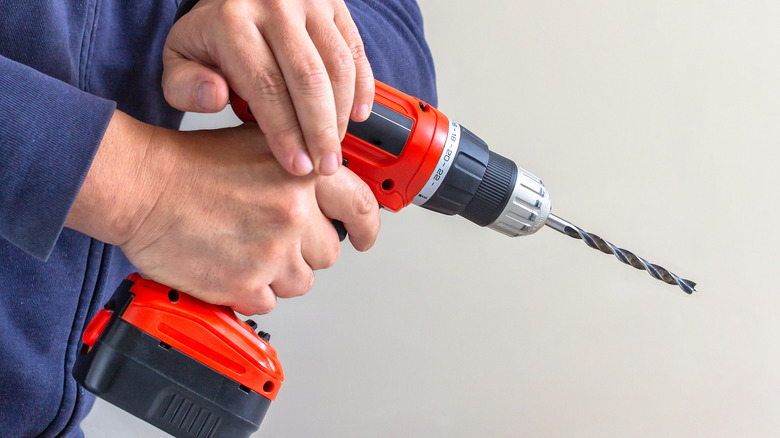
8. Feed the bit steadily into the wood
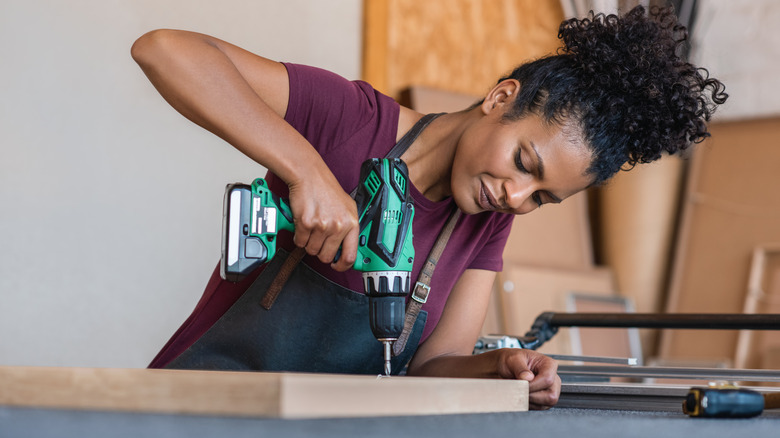
It's better to schedule your project for a free day than to aim at executing it when under time constraints. As Wood Magazine explains, while drilling in a rush you're likely to force your bit into the wood too fast and, unfortunately, wind up with an overheating (sometimes, broken) machine or burnt woodwork. Drilling too slowly with light pressure is not good either as this may make cutting impossible, rough, or ugly. Instead, let the speed chart created by A Butterfly House guide you to set the right drill speed, then feed the bit steadily into the wood with minimal pressure, not too much and not too little.
9. Implement safety practices
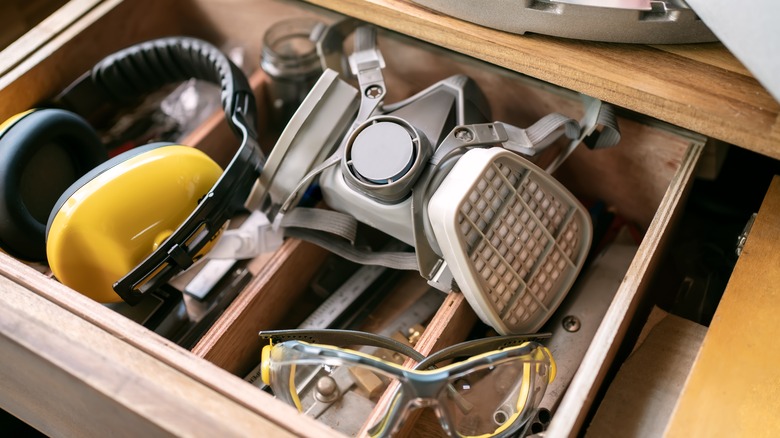
You probably already understand the need to wear safety glasses and the importance of changing into more snuggly-fitting clothing plus closed-toe shoes before drilling. But beyond keeping yourself safe with PPE, Vision Aware advises that you should also declutter the work area, keep away unneeded tools, and organize all workhorses to be used inside a tray close by before engaging. Doing these steps prevents distractions and allows you to focus on punching perfect pilot holes. In addition, drilling when exhausted, frustrated, or under an influence is a no-no. Yes, let's stay sober this time, bro.
10. Learn to operate your drill

How you handle an electrical portable drilling gun is quite different from the way you work with a bench and pillar driller system. And even though the portable drill is the most used by and recommended to DIYers, weekend woodworkers, homeowners, and beginner handyfolk, as Maan Techno Plus explains, yours is just one out of the many models/brands mostly with non-similar modes of operation. So, bottom line, read the manual that comes with yours to understand the nuances of operating it.
11. Set depth stops
Depth stops are small but tough collars worn and tightened around drill bits at a determined height or level to prevent over-drilling (aka drilling beyond the target wood depth). A Butterfly House writes that depth stops are sold in sets containing different sizes depending on your bit size (length and diameter) and are super easy to use. All you have to do is slip the collar over your bit, adjust it to the top of the level where your hole depth is determined to end, and tighten it there with a hex key or whichever mechanism is unique to yours.
12. Examine your setup before drilling
This is a crucial step that can defend against poor results, possible hazards, and frustrating operations. However, if you're already minutes into the pilot hole-carving process and suddenly your drill stops spinning properly, you should examine your setup. According to A Butterfly House, this examination ensures that the bit isn't bent (replace it if it is), inspects to either tighten a loose chuck or replace a broken one, and confirms that the drill bit is inserted correctly.
13. Know the alternatives
Other than the standard electric drill, there are four alternative tools for punching pilot holes: a combo of chuck and a simple hand drill, a hand eggbeater drill, a bit and brace hand drill, or a semi-circular chisel. These options come in handy when the electric driller machine isn't available and you have an urgent task at hand. Top Cordless Tools explains how to use them and confirms that they promise higher success rates compared to the traditional fire drill method.
14. Use attachment guides
For those of you who can't drill a straight hole to save your life, a drill guide attachment will convert your electrical or mechanical hand drill to a portable drill press that ensures a 100% perfectly perpendicular pilot hole. Alternatively, Popular Mechanics suggests building a right angle drill guide or holding an old CD to the wood, with the center positioned where you want your pilot hole. To build a jig, nail two scraps of 1 X 2 woodblocks together to form a perfect right angle. Once built, position your bit to the corner of the jig at the marked hole destination and drill.
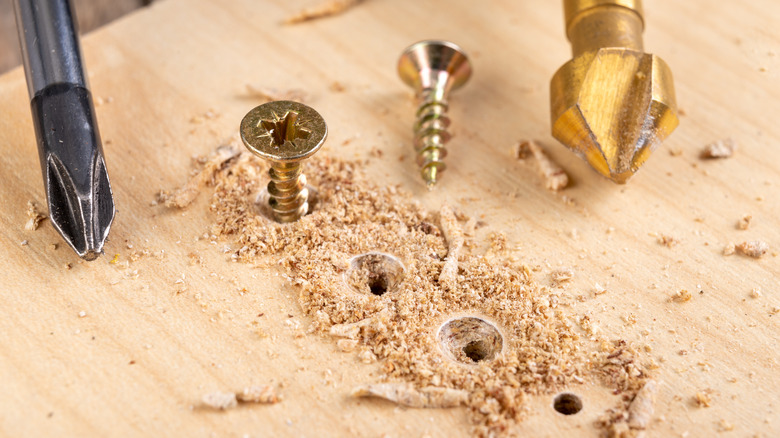
15. Use countersink bits
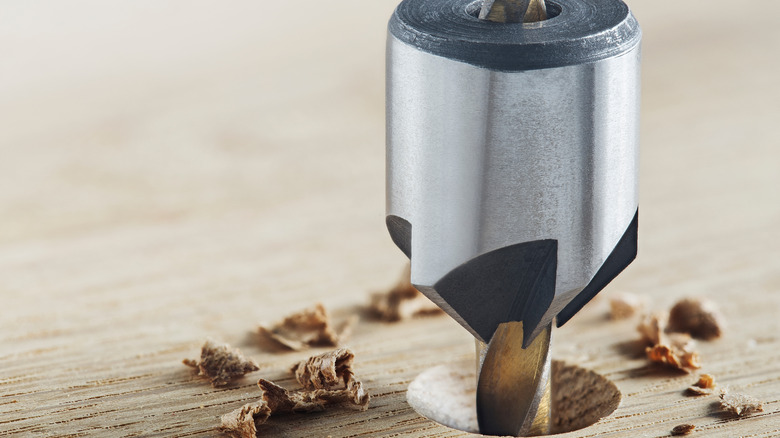
Finally, if you plan on using countersunk head screws, your pilot hole won't be perfect without a countersink. Going by the definition given by Saws On Skates, a countersink is an area of recession above the pilot hole; it is punched there for the screw head to sit below the surface of the wood. This prevents it from causing harm or getting damaged, and allows it to make better contact with the wood. For this purpose, it's better to use a countersink bit instead of the regular kind. And if you'll be using the regular bits, Hand Tools Essentials offers a complete guide for making the perfect countersink manually.