4 Ideas For Painting Your Window Trim Like A Pro
When it comes to making your home look like it was designed by the likes of Kelly Hoppen, even the tiniest detail matters. From rug choice to ceiling design and even curtain and window bits, they all matter. This brings window trims to the discussion. You may not be a big fan of window trims, but undoubtedly, they add an extra highlight to the home, either interior or exterior. According to Allura USA, they're also a safety measure, sealing your windows and covering sharp and dangerous edges.
Regardless of its pros, a shabby-looking window trim will disrupt the beauty of your space. But, do you know those trims can regain their beauty? Pella Windows & Doors of Southern New England says to buff the trims up by painting them. The idea of a window trim update can seem like a massive project that requires a chunk of cash. In fact, Porch says that it costs about $178 to $433. But why pay all of that when you can easily DIY? For the DIY enthusiast, we're going to share the tips and tricks for painting the trims like the pro you are!
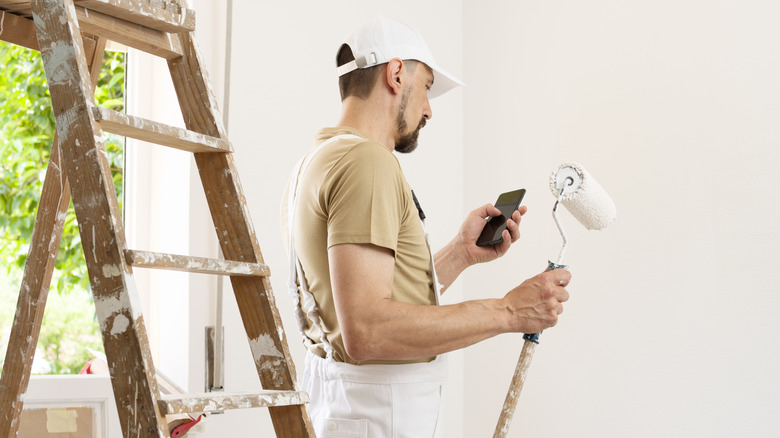
All you need for this process is a trimming brush, warm water, a soft sponge, wood fillers, a drop cloth, a bucket of glossy paint, and sandpaper. Bring these along, and get your space looking more radiant with newly painted window trims.
Clean window trims thoroughly
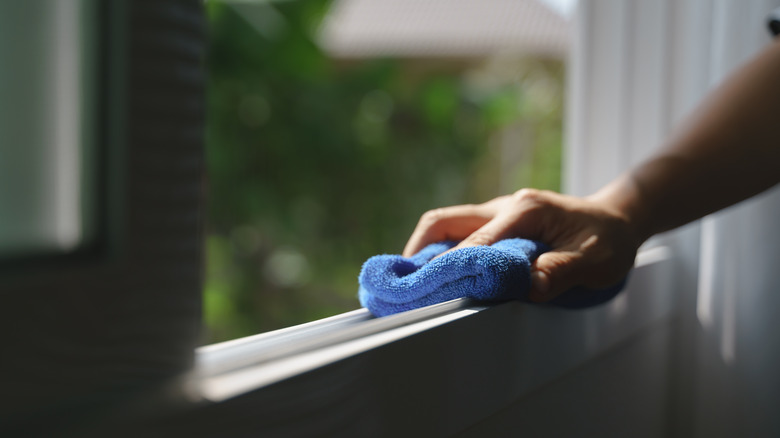
The first process to painting your window trims like a pro is cleaning off all stains and dirt from their surface. Even if your home is super clean with sparkling trims, the presence of some microscopic dirt will hinder the paint from sticking well, especially in the kitchen and bathroom areas where a grease or mildew buildup isn't far-fetched. To clean your trims, get your soft sponge, cleaning soap, and dry cloth.
It's best to use warm soapy water, says Eco Paint Inc. Thoroughly clean out dirt and dust from the wood trims and leave to dry for a while. For grease and mildew buildup, mix chlorine bleach with water and apply with a piece of cloth on the wood surface (via Molly Maid). As an alternative, applying liquid soap and baking soda mix to the wood will also melt down the mildew buildup, recommends Clean My Space. While doing this, check through the wood trim surface for any rot or damage on the wood. You need to consider changing the damaged ones because they will affect the finished look of your window trims (via Five Star Painting).
Scrape off old paint
Next, you have to scrape the surface of your window trims. This step applies if you're repainting old trims. Suppose you live in an old house built before 1978. In that case, you may need your safety kits (masks, goggles, and gloves) to avoid lead poisoning, says The Painting Pros Inc. (Homeowners commonly used lead paint during that period, and it contains harmful substances that can affect your health).
Scraping can be messy, leaving your whole space filled with particles flying everywhere. To avoid double-work, lay a drop cloth on the floor covering the trim sides. Now for the scraping process. Many would recommend applying chemicals to clean off old paint, but according to Do It Yourself experts, this will damage your paint quality upon application. Instead, get a paint scraper, preferably plastic, to do the job. It's time-consuming but the best option for your trims and paint.
Another method is by using heat guns. According to Master Appliance, the emitted heat melts down the paint, making it easy to wipe off with a piece of a damp rag. Using either method, thoroughly clean off paint from the surface before moving to the next step.
Fill up wood holes

You may have noticed one or two holes in your wood trims or nail bulges while scraping. Leaving this without filling will create a rough surface on your wood trim after painting. A wood filler is your best bet here as it helps you fill up those tiny holes instantly. You can decide to get it from the store or make yours at home.
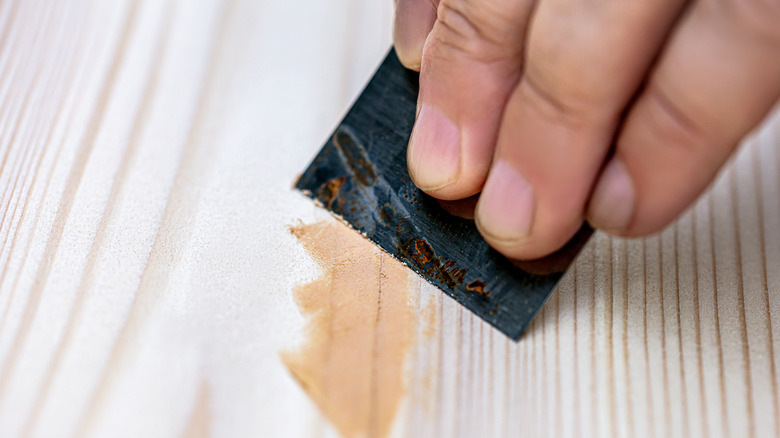
For homemade wood filler, you'll need to mix sand, fine wood scraps, or sawdust with your wood glue, says Woodworking Clarity. Mix thoroughly before applying with a putty knife on the wood trims (via Knock Off Décor). Leave it to dry before sanding the wood surface with a sanding disc or coarse sandpaper.
The sanding process will help you smoothen the wood trims, preparing them to be painted. Repeat the process until you're good with the outcome and to double check, feel the surface with your fingers to locate any bulgy area, says Imhoff Fine Residential Painting. Your sanding process will leave wood dust on the surface, so clean it off with a dry cloth. If you've completed this process, your wood trims are ready to be painted.
Paint the wood trims
Before painting, there are a few tips to get that perfect finish. First, you need to seal out the other sides of the window and wall area close to the trims using painter's tape. This is important because you want to achieve that sharp-edged look on your trims, just like a pro. When masking, ensure the pieces of tape overlap to prevent spilling and drilling paint to these sides, especially if you won't be painting them (via Q1).
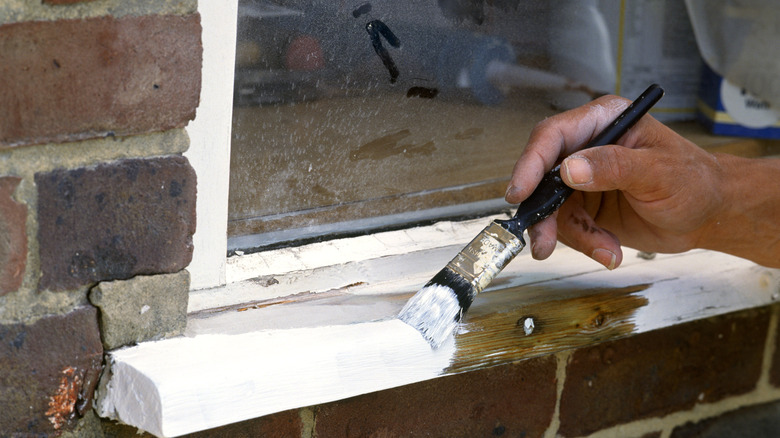
After, you need to apply wood primer on the cleaned and dried window trim using the trimming brush. According to Glidden, the wood primer is a protective layer that serves as a foundation for your paint, making it stick well to the wood surface. Generally, a coat of wood primer is enough, but if you notice any bare part of the trim, Woodworking Clarity experts suggest applying an additional layer. Leave to dry for about an hour before moving on.
You can now paint your wood trims. Gently apply the paint vertically, forming long strokes. While painting, ensure the narrow and lower sides of the window trims are well-coated. Repeat the process until all areas of the trims are covered with your paint. Then, leave to dry completely, preferably overnight. Remove the masking tape gently after the paint is dry to avoid smearing the paint (via PPM Industries). Enjoy the beautiful view of your newly-painted window trims.