11 Mistakes Everyone Makes When Installing Marble Countertops
Did you know that a mere 4% of homeowners choose marble countertops when remodeling (via Statista)? Though quintessentially luxurious and sought-after, real marble commands a much higher price than imitation alternatives like quartz. While engineered quartz typically costs between $55-$155 per square foot, marble will run you roughly $75-$250. Paying (at the low end of the scale) $25 extra for every square foot might not seem like much, but when you multiply the added cost by the size of your counters, opting for real marble can push the price of your project up by a few grand.
No one wants to make mistakes when installing big-ticket items like countertops. But because marble will hit your wallet substantially harder than faux alternatives, it's especially important to get the installation process right. From choosing your slab to mounting it atop your cabinets, there are lots of opportunities for error. Messing up a marble surface installation can leave you with, at best, design regrets. At worst, you can wind up with a cracked slab and a dent in your bank account that runs a few thousand dollars deep. Read on to discover the most common marble countertop installation mishaps you can, and should, avoid.
Not carefully considering different types of marble

Remodels inevitably involve a seemingly never-ending stream of decisions. By the time you arrive at the point where you've decided to commit to marble, you may assume all that's left is to view some slabs and pick one you like. But it's not that simple. From here, you still need to determine exactly which types of marble will suit your space and lifestyle.
If you've already done some research into marble, you'll know that it's softer and more porous than most other types of countertop materials. Marble will mar, etch, stain, and possibly chip over time. Even if you're fastidious about wiping up spills, resealing, and caring for your counters, most marble surfaces will develop signs of use. However, the type of marble you choose can determine how visible the inevitable patina is. Dark marbles, like Nero Marquina, can make certain stains harder to see. Lots of intricate veining with plenty of movement and color variation (like Calacatta Viola) can also disguise signs of wear and help your eyes focus on the pattern rather than the patina, making them a perfect choice for hardworking kitchens. White marble, on the other hand, is better at hiding damage from acidic substances, such as lemon juice. Acids create pale etchings in marble, which can stand out strongly on dark slabs. If you know you're going to agonize over every new blemish, picking a marble that's going to mask them will be a wise move.
Ordering everything else first

One of the potential missteps people make installing marble counters is ordering everything else for your kitchen first. Buying a marble slab is a big undertaking, and it can be tempting to start selecting the rest of your finishes before tracking down the right slab. But although choosing your kitchen details first and your counters second might feel the natural course of events, it can come with hidden costs. Countertops generally eat up around 10% of a kitchen remodel budget and can be one of the most expensive items. They're also a very permanent feature. Because marble is so costly, it makes sense to select your counters first and then match your finishes to them, rather than the other way around. With real marble, you're also confined to the naturally-occurring colors and veining — unlike paint, wood stains, and tiles that come in a plethora of shades.
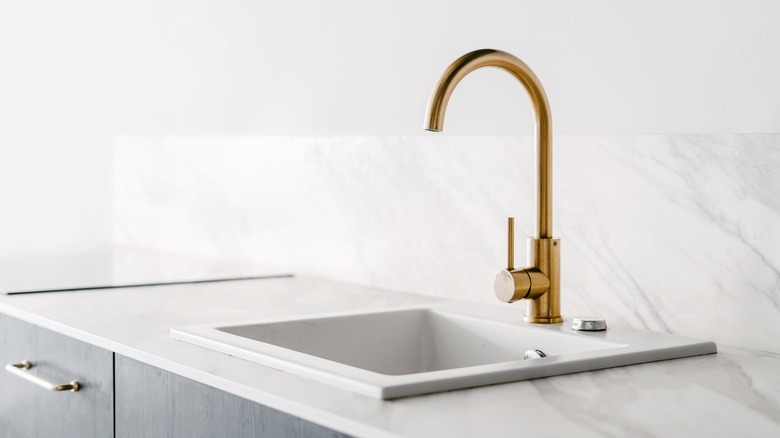
Prioritizing your slab choice and then matching the rest of the finishes to it won't just ensure a seamless color palette and a professional end result, but will also help you avoid awkward issues during the installation. For instance, you need to make sure that the threaded shanks on any faucets are long enough for the thickness of the countertop. Let's say you opt for a generous 1-inch slab mounted onto a sheet of plywood. If your faucet shank threads are 1 1/3 inches long, you won't be able to screw on the threaded washer that holds the faucet in place.
Not being meticulous with your measurements
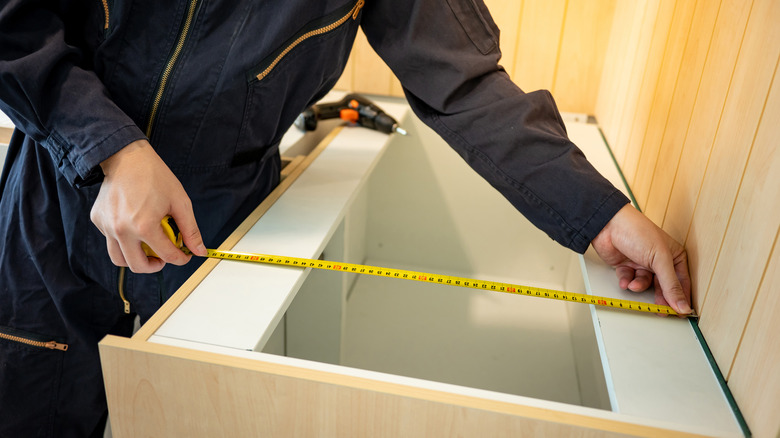
Before you start shopping around for a slab, you need to measure your total countertop area. The easiest way to do this is by drawing a diagram and then noting down the dimensions. To get the square footage, multiply the length by the depth, and then divide by 144. If you are replacing an old countertop, you may be able to use its dimensions as a guide. Keep in mind that you need to measure from the wall, not from where the tiles or backsplash meet the top of the existing counters. If you are installing new cabinets, you can use the plans to work out your total countertop area — just remember to include an overhang. The standard overhang for stone counters is 1 1/2 inches.
Once you know how much stone you'll need, you can start getting quotes and looking at slabs. If you're planning on cutting and fitting the counters yourself, you'll have to take things a step further when mapping out the dimensions of your surfaces. Besides measuring the total square footage, you'll also need to measure any cut-outs that are needed for the sink or stove areas. To ensure a perfect fit, professional installers use laser devices that allow for accuracy up to 1/16 of an inch. Digital measurements also enable fabricators to cut out counters that accommodate any imperfections in your wall or cabinets. If you want to create highly-accurate measurements for your surfaces, you can invest in a laser measure.
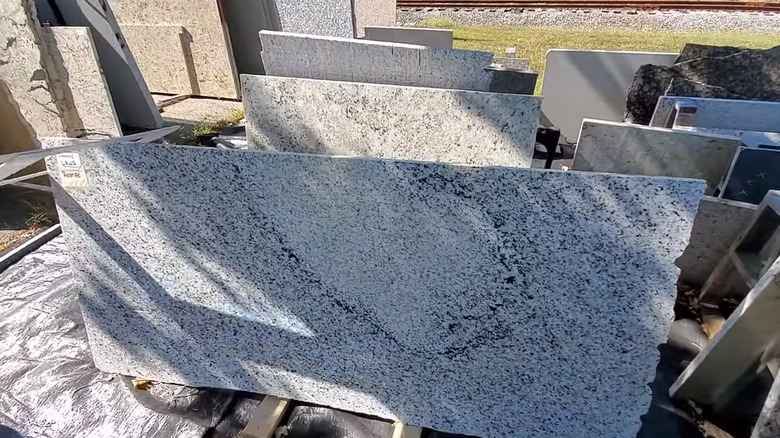
Not viewing slabs in person

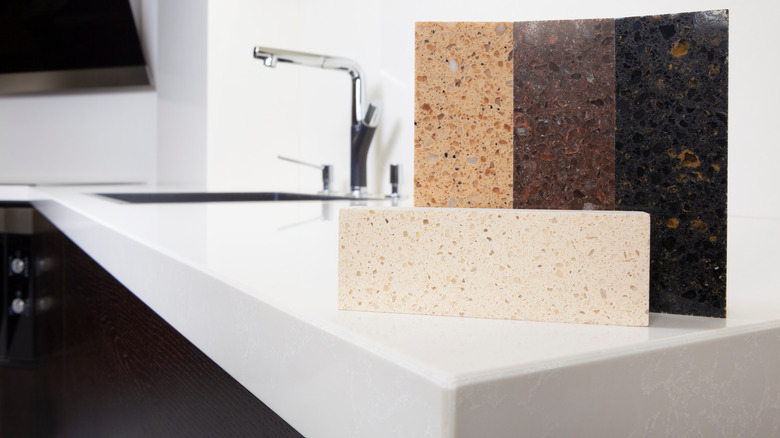
Once you've got an idea of the type of marble you want and how much you need, you can start calling up stone yards to find out what's in stock in your area. If you want a good deal, it may be best to avoid big box stores like Home Depot, skip the middlemen, and instead head to a local stone supplier or fabricator. While you may be able to place orders over the phone or online, it's always a good idea to visit the showroom or stone yard in person. No two marble slabs are identical, and it's important to view what you're buying before committing. Colors and veining can vary widely from pictures online. Small samples also aren't a good indicator to rely on. Buying an entire slab of marble based on how a 4-inch by 8-inch sample looks is like buying an expensive piece of art after just seeing a small corner!
By viewing your slab in the flesh, you can make sure it's what you've ordered. If a fabricator is going to cut the stone, this will also give you a chance to choose which sections of counter come from which parts of the slab. For example, if there's a particularly graphic piece of veining that you like, you might want this on your island instead of close to the sink, where some of it might be cut away.
Picking an edge profile at random
Once you've selected a slab, the next choice is what type of edge profile you want. This is an important decision that will have a big impact on the look and feel of your counters, and it can also be a critical safety consideration. Very square corners can cause more severe injury than rounded ones. None of us want a bruised hip bone from bumping against the kitchen island, and sharp profiles can be particularly hazardous for children and the elderly. Angular edges are also more prone to chipping than curved ones.
If you're after a contemporary look and sharper angles aren't a big concern, eased edges offer the most square profile, with just the very corners honed down. Top and bottom rounded edges have less angularity, while still looking current. Beveled edges are another contemporary option, and their slanted angles create a reasonably soft profile. A Roman round edge can give a nice transitional look, having small corners where the curved profile meets the flat surfaces of the counter. Half-round edges are a popular, versatile choice that can suit most styles of kitchens. Their only drawback is a sharp underside that can be hard on any small, hip-height heads that may be roaming around. Full bullnose edges are the most curved and arguably the safest. Besides these simple styles, you can also opt for more ornate, traditional profiles, such as ogee and elite edges.
Assuming polished finishes are more durable than honed
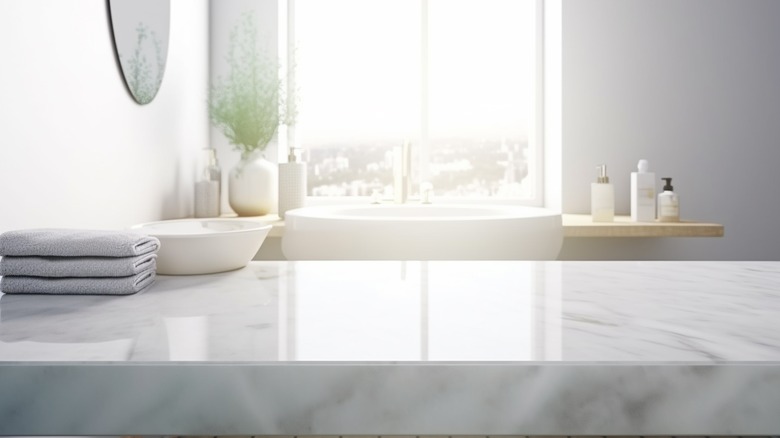
For decades, polished finishes were the default for kitchen countertops. But the ongoing trend toward texture and organic aesthetics has triggered a big uptick in the popularity of honed finishes. While honed finishes are very "of the moment," a lot of people worry that they won't be as durable. Although the surface of honed marble is more textured and porous, it can actually hold up better against etching. Etching happens when an acid eats away at the sheen, leaving a pale discoloration. Because honed marble doesn't have much sheen to begin with, this can make etched areas less visible.
As far as impregnating stains go, both polished and honed marble are equally vulnerable to marks and scratches. But with a less shiny and more rustic, honed finish, any imperfections that accumulate can look more natural. Matte marble is also great at hiding fingerprints. Overall, honed finishes have a very soft, calming look to them and play perfectly with organic modern design and wabi-sabi-type styles.
Thanks to it's alluring looks and added practicality, honed marble is undoubtedly here to stay, but this doesn't mean that polished surfaces don't have their own set of advantages. Polished marble is great for bouncing light around and pairs well with traditional, ultra-modern, and very formal kitchens. Polishing can also accentuate the color of the stone.
Not checking nearby pipes and electrics
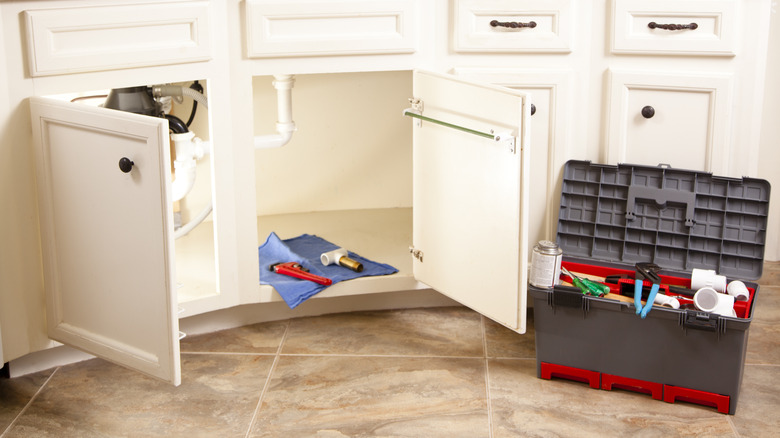
If you're doing a purely cosmetic upgrade, you might not have budgeted for electrical or plumbing work. But before you install your new surfaces, it's always a good idea to thoroughly check any nearby plumbing, gas lines, or wiring. This is a wise move no matter what type of countertops you're installing, but it's especially important if you're opting for a premium option like marble. You don't want to have to rip out your beautiful, new (and costly) marble counters because there's a plumbing leak or electrical fault you can't access.
Start by mapping out all the plumbing and wiring in the area, paying particular attention to the lines behind your cabinets. Check all of the connections for leaks, faults, or signs of wear. If you come across an iffy junction box, old wiring, or a valve that looks as if it's on its last legs, have a plumber or electrician come and do an inspection. If certain valves or junction boxes are going to become inaccessible as soon as the countertops go into place, you may need to get them relocated. If there are any other changes you want to make, such as running plumbing for a new dishwasher, wine fridge, outlet, or wall-mounted oven, now is the time to do it — not after the countertops are in.
Not removing old features first
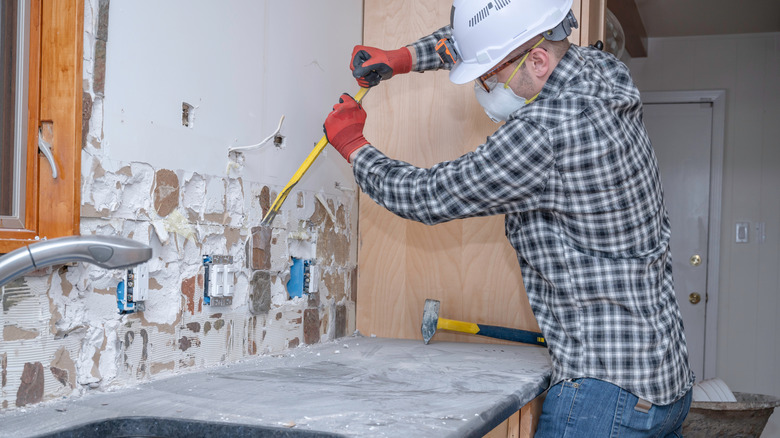
Another thing that needs to happen before you can get those gorgeous new countertops installed is to remove everything that's destined to go during the remodel. If you're replacing the backsplash, you'll need to get down the old tiles and clean up the back wall. If you're ripping out the old countertop, make sure you meticulously clean up any residue. Untidy areas of leftover glue can make it harder to neatly apply a new layer of silicone. Irregularities in the top surfaces of your cabinets can also create points of torsion, placing strain on your newly installed countertop.
The easiest way to remove stubborn adhesive residue is with a wire brush on a drill attachment, or you can also use an abrasive pad. Once you've gotten the worst of the residue off, apply some mineral spirits to a rag and wipe the tops of the cabinets and any supports or other areas where the new counter is going to rest.
Not making sure your counters are perfectly level
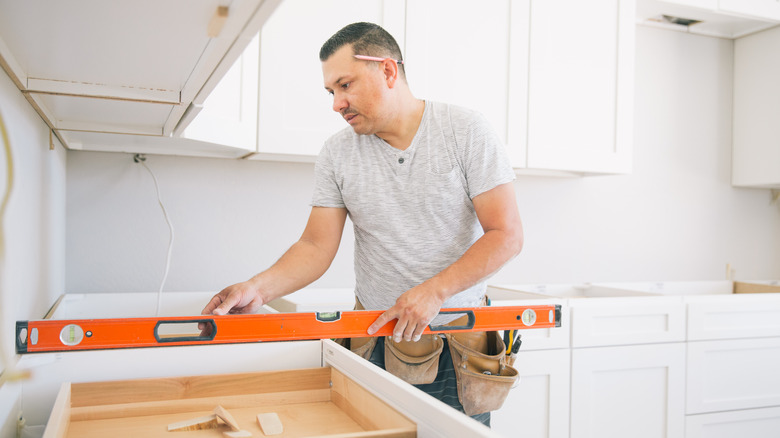
One of the most common mistakes to avoid if you're doing a DIY installation is not meticulously leveling the surface. If you already have existing cabinetry that you're dressing up with new marble tops, you're probably thinking your cabinets are already straight and flat. They may be generally level, but natural stone is far less forgiving than synthetic countertop materials. If your previous kitchen surfaces were made of laminate, they might have lasted for decades on a set of cabinets with sloped or uneven edges. Swapping them for real stone without checking the levels could cause your new marble counters to crack. Plus, no one wants sloped countertops.
The National Stone Institute recommends that cabinets bearing stone countertops should be within 1/8 inch level across a length of 10 feet. If you're installing a solid marble backsplash, the wall should be flat to within 1/8 inch. To check your cabinets, you will need either a laser level or a long spirit level that can reach right across their length. If you find that the tops aren't plumb, you can use shims to build up low areas. Depending on how bad the discrepancies are, you may need to insert shims under the base and along the top of any wonky cabinets. If adding shims creates unsightly gaps underneath the counter or above the toe kick, you can cover these with a slim piece of trim.
Forgetting about reinforcement
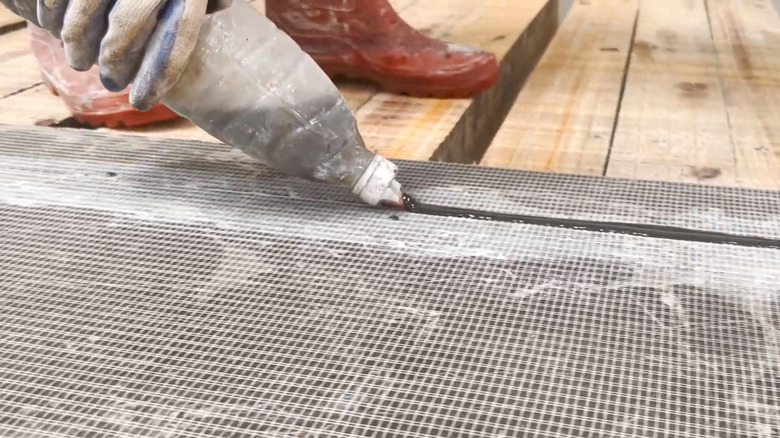
Choosing, buying, and getting a marble counter cut is a big investment of both time and money. If you're installing your own countertops, all of this will (literally) hang in the balance as you shift the stone into place. There is a very real risk that the cut slab might break if it's not handled with the utmost care. This is why professional installation is often recommended. Should the counter crack while it's being installed, the cost won't be on you, provided you're working with a legitimate installer. If you do have the skills to go the DIY route, you need to take every precaution to avoid breaking the slab as you carry and place it onto the cabinets.
Cracking is less likely to occur with thicker slabs or smaller pieces that don't have any cut-outs. But if you're installing a piece of marble that has been cut to accommodate a sink, this will leave thin strips on either side that are highly vulnerable to breakage during handling. One way that professional installers navigate this challenge is by reinforcing weak areas. The most common reinforcement methods are rodding and mesh backfilling. As the name suggests, rodding consists of inserting thin steel, carbon fiber, or fiberglass rods into recesses cut into the underside of the slab. During mesh backfilling, either a metal or fiberglass mesh is adhered with epoxy to the back of the countertop. If you have a large overhang on an island, you might also need to consider bracing the area.
Not considering remnants
Another mistake homeowners make when installing marble surfaces is ignoring the possibility of using remnants. If you have a lot of countertop real estate to cover, you won't be able to use remnants for the job. But your projects might create remnant pieces that you can strategically utilize in other areas. For instance, you can use narrow offcuts to install marble floating shelves, clad a recess, dress up your fireplace — the options are almost endless. Skinny pieces can also make a perfect low-profile backsplash.
If you're in the mood for some serious luxury, you can create marble baseboards from remnant strips. Large offcuts could be perfect for smaller, matching countertop areas in places like the pantry. You can even use them for new tops on furniture pieces like dressers and sideboards. If you're working with a stone fabricator, this will increase the total cost of your project, because you'll be purchasing more stone, but it's a great opportunity to add a distinct wow factor to your remodel. And if you're buying a whole slab from a stone supplier, the more of it you can use, the better.
On the other hand, maybe you're redoing a compact kitchen or a bathroom, and don't need all that much stone. Before you start eyeballing whole slabs, ask your fabricator or stone yard whether they have any remnants for sale. You might just find the perfect-sized piece and be able to slash the price of your project. Remnants are usually 40%-60% cheaper per square foot, which can equate to some serious savings.