Create Affordable Shoe Storage With These Handy Repurposing DIYs
At the end of a long day, there's nothing more satisfying than kicking off your shoes. Despite how lovely it feels in the moment, this is often the gateway to a cluttered space with shoes strewn across the floor and somehow separated from their matching pair. Fortunately, you can fight this probable dilemma by establishing a designated place for your shoes. This creates an incentive to keep them organized and easy to find and put away.
However, shoe racks and shelves aren't always budget-friendly. If no mass-produced shoe racks fit your budget or aesthetic, there are plenty of DIY and repurposing ideas to pursue. Below are eleven affordable shoe shelf and organization tips for creating practical footwear storage. These are space-saving ideas that use items you already have or cheap products from popular retailers, making them possible for any budget. Read the article below to learn how to make these shoe shelves, as well as some tips regarding the materials and tools needed to complete them.
Stack old fans to create multi-tiered round shelves

Small tabletop fans from Walmart and other retailers are notoriously cheap but not long-lasting. You'll need at least two fans to DIY a shoe shelf. Aside from the fans and their salvaged components, you'll need Amazon plastic lids, scissors, pliers, and paint. Assemble according to the meticulous instructions in Sarella's Blog on Instructables.com. She paints her fan first thing, but you can use acrylic spray paint on the finished build. It should dry in 30 minutes to an hour, but make sure it's fully set before storing your shoe collection.
Create shoe cubbies out of PVC pipes
With the right-sized pipes and simple aspirations, you won't need many tools to make a PVC pipe shoe rack. Purchase a single pipe or multiple pipes off Amazon that are at least six inches in diameter and several feet long. You can also search for cheap scrap pipes on Facebook marketplace, Craigslist, or local Habitat for Humanity ReStores. Use a pipe cutter or cable saw to slice the pipe into multiple foot-long pieces. Since you aren't using the pipes for plumbing purposes, you can use any strong adhesive, like Gorilla Glue, to fasten them into your desired shape.
Hot glue dollar store bins together to make budget-friendly shelf
Using Dollar Tree's stackable plastic bins and Hobby Lobby's glue gun, DIY your own shoe cubby in the colors of your choice. Simply stack the bins atop one another and use a glue gun to seal them together. Make these bins as tall or wide as you need, storing each pair of shoes in an individual cubby. Jazz up the design by weaving Amazon string lights or decorative vines through the bins' cut-out circles to make the shoe shelf more aesthetically appealing and fun.
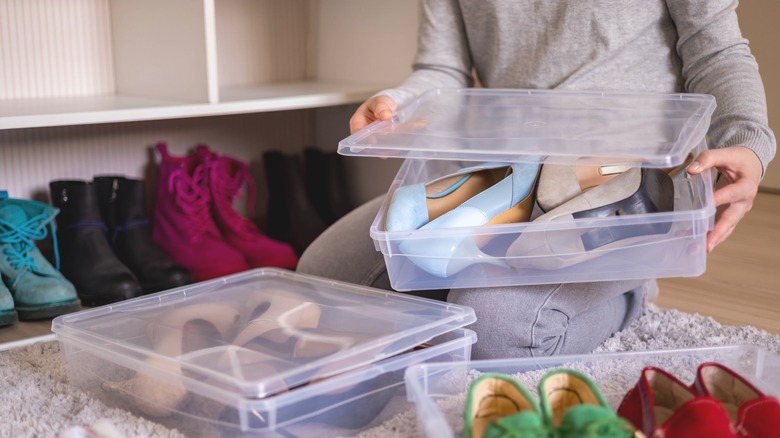
Organize pairs in book bins on closet shelves
If you already have space designated for shoe storage but need to keep them more organized, use Dollar Tree's colorful plastic book bins. These pastel-colored school supplies have the perfect dimensions for holding flats, flip-flops, sandals, slippers, and other narrow shoe types. Line the bins on a shelf in your closet, and tuck your shoes inside. Label the outside of each bin with adhesive labels and permanent markers to make it even easier to put away and find shoes.
Hang shoes on dollar store hook hangers
Save your floor space and use Dollar Tree's wall hooks to elevate your shoes. Purchase these hangers in sets of two. Each product has seven hooks, so you'll need them in sets of two to get an even number of shoe hangers. They come with screws and plastic anchors so you can attach them to the wall. Use a hardware level to make sure the hooks are on straight before you commit to a spot, hammer in the screws, and your shoe storage is set and ready to use.
Connect wire shelf dividers to make a corner shoe shelf

Dollar Tree's wire shelves are basic in design but rich with potential. You'll need multiple shelves to hold your shoes, but each one is only $1.25. Shoe pairs are roughly 12 by 8 inches when stood side-by-side, so each shelf will hold one set. Purchase as many shelves as you have shoes, and fasten them together using Amazon's small cable ties. Currently, the stackable version of these wire shelves is unavailable, but once they're back in rotation, you'll be able to make more tiers on your wire shoe shelf.
Create a shoe rack out of recycled cardboard
Start saving your large cardboard boxes and repurpose them into a stylish shoe shelf. You'll need four large slabs of cardboard and 40 smaller rectangles, as seen in Mika Tika's tutorial video. Use a hot glue gun to glue the smaller pieces together to make the foundations and sides of the shelf. The four larger slabs will form the surface holding your shoes. Use Amazon's Gesso Primer to prep the cardboard for painting, then use Apple Barrel Acrylics to color the shelf to your desired shade. Do not skip the primer, since paint does not bind well to cardboard without it, and your shelf won't turn out as you likely intended.
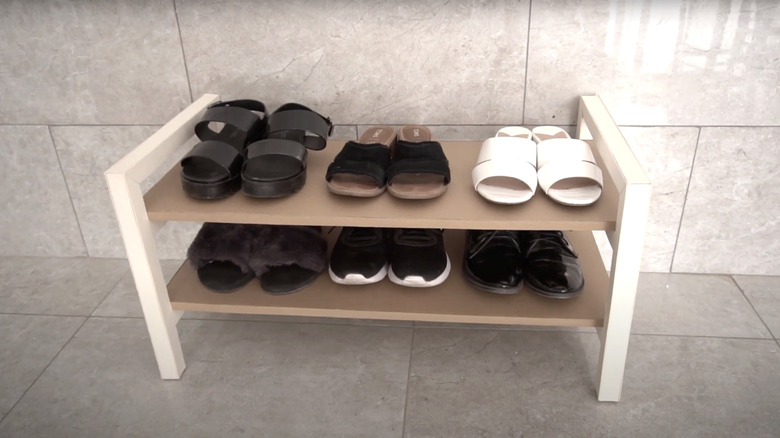
Use floating shelves to hold your favorite shoes
Minimalistic floating shelves are great for showing off your shoe collection and utilizing empty wall space. The only prerequisites are that your shelves have at least a 10-inch depth (or bigger if you wear larger styles or have larger feet) and be able to support the weight of your shoes. Amazon carries this dual set of black floating shelves for $12.99, while IKEA sells longer but pricier floating shelves for $24.99 each. Install either option in your designated space, following the manufacturer's instructions, and display your shoes as you see fit.
Repurpose a rectangular flower box to hold shoe pairs
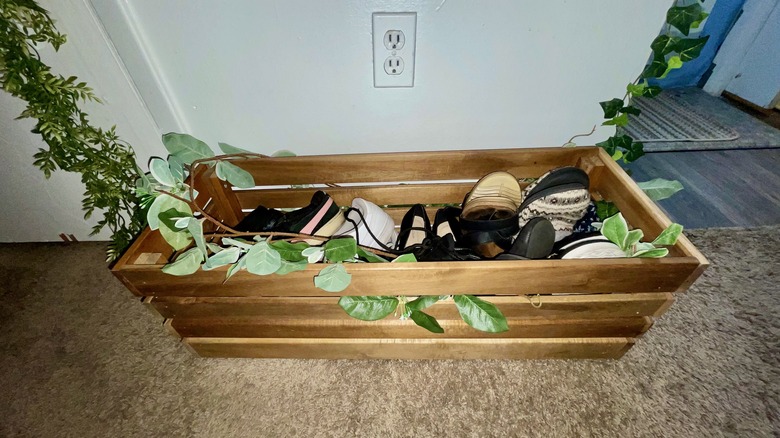
Put a spin on a wooden flower planter by repurposing it into a rustic farmhouse-style shoe box. IKEA carries a 30-inch long by 10-inch wide flower box for about $40, and Home Depot has a similar smaller version for around $25. There are no special additional steps to setting up your impromptu shoe box. Put the wood box inside your closet, at the foot of your bed, or against a wall, and arrange your shoes inside. Paint the box with Amazon's acrylic paints or drape faux greenery, colorful tassels, or wooden beads around the edges to add a decorative touch.
Transform a dresser into shoe storage
Second-hand dressers are easy to find on Craigslist, eBay, and Facebook Marketplace. Even Amazon carries a cheap seven-drawer dresser that easily fits multiple pairs of shoes. Once you have your dresser, tuck individual shoe pairs into drawers, keeping them out of sight but easily accessible. As with other tips on this list, make sure you buy furniture that is large enough to hold each pair. The drawers must be 2 inches high for sneakers and flat shoes, but even higher if you plan to store boots or heels. The drawer itself should be at least 12 inches one way to fit the length of your shoes.
Replace the bottles in a lattice-style wine rack with pairs of shoes
The slots for wine and champagne bottles on wine racks are great for more than just an alcohol collection. Amazon's lattice-style bottle shelf has ten cubbies that are unintentionally functional for shoe storage. The collapsible stand is lightweight, and each slot is about four inches wide. Given its compact size, this concept won't work for adult sneakers, boots, and heels. However, it is a great storage solution for children's shoes and small adult flats, sandals, and flip-flops.
Craft recycled cardboard into storage cubbies
You'll need two sets of three identical boxes to DIY a cardboard shoe cubby. One set will make up the top shelf, while the second set will make up the bottom. The two sets can have different heights, but their length, width, and depth should match up. Hot glue the boxes together, following @thecardboardqueen's technique in her TikTok tutorial. You can either make your own cardboard drawers or look for fabric storage bins to tuck into the open cubbies. Don't forget to put a coat of primer before using acrylic paint if you color the assembled cardboard.