This TikTok Hack Will Help You Dress Up Wire Shelves
If you're renting an apartment or condo, or you just moved into a pre-fabricated home, there's a pretty good chance you're dealing with wire metal shelves. While these are practical and affordable shelving pieces, they lack style and can throw off your home's aesthetic. Whether you're looking for a renter-friendly DIY cover-up or just don't have the budget for new shelves (homeownership is expensive) then, this hack may be the perfect solution. If you've decided you need a design upgrade but don't want to blow your whole paycheck, read this guide for a quick, renter-friendly wire shelf DIY.
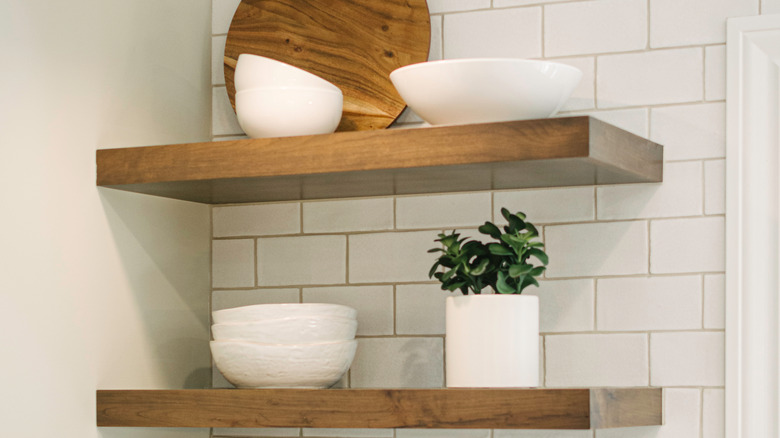
Created by TikTok user @beingtheblooms, this simple DIY can give your wire shelving a much-needed upgrade and give the appearance of floating wooden shelves at an ultra-tiny fraction of the cost. To complete this craft, you'll need measuring tape, foam board, scissors or a precision craft knife, clear tape, a pencil, and a stick-and-peel wood grain printed wallpaper. In just a few steps and with a little know-how, you can have this chic upgrade in minutes.
Power tool-free shelf renovation
To begin, you'll want to have your measuring tape and a phone or a pencil and paper to record the measurements. You'll need to measure the height, width, depth, and exposed sides. Once you have all of your measurements down, head over to your foam board. Using your pencil, trace the measurements out on the foam board. Before you pick up your scissors, double-check the measurements. When you're done with that, it's time to cut. It should be noted that while scissors will work fine, it will be harder to get a clean border on your cuts when compared to a precision craft knife.
After you've cut your foam pieces, hold them up against the shelf so you can be positive they're the correct size, or else you'll be wasting time and material. If it's a go, you're ready for the next step — pasting it all together. The TikTokker @beingtheblooms uses moving tape, which is clear and broad. You can also use quick-drying glue if you're more patient, but tape works just fine for this project.
Installing your DIY floating shelves
The next part may take the longest since it's going to be what actually shows on your shelving unit. For the most realistic effect, choose a peel-and-stick wallpaper that comes in separate "tiles" and that has smooth continuity between pieces. In other words, you want a photo-realistic wood grain print. No stress if the blocks don't measure out perfectly, as you can trim them as needed. Work from one side to the next until the entire foam board structure is covered.
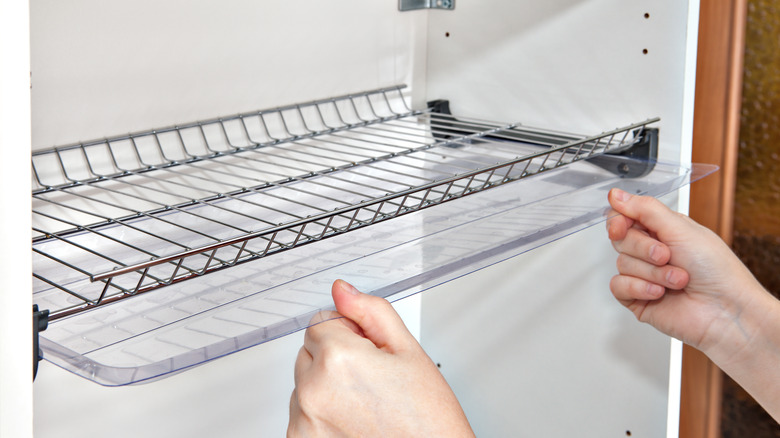
When you're satisfied with the look, you'll just pop the foam board shelf covers on top of the wire racks, and voila, you've done it. If the bottom of your shelves will be visible, you may want to cut and decorate a bottom piece of foam board to cover up any exposure, but this won't be necessary for all crafters. Now, you'll be able to stack your favorite glassware, books, candles, and more on your chic DIY floating shelves without losing out on next month's rent.