The Easiest Way To Remove Peel-And-Stick Tiles
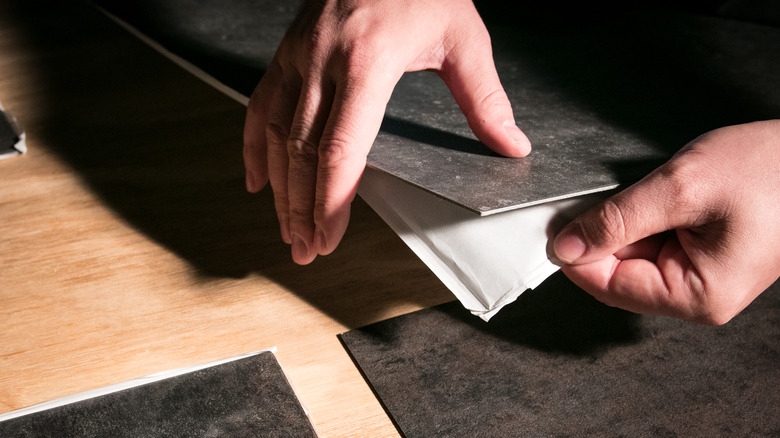
Thinking of redoing that kitchen backsplash or bathroom walls but just don't have the knowledge or time to figure out how to cut tiles, lay down mortar, grout, and all the other steps that go into the project? Well, that's where peel-and-stick tiles come into play. This type of cost-effective and easy-to-use alternative is ideal for the home do-it-yourselfer. Generally made of vinyl, these tiles can also be found in thin metal or glass varieties and can take on the look of porcelain, marble, or other textures, and can be way more inexpensive than porcelain tiles, according to Tile Club. They can be easily cut to fit in the space you need and have a convenient adhesive backing. Once ready for use, these tiles can be simply peeled and placed wherever you like.
However, when it's time to replace the tiles — either because they have been damaged or you're just looking for a fresh look — there are steps you should follow to quickly, easily, and efficiently take them off. Although the process may not be as quick as it is to install them, with a little patience and a few tricks, you can have your peel-and-stick tiles removed in no time.
Use heat and start with the corners
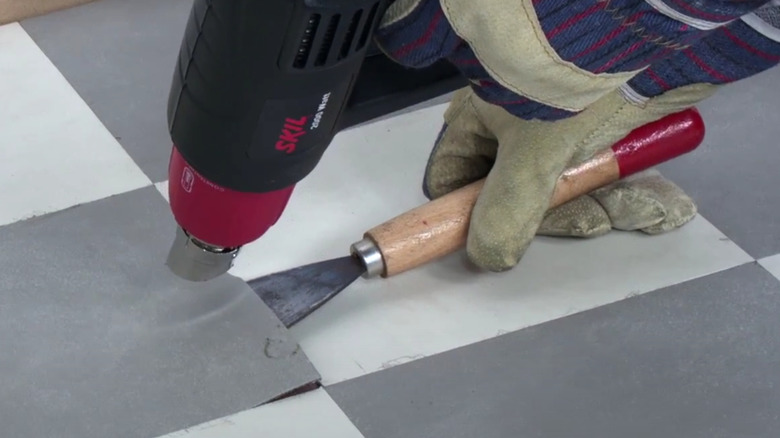
When peel-and-stick tiles are properly put into place they can last a good number of years. The strong adhesive can keep them secure and safe from shifting around while in use. Although this is great news when you're first applying the product, it might be a bit cumbersome if it comes time to extract them. The easiest approach to removing vinyl tiles is to apply heat. Adding heat can aid in loosening the adhesive on the back of the tiles so that you can quickly peel them off the surface of your wall or floor.
Before you begin, make certain you have opened all windows in the room you're working in to allow for proper ventilation. Protective eyewear and gloves will keep you safe, plus either wear knee pads or have something soft to kneel on while you work to make it more comfortable. If you're working on a small area, then using a hair dryer could be sufficient.
However, Master Appliance recommends utilizing a heat gun for the best results in removing vinyl tiles. Simply hold the heat gun a few inches from the surface and pass it back and forth over the tile. Once the glue has started to melt you can slowly lift the corners of the tiles with a putty knife or paint scraper. Then repeat this process until all of the tiles are removed.
Get rid of the leftover adhesive
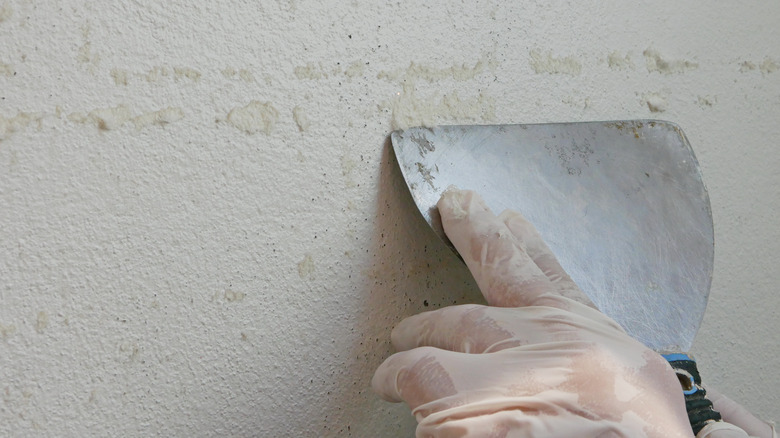
Once all of the peel-and-stick tiles have been taken off and thrown away, you might find that there's still some residue left over from the sticky adhesive backing. Especially if you're looking to replace the tiles with something new, it would be a good idea to properly clear the area of the remaining glue.
There are a few options for removing the sticky residue from your walls or floors. First, you can bring back that heat gun and go over the trouble spots. Once the glue is soft, just remove it with your paint scraper. If the area is extensive, then you might be able to sand it down with a hand sander. Try to use a finer grit of sanding disk so that you don't do any unnecessary damage to the surface.
If you aren't keen on using a sander, then there are a number of adhesive-removing products that may prove the quickest way of taking care of your problem, according to Remove and Replace. This product can be left on the glue for a few hours as it works to wear down the glue so that it can come off easily by using a scraper.