Our DIY Décor Projects To Help You Remember All The Details Of Your Wedding Day
When planning your wedding, you're sure to receive lots of advice (some solicited, some not). One of the most common things you'll most likely hear is this: "The day will go by in a blur; try to remember as much as you can." Those who don't beat around the bush may even bluntly say, "I don't remember my wedding day at all."
During the fun (and stress) of wedding planning, many brides may not take this wisdom to heart. After all, it's supposed to be the most important day of your life; how could you forget all the details that make it so special? But, unfortunately, wedding day memory loss is a common experience for most brides and grooms. Once the day is over, it feels like it went by way too fast, and everything you've been contemplating for months is forgotten. In fact, according to Budget Savvy Bride, a survey completed by Sony showed that 54% of people admit they can't remember most of their wedding day.
If you can relate, below are five fun DIY wedding décor projects we completed to counter this phenomenon. These will allow you to regularly take a stroll down memory lane so you never forget all the details of your big day.
Create a card holder
Let's be honest: Most of the time, holiday or birthday cards are either thrown away or placed in a storage box, never to be seen again. However, the cards you receive on your wedding day can be extra special. If you didn't have a guest book, they could remind you of all those in attendance. And, they can contain encouraging notes and advice from loved ones that you may want to remember.
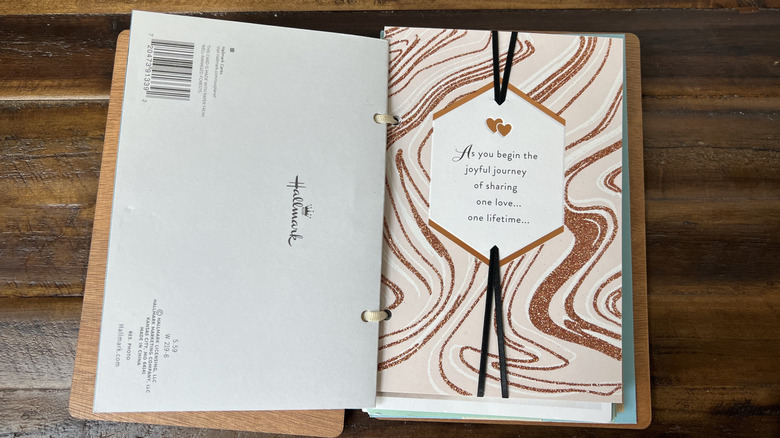
A great way to keep all your wedding cards together is by placing them in a card holder. This DIY is extremely simple, especially if you purchase one from a store like Hallmark. To start, you'll hole punch two holes in each (using the template provided by Hallmark, so the holes match up). Then, thread them through the ribbon, which you'll tie in the front. If you want to complete this DIY without buying the holder, all you need is a hole punch, two pieces of thick paper for the front and back, a piece of ribbon, and a piece of paper for the hole punching template.
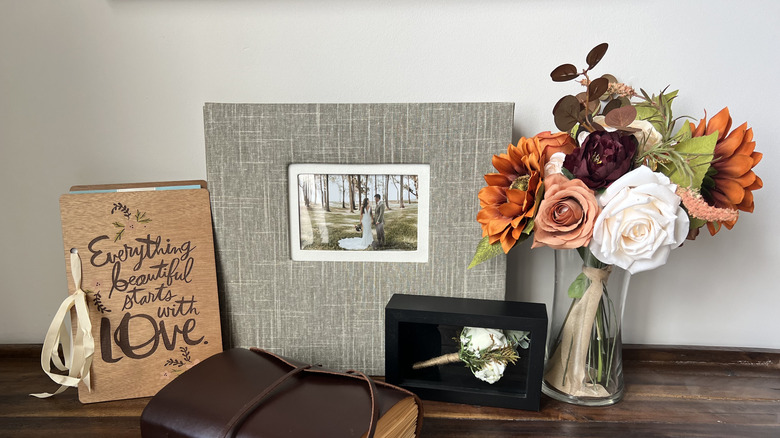
Once you've completed this project, you can display it on a coffee table or in your entryway. If you wanted to keep the pages permanently open, you can place it on a stand, such as those made for cookbooks (you can find them at stores like Target). Or, you can display the holder with the cover facing up, to open whenever you're feeling nostalgic.
Assemble a detailed scrapbook
Perhaps the most creative décor project you could complete is a scrapbook. As WHSmith points out, this DIY is a great way to express yourself and make a decorative keepsake you'll treasure for years to come. Not only that, but you don't have to worry about making mistakes when creating a scrapbook, as the project is completely customizable to you.
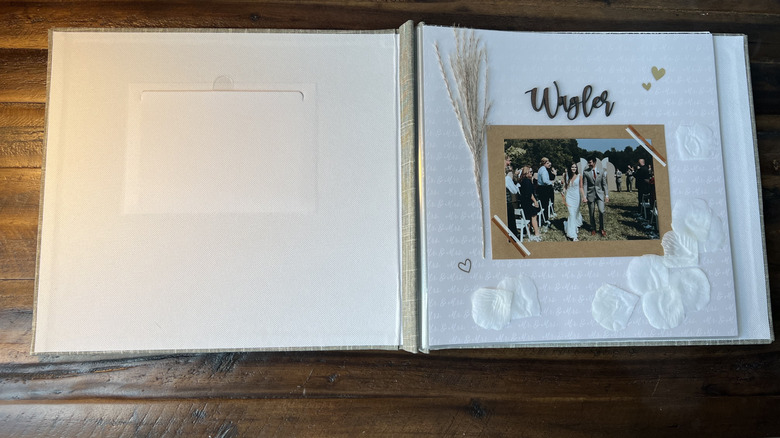
To begin, purchase the book, decorative paper, stickers, and washi tape from a store like Hobby Lobby. Then, you can collect decorative elements from your wedding day to make it extra personal. For instance, the page above has a fern and flower petals used at the bride and groom's wedding ceremony. On the following pages, letters from loved ones and copies of the save the date and invitation were used. You could also write little blurbs about how you felt or what the atmosphere was like during your big day. Or, you could jot down other details such as the songs you played or the food you served.
To remind yourself to look through your scrapbook often, you could keep it displayed on a coffee table or an end table. You could also open it to your favorite pages and prop it up on a shelf.
Display a unique photo album
This project may take some digging into your photo archives, but it's totally worth it. The idea is this: Create a photo album that leads up to your wedding day and begins when you first met your significant other. While you could always create a simple album that just includes wedding pictures, counting down to your big day will allow you and your partner to look back on how much you've grown and the life you've built. To print the pictures, you can use the convenient services at Walgreens or CVS.
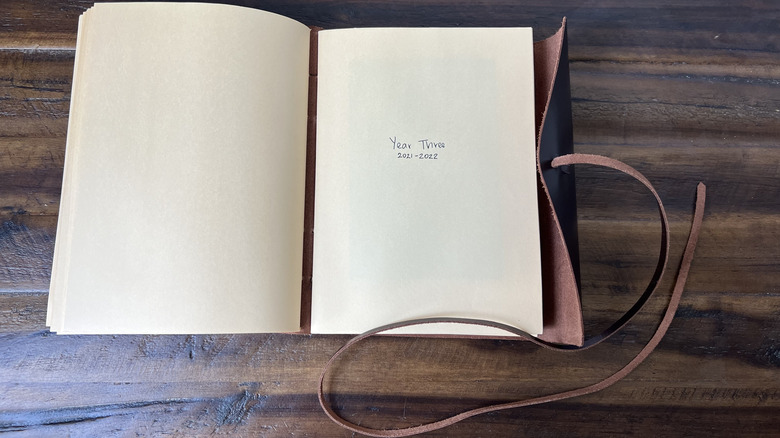
Additionally, to make this project extra unique, you could use a sketch book instead of an actual album. If you decide to do this, choose one with a string tie (like the one above) so that it can expand with the added images. You can also add the date and location to each page, which would allow you to remember more details about every memory you've shared together.
Once you've assembled it, keep your photo album displayed practically anywhere in your home as décor. Just like with the card holder and scrapbook, the best places may be on a coffee table, side table, or shelf.
Make a shadow box
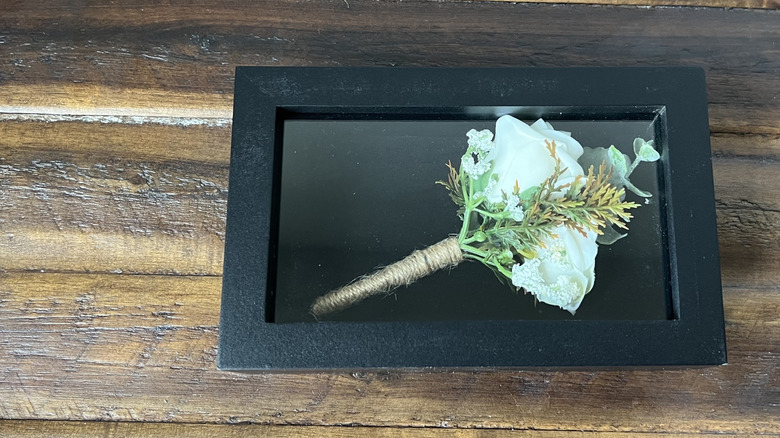
To display decorative items from your wedding day around your home such as corsages, you can use a shadow box. The small model above — which displays the groom's boutonniere — was purchased from Hobby Lobby, and there are lots of other sizes and colors to choose from.
To complete this project, simply open the box, pin the boutonniere to the fabric background, and secure it inside. You could also choose to display other items, like a collage of pictures, pressed flowers from the bride's bouquet, a collection of used candles, or a copy of your invitation.
Once you're done with this project, you can hang it on an empty wall or use it as a decorative element on a shelf. In addition, you could create a shadow box gallery wall, per HGTV. This could be completely made up of shadow boxes, or it could mix in pieces of flat artwork as well.
Fashion a faux floral arrangement
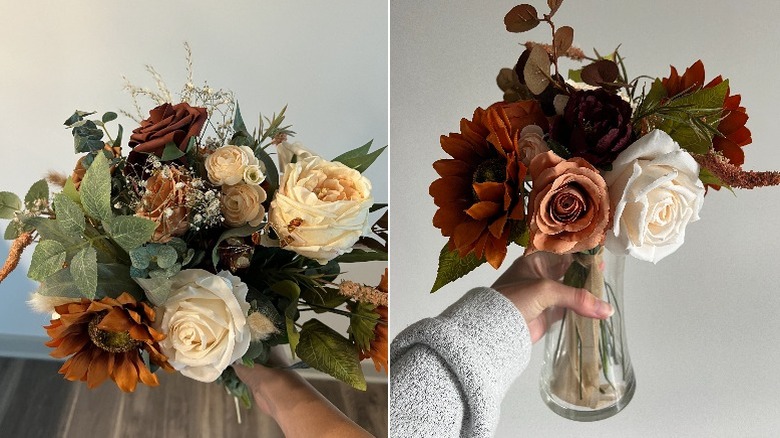
If you used faux florals at your wedding (like the ones from Ling's Moment above), you could repurpose your wedding bouquet as a decoration in your home. However, before displaying the arrangement, you may want to freshen it up. As demonstrated in the first image, most bouquets are a hot mess after the wedding. Additionally, the above arrangement includes some real florals (the baby's breath and eucalyptus) that had to be removed.
To complete this DIY, begin by unwrapping the bouquet and cutting off the tape that holds it together. Then, spread out the contents on a flat surface and separate them into two piles: keep and discard. Once that is complete, you can rearrange the flowers and greenery in the "keep" pile and tie them together with ribbon, then place them in a simple vase. Your new bouquet could adorn a side table or become a permanent centerpiece in the dining room. You could also use it to add texture and height to a shelving display or a vignette.