5 Savvy Tips For Winterizing Your Roof
When winter comes, your roof is often one of its first targets. No matter your location, if the temperatures drop low enough, your roof can be subject to damage. However, in areas where it snows heavily or ices over, it can be even worse. According to US Siding & Roofing, in the winter, snow, water, wind, and ice can all cause serious issues. This is more common for homes that don't have a pitched roof as the snow builds up, moreover if you have an older home, snow can potentially be heavy enough to cause structural damage.
Similarly, icicles will pull down parts of your roofing as well as your gutters, leaving your structure exposed to rotting and other issues. When both of these elements begin to melt, that's when your home may experience water damage. If there are any small holes or cracks, water will seep through and cause mold, electrical issues, and many other unwanted complications.
If any of these damages occur, according to Home Advisor, replacing a single shingle can cost around $600. However, if you have to replace the whole roof, you may end up spending closer to $6,000. Fortunately, there are a few ways to prevent all of this from happening. Here are five savvy tips for winterizing your roof.
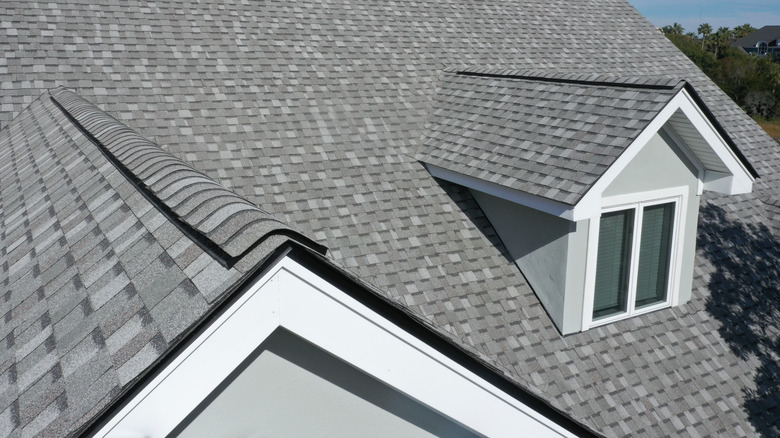
Do a thorough roof inspection
One of the most important steps you can take, as you might have guessed, is to inspect the roof. While you can opt to do this yourself, professionals can give it a more thorough look over. As House Logic points out, one of the many things you should look for on your roof is any cracked caulking or corrosion to the flashing. If there is, you'll need to remove the old flashing, clean the area, and then replace it with new material, per Home Tips.
You should also check for old and damaged weather boots around vent pipes. Instructables Workshops states that to repair this, all you need to do is remove the old seal, trim the new one to fit the area, and seal it with silicone roof sealant. Next, check your roof for any algae, mold, and other bacteria. While these can look like cosmetic issues, they will hold moisture and cause the surface to deteriorate. According to Sunshine Contracting, algae will look blue or greenish while mold will appear as dark green blotches. Moss can be identified by its fuzzy texture and dark green tone and mildew can vary in color but will look like a powder substance. Finally, look for any broken or damaged shingles. This is natural wear and tear and completely normal. However, if they're not in good condition, damage to your roof's underlayment and foundation can occur.
Check insulation and ventilation
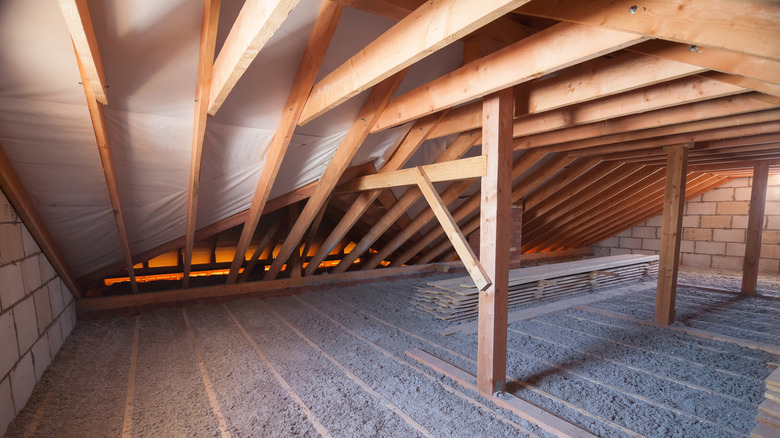
You should check the interior areas, as these can impact your roof as well. While your attic should be well insulated to keep the cold air out of your home, this insulation can also help to protect your roof. As per Advantage Construction, insulation acts as a transition from cold air to warm by preventing condensation build-up. When properly installed through the area, this material prevents the structure from having to adjust to the changing temperature. Whenever there are gaps, heat can escape, which can cause cracks in the beams, excessive moisture, and many other issues.
Similarly, your attic needs proper ventilation to protect your roof as well. According to Hendrick Construction, much like insulation, ventilation can also prevent heat and moisture from building up and causing structural damage. When you heat your home, that heat will rise to the attic. However, when there isn't proper ventilation, this heat can stay trapped in the attic or right under the roof's surface, causing moisture that can damage the insulation and, in turn, the roof. Therefore, maintaining the right amount of insulation and ventilation is crucial to keep your roof in good shape.
Clean gutters and downspouts
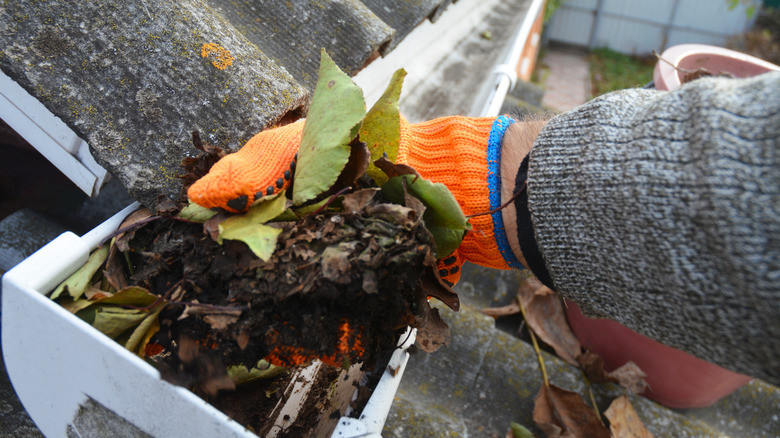
Most homeowners know that you need to keep your gutters and downspouts cleaned regularly. However, when winter hits, it is crucial that these stay in tip-top shape. This is because when snow or ice piles up on your house, it eventually melts and needs to escape through the drainage, explains Hinkle Roofing. Fortunately, there are many different ways to clean your gutter systems.
According to Pro Tool Reviews, one method is to climb on a ladder with a hose and spray the gutters with as much force as possible. In some cases, you may need to remove the debris by hand, so having a trash bag nearby is also a good idea. However, if you're unable to climb a ladder, you may want to invest in a gutter-cleaning wand. This accessory attaches to the end of your hose so you can reach the gutters from the ground. While this isn't as effective as climbing a ladder, it is an easier alternative.
Alternatively, you can always use a pressure washer. There are many accessories you can attach to the machine to find the one that best fits your gutters. This is recommended for gutters and downspouts that have years of dirt and debris.
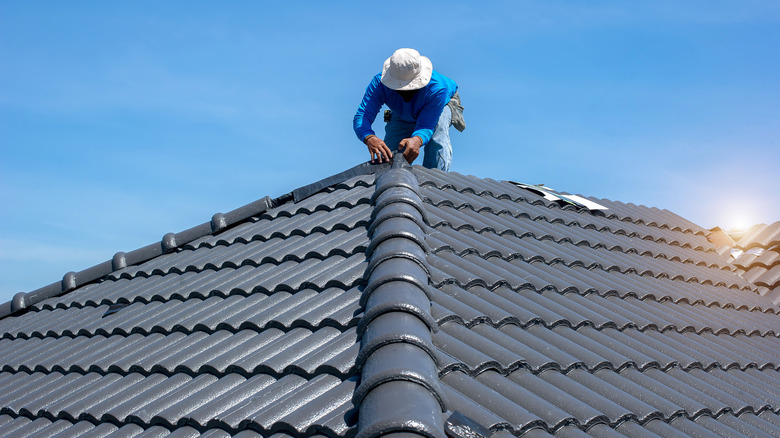
Remove any ice and snow

Once the snow and ice begin to hit, it's imperative that they be removed quickly. Of course, there are a few different ways to do this. As per Cenvar Roofing, when removing snow from your roof, you should always stay on the ground as the roof will be too slippery to walk on. To remove snow, a quick and easy method is to use a roof rake. This tool is designed with a long handle so you can knock down the snow from the ground. However, it's important to do this in a gentle manner to not pull off any shingles or damage them in the process.
Ice, on the other hand, can be a bit more complicated than snow. To do so, one effective method is to spray your roof with warm water. There are accessories you can buy that attach to your hose that will warm up the water as it sprays out. However, this method is best for small sections of ice. for larger roofs, you may need to invest in products with ice-melting capabilities. For example, roof melting tablets contain chemicals that help speed up the melting process. If neither of these methods are successful, it is recommended that you call a professional.
Be cautious when hanging holiday decor

While this savvy tip may not apply to everyone, it still should be noted just in case. If you like to hang Christmas decor on or around your roof, be extremely cautious. Rooftop Services recommends taking a few precautions to ensure you don't cause accidental damage. They recommend testing all decor prior to installation, so you won't need to continuously climb on the roof if a set of lights doesn't work. As Tadlock Roofing points out, walking on the roof can cause unnecessary damage that can be avoided.
You should also avoid using staples or nails at all costs. It goes without saying that these materials can cause holes in your roof which will eventually lead to other problems. IKO recommends several alternative methods such as roof clips. Of course, your roof type, along with other surrounding features, will determine which type you need. If you no longer feel comfortable installing your Christmas lights, but still want them displayed, consider hiring a professional. This will give you a postcard-perfect home without causing any costly damage.