5 Tips For Making Your Exterior Caulk Last Longer

For the gaps, holes, and cracks on the exterior of your home, you can use a product called caulk. Caulk can be made of several different materials, but they are all designed to seal a surface to make it watertight and resistant to other elements. This protects the materials of the home, such as wood, vinyl siding, and roofing, from water, dirt, and heat.
Caulking is an easy and affordable home DIY project you can do over a weekend, but that doesn't mean it's something you should do without proper research and preparation. Improper or failing caulking is a reason many houses experience water damage, according to Sharper Impressions Painting. Nothing is worse than noticing a water spot near your window in the middle of a thunderstorm. Additionally, without proper caulking, insects can more easily crawl inside, and outside air can slip through and cause your heating and cooling bills to skyrocket. A professional exterior caulking job can also improve the appearance of your home.
Choose the right caulk for the job
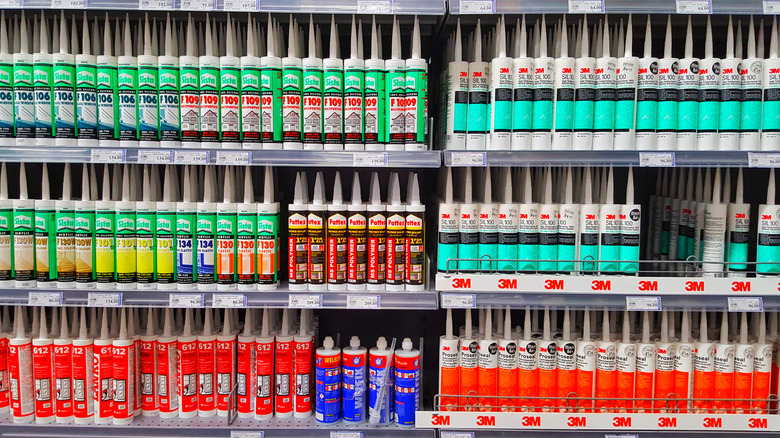
Before you run to the store and grab your supplies, be sure you're buying the right tools for the job. Since there are multiple types of caulk, you don't want to use one that isn't designed for the area you're applying it to. For example, DIY Painting Tips says that most outside jobs can be done with acrylic caulk. It can last up to 10 or 25 years when applied and cared for properly.
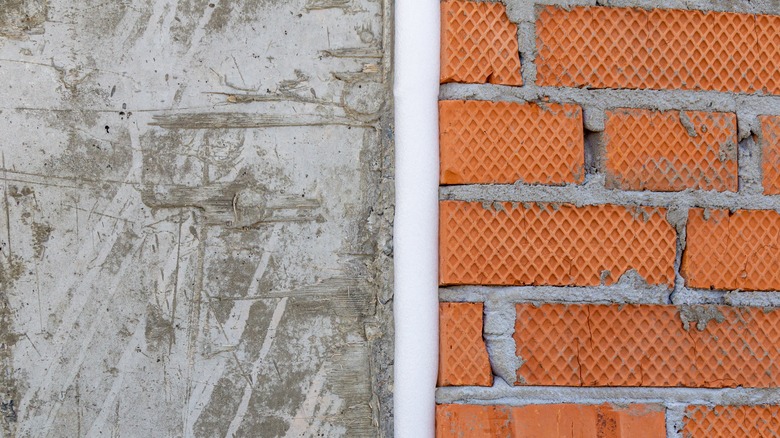
If you need to seal gaps on the roof, polyurethane caulk is a better choice as it retains its flexibility for longer, however, it can be more difficult to apply and is generally more expensive. Many professionals use polyurethane caulk when filling gaps between two different types of materials. You can use a self-leveling caulk for projects on horizontal surfaces like concrete floors (via Dicor Products). This caulk has a more liquid consistency than other caulks and will settle into the crack, and it doesn't require you to level it out or mess with it once you've applied it.
Prepare the area before applying the caulk
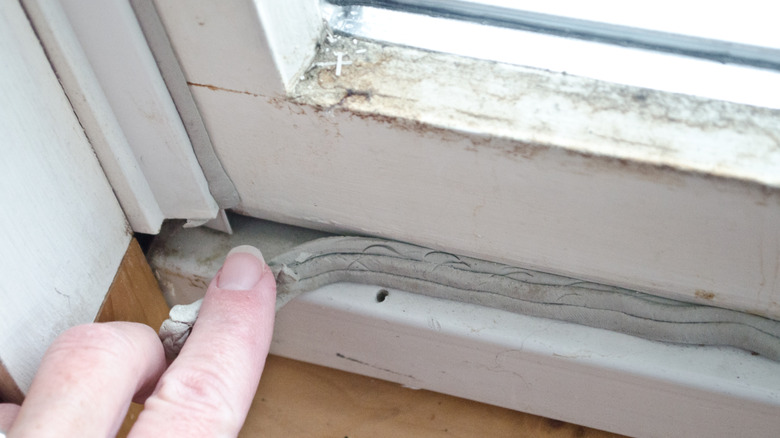
As with most projects, it's imperative that you don't skip the preparation. While these seem like annoying and time-wasting steps that can be overlooked to save time, they are often the most critical aspect of the DIY project. In a YouTube tutorial, Twin Home Experts shows how to clean the area with a vacuum and rag before applying the caulk, which will ensure it sticks to the material correctly. Depending on the location, you might have to scrape away old caulk or paint, sand, wipe away dust or dirt, and wash the area with soap and water, explains Sharper Impressions Painting.
Sharper Impressions Painting also says you might need to apply a primer depending on the type of caulk and project you are doing. This sets the caulk up for success and provides a layer of material that it can adhere to. Primer will not only make the caulk last much longer, but it will also make it easier to apply.
Don't use paint to caulk
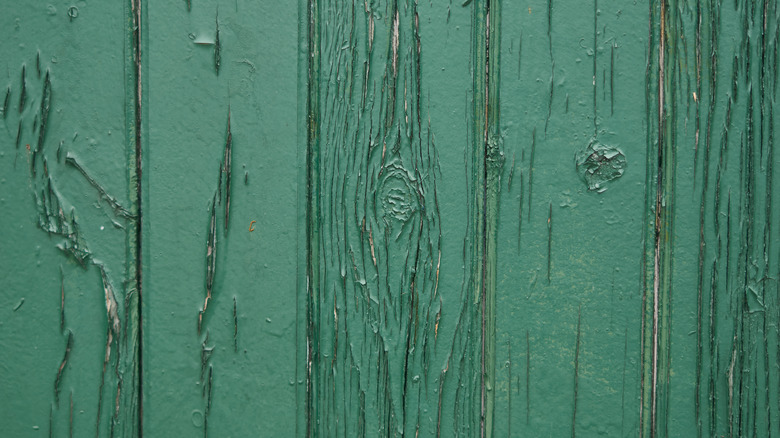
Sometimes the cracks or breaks within the surface you're working on are small and might be hidden with a layer or two of paint. In these instances, it's tempting to use the paint as a caulk to avoid that step altogether. However, paint does not react and move to outside elements the way caulk does. Once paint hardens, it does not flex and move as the weather changes. As soon as there is stress on the paint, it will crack and be visible immediately.
Caulk is flexible and moves with the materials as they expand and contract with temperature changes (via Extreme How To). When applied correctly, caulk prevents cracks from reappearing and keeps your home protected from the elements. Skipping the caulk might save you time in the short term, but you'll eventually have to go back and apply it later in addition to repainting. Ultimately, it will cost you more time and money and possibly even more repairs depending on the damage done to your home.
Perfect the bead
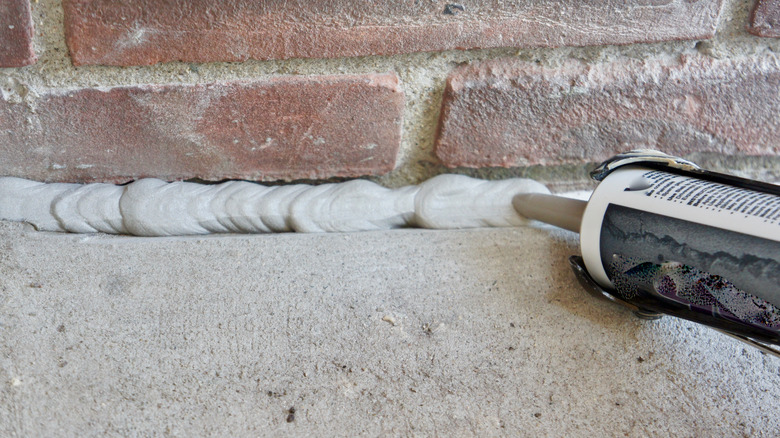
When applying the caulk to a crack or gap, it's essential to use a proven method that will ensure the best seal for longevity. When the caulk comes out of the tube, it's often round. You want to avoid leaving it like this and risk micro holes compromising the seal. According to American Painting Contractors, many painters and DIYers use their fingers to flatten and smooth a caulk line. However, this can be hazardous depending on the type of caulk you're using, and the caulk itself could be damaged by the oils in your skin, notes Twin Home Experts. Instead, use a tool to smooth it out.
Idealy, you want to create an hourglass bead. Extreme How To explains that is the best way to ensure a secure seal that will hold up to weather and time really well. It's easy to achieve this with the correct smoothing tool, and it's simply when the caulk touches the top of one side, dips down, and slopes back up on the other side — creating a U-shaped seal between the two edges of the crack.
Invest in backer rods
Sometimes the cracks or gaps are wider than usual. instead of spending a lot of time and money filling the crack with layers and layers of caulk, it's best to use backer rods instead, suggests Extreme How To. Backer rods are foam inserts that can come in various sizes and can be cut to different lengths. These rods are then wedged into wider cracks so they can take up the space and work with the caulk to seal the gap. Typically they are used when the crack is 1/4 inch or wider. The foam construction means they can contract and expand with the caulk to prevent cracking in the future.
When you skip backer rods and fill significant gaps with excessive amounts of caulk, the caulk usually does not dry correctly. There's also a higher risk of holes and gaps within the caulk that aren't always visible, compromising the seal later on.