Three Sisters: Indigenous American Companion Planting To Use In Your Garden
The Three Sisters gardening method is the practice of growing three kinds of plants together to get a significant harvest from a small area. Also known as intercropping or companion planting, this method is not only practical but has deep cultural and spiritual roots in the Iroquois community. The term "three sisters" refers to the three crops the Iroquois believed were the physical and spiritual sustainers of life: maize (corn), beans, and squash. Although they grew other crops, these were considered spiritual gifts that brought agriculture to this nation.
In the Iroquois Nation, women were responsible for farming and used a hill-based method to maximize their harvest. Today, most farmers grow in rows with the help of tillers and tractors, but of course, Indigenous Americans had no such modern farming implements at their disposal. Growing three crops in small hills required minimal digging while providing several crops that support each other in different ways.
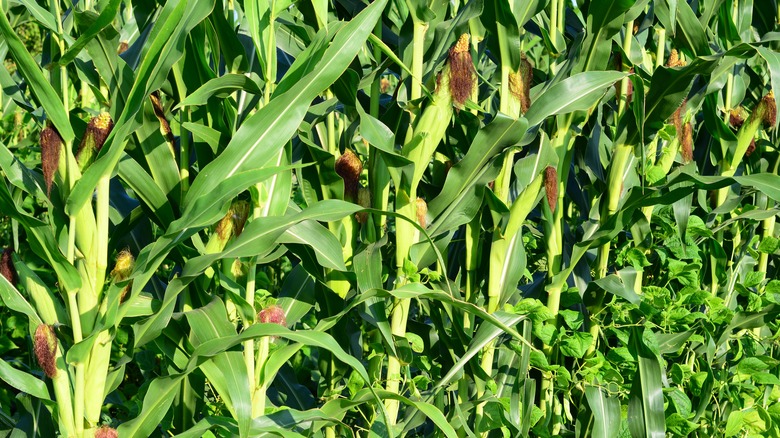
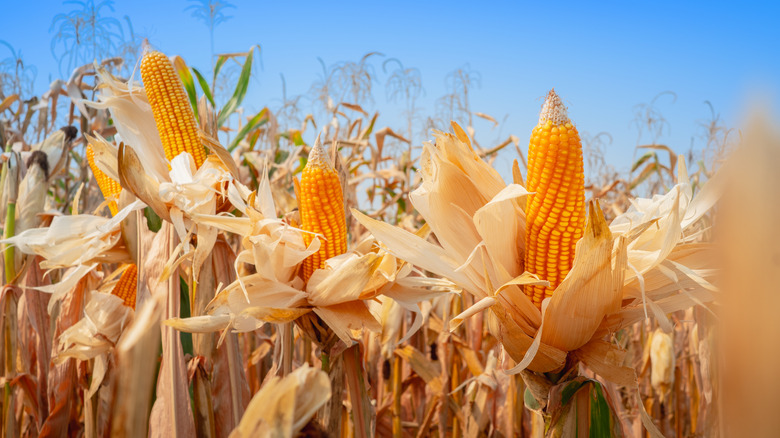
Types of corn
There are many more varieties of squash, beans, and corn available today than when the practice of growing the Three Sisters garden began. It may seem like you should be able to mix and match any variety of each type of crop, but that is not the case. To plant a traditional Three Sisters garden, select cultivars specifically grown for dry use and storage.
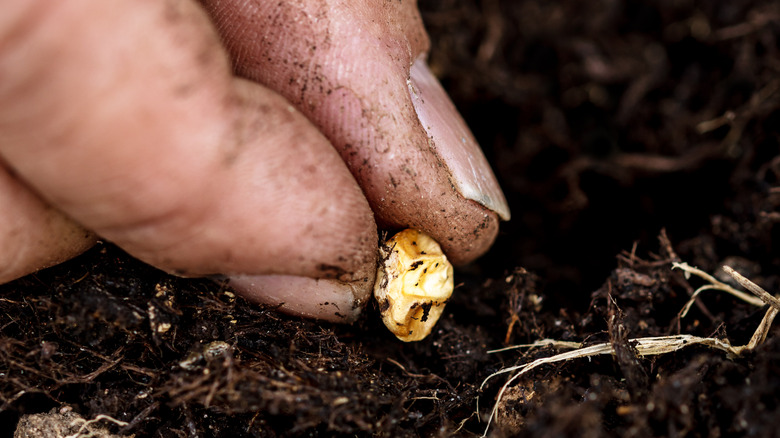
Since corn is the "sister" whose job is to support the beans, look for tall varieties. Iroquois women grew corn that could be ground into corn meal or used as a large grain in soups. When shopping for seeds, look for flour, dent, or flint varieties like the beautiful Blue Clarage dent corn. After harvest, you can use the corn as the Iroquois people did in soups or try your hand at grinding your own meal. More ornamental or colorful varieties are often used as fall decor. While you can grow sweet corn in a Three Sisters arrangement, it must be harvested much earlier than dry corn, and that can be difficult to do without disturbing your bean and squash plants. The benefit of growing all dry crops is that everything can be harvested for storage simultaneously.
Types of beans
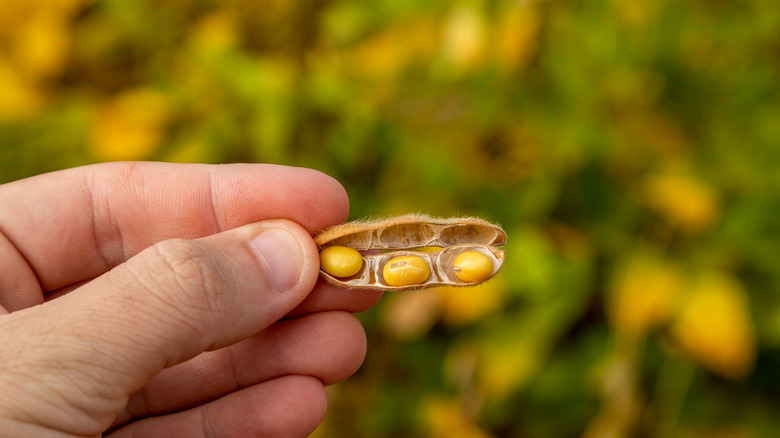
Since both corn and squash are heavy feeders — they require a lot of nitrogen to thrive — the bean "sister's" job is to slowly release nitrogen in the soil while it grows up the stalk of the corn. Beans are in the legume family, and these crops are known as nitrogen fixers. Through the miracle of nature, nitrogen-fixing plants use bacteria in the soil to remove nitrogen in gas form from the air to make it available in the soil for other plants to use. If you have ever pulled up a legume plant, like beans or clover, you might notice tiny nodules on the roots. These are nitrification root nodules. While it is widely accepted that most beans are nitrogen-fixing, it is unclear when that nitrogen is available to the surrounding plants. It may feed the plants the season they are planted, or the nitrogen may not be available until the plant decomposes. Either way, beans add the nitrogen that corn and squash need.
There are many bean varieties that can be used fresh or dried, like lima beans or most types of pole beans. However, since bush bean varieties do not climb, they are not suited to the Three Sisters method because they will compete for space with the squash plants.
Types of squash
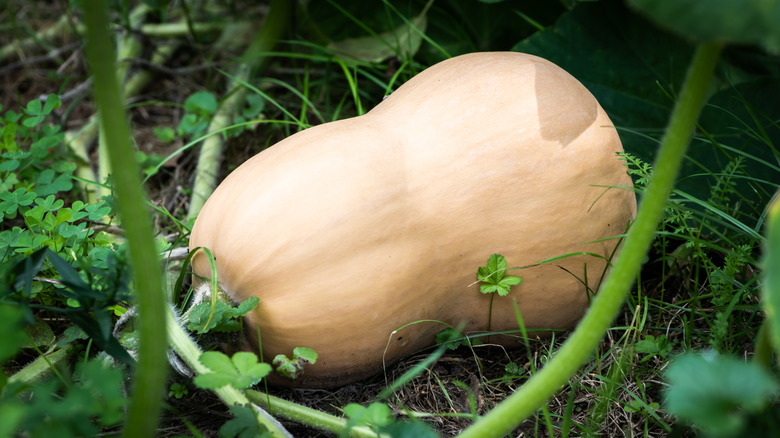
Like beans and corn, the squash "sister" has a unique job. She helps keep the ground cool by providing shade with her large leaves. Those leaves also help prevent moisture evaporation and the germination of weed seeds. In the Three Sisters garden, squash provides the same benefits as mulch but without the need to haul in wood chips or straw.
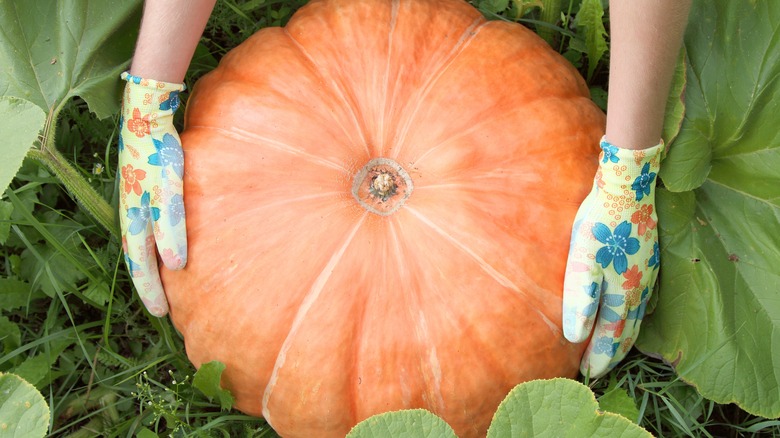
There are many options for the kind of squash you use. Some believe that early Indigenous Americans grew pumpkins in their arrangements rather than the more modern squash varieties available today. However, pumpkins and squash are both in the cucurbit family and offer the same benefits. You can plant a gorgeous pumpkin variety for storage, eating, or decor. If you want to plant winter squash, consider butternut, acorn, or spaghetti squash varieties, all of which store well over the winter. You can even grow gourds instead of squash or pumpkins to complete your Three Sisters garden.
How to plant
Prepare the ground for your Three Sisters garden by creating a small mound for each group. The gardens should be about 4 feet apart, with each mound measuring 4 square feet and about a foot tall. This mounding method provides loose soil, making it easier for plants to develop strong roots.
Once your hills are ready and the last chance of frost has passed, place five corn seeds in the middle of each hill and cover them with soil. Once the corn is 6 inches tall, you can plant your pole bean and squash seeds. Plant five bean seeds around each cluster of corn stalks and five squash seeds in the center hill only. If you plan on having many groups of plants, you can place five squash seeds in every seventh hill. Since squash and pumpkins produce long vines with many large leaves, they quickly occupy the space between mounds. Water each mound deeply after each planting and keep the ground evenly moist until the plants are well established.
Maintenance and harvest
To keep your Three Sisters garden thriving throughout the summer, water deeply any time the soil is dry one inch below the surface. Also, keep the area free of weeds and grass, which will steal nutrients and moisture from plants if left untended.
At the end of the season, you can harvest everything all at once. Wear long sleeves and gloves since both cucurbit and bean leaves tend to irritate the skin. Start with your squash or pumpkins. These storage crops are ready to harvest when the skin is too thick to pierce with a fingernail. Cut each vegetable from the vine, leaving about one inch of the stem. Remove and dispose of the foliage. Next, harvest all the beans and corn. Cornstalks make an attractive addition to fall decor, so you can keep the stalks or dispose of them. Store the ears of corn in their dry husks until you are ready to use them. Finally, remove dry beans from the pods and store them in a sealed container.