We Tried Using Newspaper Pots For Starting Seeds And Are Impressed By The Results
We may receive a commission on purchases made from links.
There may be "50 Ways to Leave Your Lover," according to Paul Simon, but there are seemingly endless options for starting seeds for your garden. From peat disks to disposable cups to old yogurt containers, everyone has a favorite. These options also range significantly in price. Paper or plastic cups are cheap, and if you eat a lot of yogurts, you can save those containers up year-round for free. A big problem with these options is that they don't have any drainage, so you have to spend extra time poking holes — not too big or too small — before filling with your seed starting medium.
We know a lot of new gardeners start with peat pots. They are certainly easy enough to find at stores in the spring, but not only are they increasing in price, but there are some pretty significant cons to this particular option. First, peat is a non-renewable resource, making it an unfriendly environmental choice. In our experience, the "biodegradable" netting does not always decompose quickly enough to allow roots to spread, leading to plant failure. Peat is also very lean in nutrients, lacking the "food" young seedlings need to be healthy. Since we aren't completely sold on any of these seed-starting products, we decided to try newspaper pots. They are free, environmentally friendly, and decompose quickly.
Gathering the supplies
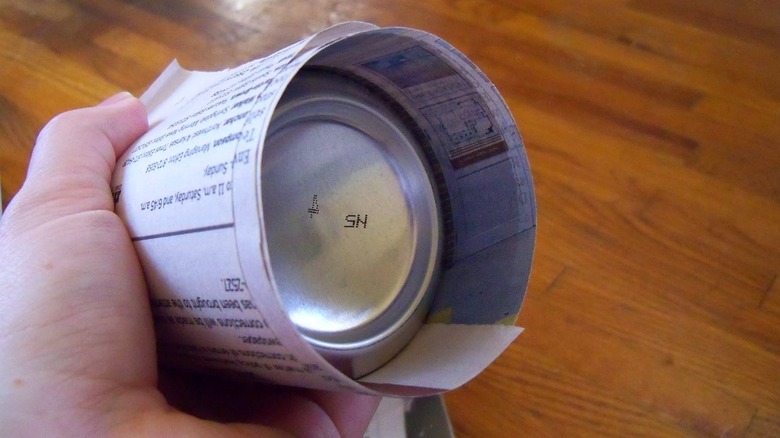
We made our newspaper pots at a dining room table since it was easy to clean (and too cold to do it outside!). We started gathering the basic supplies: Some newspaper and something around which to form pots. We used a soda can from the recycling bin, but if you're fancy, you can buy a newspaper pot maker like this one on Amazon. It didn't seem necessary to us to buy any special tools, though. A can, cup, or glass jar all work well.
To get the seedlings off to a healthy start, we made our own seed-starting medium by thoroughly blending equal parts of high-quality garden soil, compost, and vermiculite in a bucket. We like this blend because It drains well while keeping the soil consistently moist. You can also just buy seed starting mix at the garden center. You could buy a scoop or use a garden trowel to fill your newspaper pots, but we used an old coffee cup. The handle makes it easy to grip. Finally, you will need a container to put your finished newspaper pots in. Casserole dishes work great if you don't want to buy anything, but cheap dishpans from the Dollar Store worked perfectly for us, and we didn't have to use up all our cookware.
Making newspaper pots
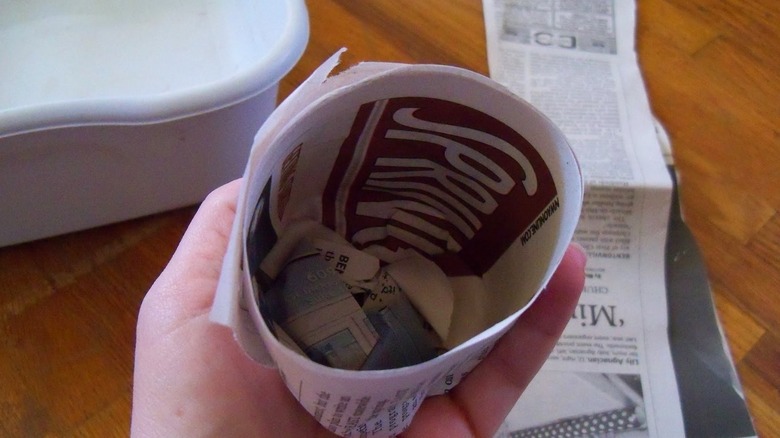
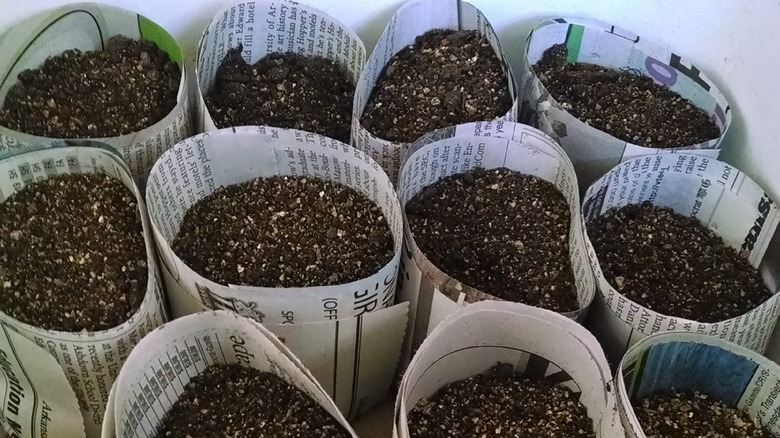
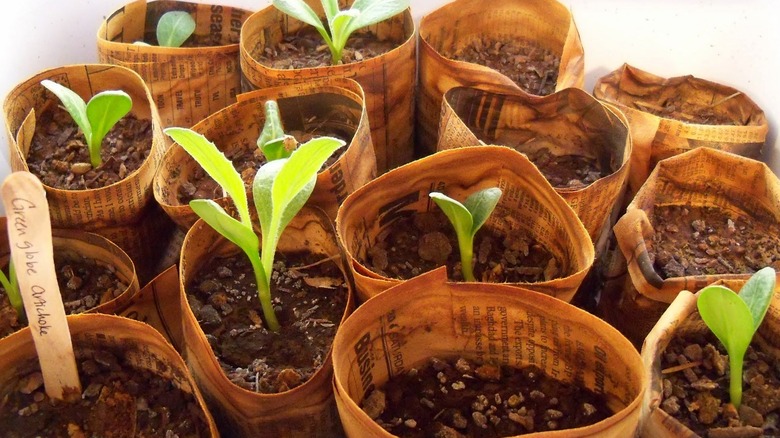
We started by cutting the newspaper into 3-inch wide strips, then set up a workspace assembly line style. Starting from the left, we had a stack of newspaper strips and the can. In the center, we placed the soil mix bucket. On the right was the dishpan which we discovered would hold 16 newspaper pots. We started with the newspaper, wrapping it around the can with about 1 inch of newspaper hanging off the end. We folded the newspaper around the base of the can and slowly pulled the can out. With the completed newspaper pot in our hand, we filled it with soil mix and placed it in the seed-starting container.
Feeling pretty good about ourselves, we proceeded to fill the little newspaper pots with seeds. We used the planting depth instructions on the seed packets and sowed tomato and pepper seeds. We used a milk jug (full of water, not milk. That would be gross.) to thoroughly water our newly planted seeds and put the containers under grow lights. Then, the waiting began.
Challenges of using newspaper pots
Newspaper pots definitely came with some challenges. First, just getting the hang of making the pots themselves without dumping soil all over the table and ourselves took a few tries. Keep that in mind if you decide to tackle this project and protect your surfaces. And don't wear anything white. Think brown. Brown is the best color of clothing for making newspaper pots — at least until you get the hang of it.
Another challenge was watering from the top. We discovered that watering displaced the seeds, and the flow of water threatened to damage tender stems after they emerged. That challenge turned into a benefit, though. Because the containers are paper, we could pour the water into the base of the container, and the paper would wick the water to the top. It ended up being a much better method of keeping the soil consistently moist.
The last challenge we encountered was that paper breaks down fairly quickly. After about eight weeks under grow lights and after being hardened off, it was time to plant, but the pots were already disintegrating. It wasn't a huge problem, just kind of messy. If you're going to be a gardener, you have to get used to dealing with dirt ... as the saying goes, "it don't hurt."
What we really thought of the process
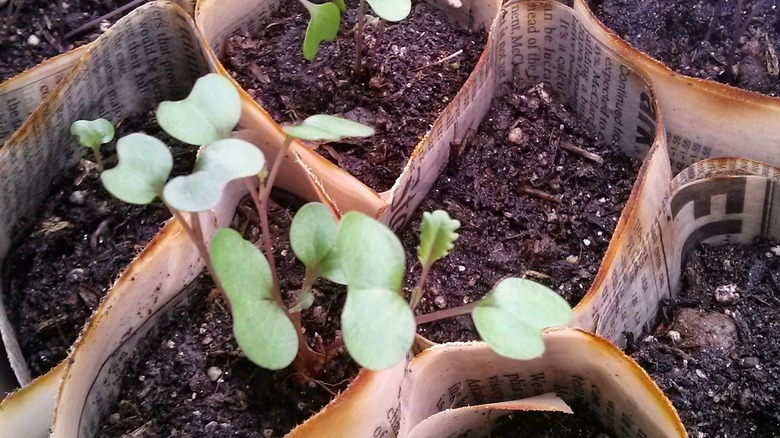
Our honest conclusion after trying many different ways of starting seeds is that newspaper pots are a favorite. We loved that there was no concern about the roots of young seedlings getting bound up in netting and that we could use our own seed-starting mixture. And we loved that it's environmentally friendly. Also, did you know that worms are attracted to newspaper as a food source? By putting the seedlings, with whatever paper remained attached, into the ground, we were attracting worms. When you attract worms, they kindly leave their, uh, droppings (also known as worm castings) right around the roots of your plants where they provide an excellent source of nutrition.
When we directly compared the seed-starting successes and failures of newspaper pots to other options, the winner was clear. We cannot imagine going back to little paper cups and certainly never peat disks. We'll be using newspaper pots until they stop printing papers, which hopefully will not be any time soon.