The Right Way To Paint Your Vinyl Shutters
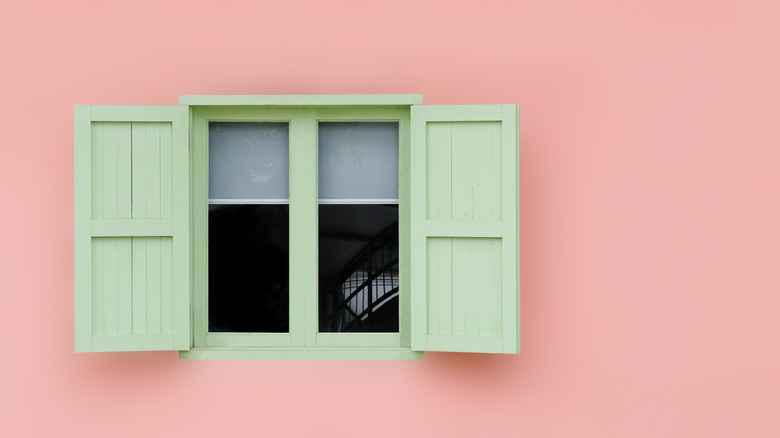
Whether you're trying to keep up with the changing trends or just looking to liven up your home exterior, freshly painted vinyl shutters are a great way to add a pop of color to your home. Many think that leaving the shutters up to paint them is the easiest way to save time, but you may want to reconsider. Removing the shutters and painting them over top of a clean sheet or laid-out newspaper ensures full coverage in a quick and efficient manner.
While some are different, most vinyl shutters are fastened to siding with four to six shutter spikes around the perimeter. These can be removed relatively easily with the help of a pry bar, pliers, and some elbow grease. Just be careful when you first handle the shutters, which may have accumulated wasps nests and other pests since they were originally added to your home. These, along with debris collected over time, will have to be removed before the painting process can begin.
Start by cleaning your shutters
The next, and arguably most important step, is cleaning the shutters. Whether they've been accenting your home for six years or six months, any time in the elements is enough to accumulate dirt, moss, and other natural remnants that shouldn't be painted over. Not only is it unsanitary, but leaving dirt and grime adds unwanted texture underneath a fresh layer of paint.
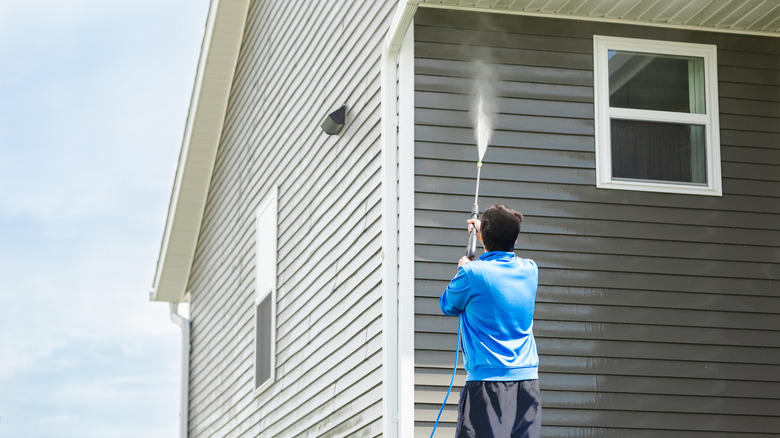
Fortunately, it's moderately quick and extremely cost-effective to clean vinyl shutters. Many lay the shutters on a flat outdoor surface (like a driveway or sidewalk) and use a combination of a pressure washer and soap. But if you don't have access to a pressure washer, scrubbing with soap and using water from a garden hose is equally as effective; it just requires a bit more time and effort.
This is also a great time to clean your siding, especially the portions surrounding the windows where the shutters would typically be. Once the shutters are rinsed, cleaned with soap, and rinsed again, leave them out in the sun to dry completely.
Painting your shutters
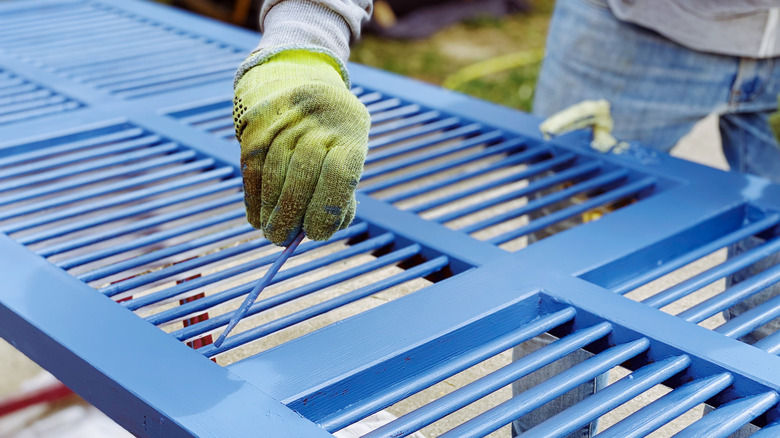
After a few hours in the sun, your vinyl shutters should be completely dry, and it's time to start the painting process. You'll need your paint, primer, a wide paintbrush, a thin paintbrush, and something to work over. A tarp or an old bed sheet should do the trick. Lay it flat on your driveway, spread the shutters evenly overtop, and get to work.
Start off with a primer, then use 100% acrylic exterior paint for the best result. Be mindful when choosing darker colors as they are more susceptible to trapping heat and eventually warping the vinyl. Paint the front of each shutter, and be sure to get each crevice, which is where the thinner brush comes in handy. When the front is completely dry, repeat the process on the back. Finally, once everything is dry and you have an even color throughout each shutter, reattach them with shutter spikes and enjoy your home's refreshed new look!