How To Remove And Replace Tile Grout

One of the easiest methods to revitalize the look of your bathroom or kitchen is to get rid of anything that's damaged or doesn't look as good as it used to. If you have tiled walls, splashbacks, or floors, that might include cleaning any grimy grout, however, you might also need to go ahead and replace certain sections, too. This isn't a complicated task — the old grout can usually be removed with a few simple hand tools and then replaced with new in a few hours.
If you have noticed your grout has become loose, broken, or cracked, then it not only looks unpleasant but might also be giving moisture a chance to make its way behind the tiles. First, figure out what exactly needs to go and what can stay — in most cases, completely re-grouting isn't necessary. If some sections are still fine, then you can leave those and simply remove and replace the problematic bits. However, if you spot any mold, then it's best to get rid of all of the affected grout.
Follow a few simple steps to remove grout
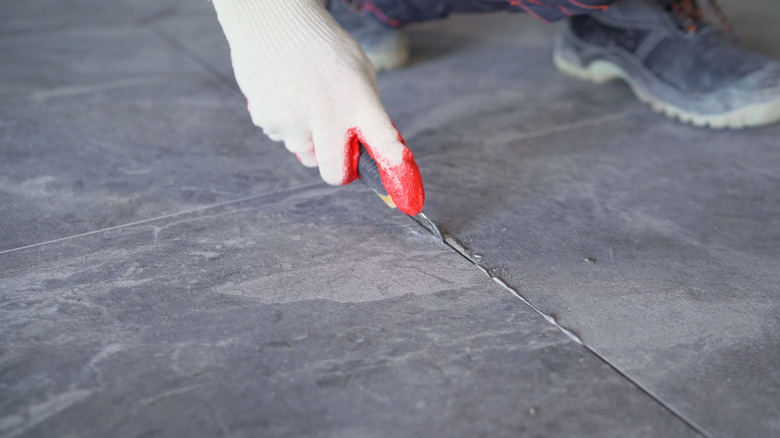
There are a few different tools that can be used to remove grout. Any type of tool with a thin blade can be effective, such as a screwdriver, or a utility knife (don't bother with a new blade because a sharp one is not needed). Alternatively, you can purchase a specialized grout remover that has a carbide tip. An oscillating tool with a narrow blade might be a better choice for grout that is particularly difficult to remove. Remember to wear safety glasses, and having a vacuum cleaner and garbage bags on hand will make keeping things clean a lot easier.
After popping on your safety glasses, start by using whichever tool will best reach the grout — work carefully along each grout line to avoid chipping the edges of the tiles. When the old grout starts to come away, you can place the larger pieces directly in the garbage bag, and use your vacuum cleaner to suck up the more minuscule bits to keep your work area free of debris. As you work into the corners, you may need to switch to a smaller tool to gently work away tougher spots of grout.
Replacing tile grout can be just as simple
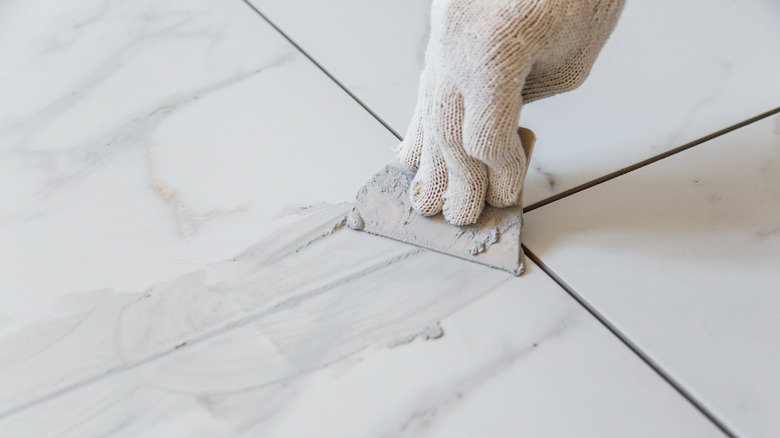
To replace the tile grout, you will need to consider various details such as the color and type. Epoxy and urethane grout are both durable and waterproof, however, they can be expensive. On the other hand, cement-based grout is popular, relatively cheap, and easy to apply.
When it's time to get down to work, you'll want at least three buckets on hand as well as closed-cell sponges and a cloth or two. You'll also need a rubber grout float and a tarp to keep things clean and give you a place to mix things up. Prepare the grout exactly as the instructions tell you to and test it out. Start out by practicing your work on a small section of tile. This way you can perfect your method before tackling the entire area.
When it comes to applying the grout, do a little at a time — patience is key if you want to assure better results. Make certain that the grout goes all the way into the joints by forcing it in with the float. Most importantly, you must clean up the excess grout from the surface of the tiles as you go. If it is left on for more than 30 minutes, it can be very difficult to remove, resulting in unattractive, hazy-looking tiles at the end of your project.