How To Easily Remove And Replace Your Old Window Sash
Ah, the ups and downs of homeownership. One day, you're basking in the warm sunlight flooding your living room. And the next? You're staring at a dreary, creaky window sash, wondering how to replace it without breaking the bank or losing your sanity. Worry less. Armed with the right tools, a dash of know-how, and some elbow grease, upgrading a window sash couldn't be easier. Embark on this adventure by determining your window's measurements and acquiring a suitable window sash replacement kit. Then, unleash your inner DIY master to breathe new life into your weary window.
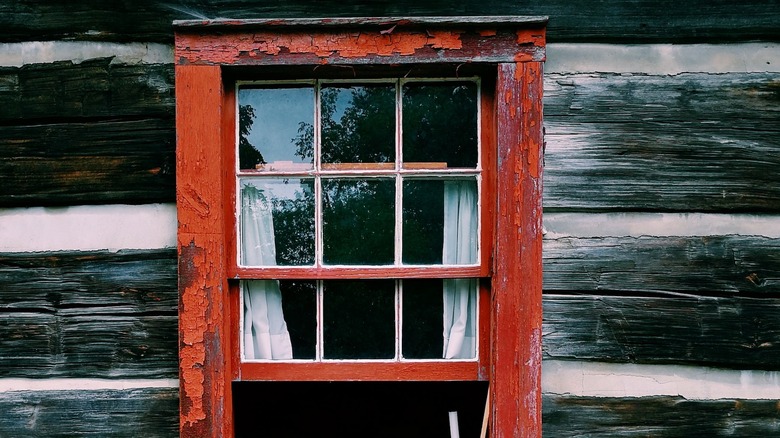
But why, you may ask, is it so crucial to replace a timeworn window sash? The answer lies in the myriad benefits this brings to your home. As window sashes age, they become hard to operate and more prone to damage and wear, leading to unwelcome drafts, increased noise from the streets, and higher energy bills. It's also an eyesore and a potential security risk. So, aside from enhancing aesthetics, a window sash upgrade is practical. Plus, you can relate to the incredible feeling of completing a home improvement project with your own skilled hands. So, grab your tools, secure that replacement pack, and bestow upon your window the stunning transformation it deserves.
How to prepare for a window sash replacement
Begin with gathering all the necessary tools and safety gear. That includes a pry bar or putty knife, utility knife, hammer, tape measure, screwdriver, gloves, and safety glasses. For a proper fit, measure the existing window opening dimensions. The width is the distance between the side jambs (the vertical parts of the frame). Then, determine the distance between the head (the top horizontal trim) and the window sill (the horizontal trim at the base) and record it as the height. Double-check the numbers, then order a compatible replacement pack. And if you're wondering where to buy a window sash replacement kit? Options include home improvement stores, specialized window retailers, and online marketplaces.
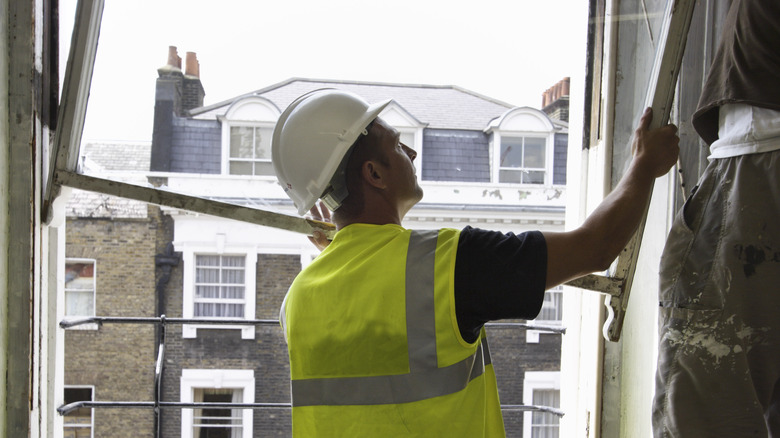
Let's talk about removing a window sash from the frame. Start by slicing the paint between the interior stops and the wall, careful not to damage the wood. Proceed to detach the stops on both sides of the window with a flat pry bar or putty knife, handling the strips gently for later use. You'll need to tilt the old sash, disconnect the cords or chains holding it in place, and wiggle a bit to remove the sash. With the window sash out, cut the ropes and leave the balancing weights to plunge into the cavities behind the trims. Retrieve the weights and label each accordingly to avoid a mismatch catastrophe during installation. Once you dismount the pulleys, inspect the frame for damage or debris. If needed, repeat the process.
How to replace your old window sash
A window sash replacement pack contains all the necessary components to upgrade your window sash. That includes the top or bottom sash, or, in some cases, both, counterweights, installation hardware (think screws and brackets), instruction manual, and possibly, weatherstripping materials. Start the replacement by guiding the rope through the pulley. Attaching something heavy, such as a nail punch, to the rope helps prevent it from getting stuck inside the framing timber. Push the rope down until it peeks at the bottom, then install the pulleys to form a reliable foundation for your new window sash. Secure the ropes to the corresponding balance weights using the legendary figure-eight knot.
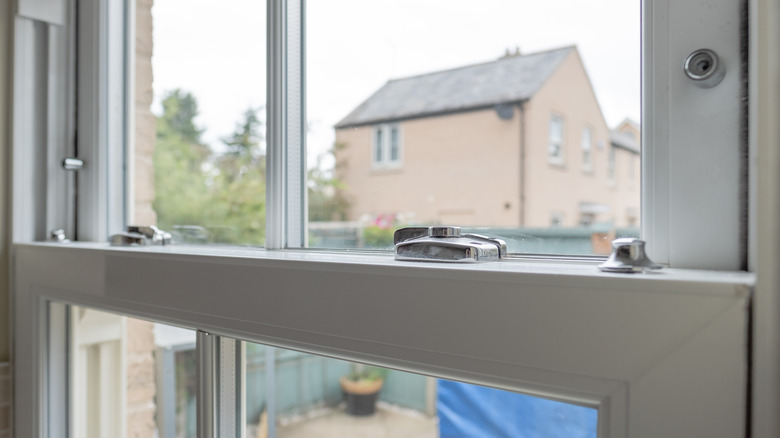
Next, drop the counterbalances into their designated pockets and re-mount the access panels. Bind the counterbalance cords firmly to the new sash's mortices, setting the stage for a flawless motion. Once you verify that your assembly is working, nail back the stops. You want to leave a putty-knife thickness between the sash edge and the stops to ensure your new sash glides like a dream. You might also need shims to level and square the sash within the opening. As the grand finale, seal the sash perimeter with a high-quality, weather-resistant sealant to keep off drafts and moisture infiltration. Behold the view and smooth gliding, for you have earned them.