Clothes Getting Stuck In The Dryer? Here's How To Fix It
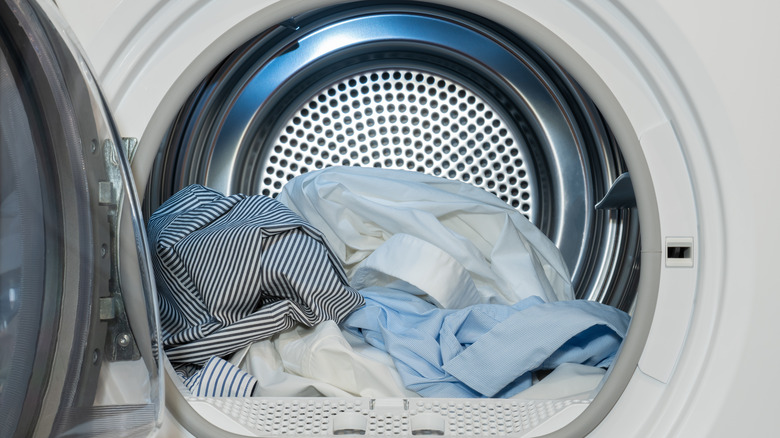
It's a commonly cited myth that washing machines "eat" small articles of clothing because of the way users add pieces to the machine at the start of a cycle, to then never be seen again. The same phenomenon can occur with dryers, but with the right tools and knowledge about your appliance, you can dislodge your clothes and take the precautions necessary to prevent this problem from happening again in the future. Free trapped clothes from the inside of your dryer by removing the drum and retrieving them before reassembling the machine.
When it comes to washer and dryer mishaps, it's better to nip small accidents in the bud before they evolve into much larger, irreversible issues. While it's normal to lose a sock or two every now and then, misplacing multiple pieces of clothing nearly every time you use your dryer is indicative of a larger, underlying issue. And if left unaddressed, your dryer could begin damaging your clothes, ripping holes in the fabric due to the machine's generated heat and the nature of its spin cycles. All in all, catching errors with your appliances early on can save you a lot of time, money, and unnecessary stress. Here's more on why your clothes may be getting caught inside your dryer, as well as how to fix the issue.
What's the problem?

There are a handful of probable causes behind your dryer eating your clothes, but perhaps the most common is a weak, broken, or missing seal. A standard dryer comes with one or two felt seals, depending on the make and model of the machine, a tool responsible for keeping the hot air produced by the appliance from seeping outside. This seal also prevents clothes from becoming trapped between the dryer's drum and its front or rear wall, depending on its location. If damaged, articles of clothing like socks, underwear, and even t-shirts, can become wedged in between the dryer's parts. Your dryer door failing to close properly and cycles taking too long to dry clothes also suggest damage to the seal. Luckily, a new felt seal is inexpensive and easy to install.
If the seal is intact, damage to the dryer's drum glides or support rollers, both of which help the drum spin effectively during cycles, may be the root of the issue. Broken or overused support rollers create a space between the drum and the back of the machine, which can lead to clothes becoming trapped in the opening or, even worse, torn. Damaged glides also prevent the drum from standing upright inside the machine. Both of these repairs are more complex than replacing a seal, so homeowners who aren't as handy may feel more comfortable contacting a technician to solve the problem.
How to fix it
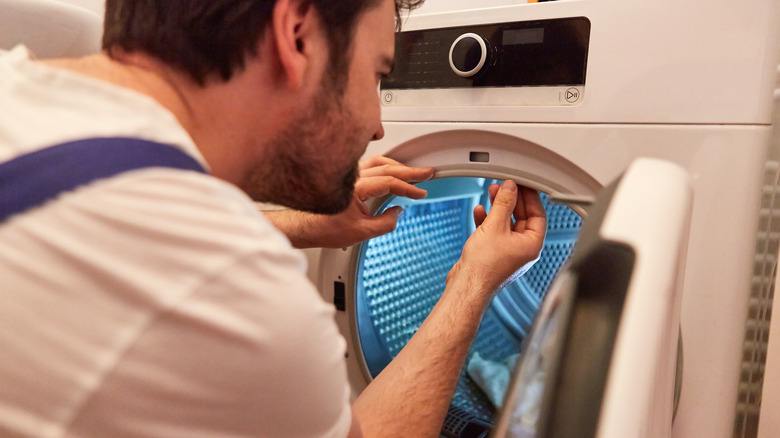
To free your clothes, start by unplugging your dryer. Locate the screws holding the machine's top in place and remove them with a screwdriver. Front-loading and top-loading dryers are assembled differently, so refer to your model's instruction manual for more information regarding the location of individual pieces. After dislodging the top of the dryer, tug gently on the drum to remove it. From here, you should be able to grab any loose clothing that may have been trapped between the dryer's parts. Also, remove any lint that may have accumulated underneath the drum over time to prevent future fires. Once clean, place the drum back inside the dryer, ensuring the piece is secure before reassembling the rest of the machine.
To prevent your dryer from stealing clothes in the future, consider replacing the seal located on the door or drum. Remove the old seal, along with any remaining adhesive that may be left behind. If your new seal comes with bends in the fabric due to packaging, remove them by soaking it in hot water for a few minutes, or by placing it in your dryer to make it malleable. Doing so allows it to attach to the machine with no gaps or openings. Finally, lay the seal along the door or drum and slowly apply the new adhesive until the fabric is secure. Wait at least a couple of hours for the glue to dry before using the appliance.