One Important Thing To Keep In Mind If You Want To Prevent A Big Mess While Draining Your Toilet
Whether you're upgrading your porcelain throne, fixing a clog, or repairing a chip inside the toilet bowl, the last thing you want to deal with is turning your bathroom into an impromptu swimming pool. That's why the first and most important step to prevent a watery disaster is to shut off your home's water supply. This is integral when doing any sort of plumbing project. This is because water shut off valves have a relatively short lifespan and should be replaced every 10 or so years. They're not really designed with longevity in mind.
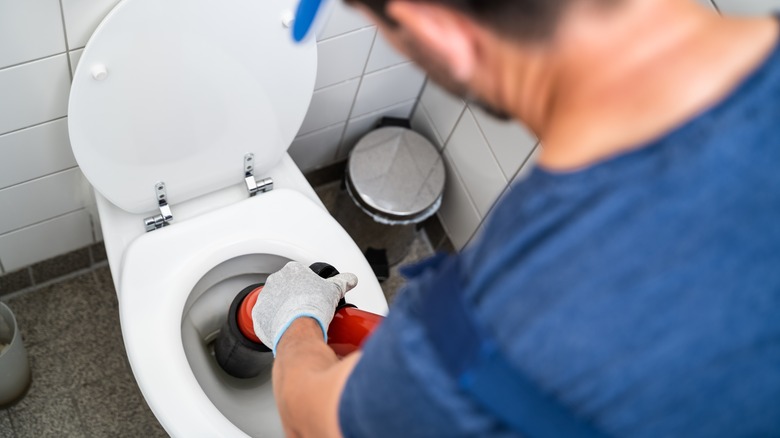
When you're emptying the toilet tank and bowl, it's especially important to get all the water out of the trap. This is a cavity just beyond the hole in the bottom of the bowl that contains water at all times. You can usually empty the trap through the toilet bowl, but you'll want to remember that there might be residual water still hanging out inside the base. That being said, the best method for completely draining the tank and bowl pretty much depends on if you're dealing with a clog or not. If you're just doing routine throne maintenance or replacement, this isn't a major problem.
What causes a valve to stop working
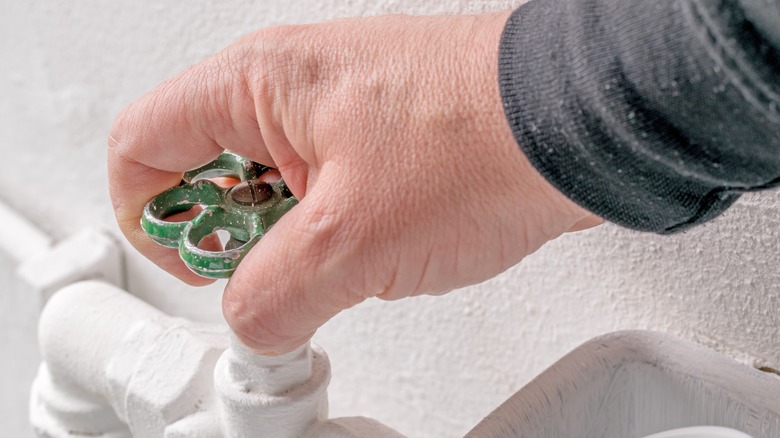
Leaks, corrosion, and overall wear and tear are all common factors when it comes to malfunctioning water valves. Over time, the seals and rubber gaskets may weaken or become damaged, which can cause leaking or issues with being able to fully shut off the flow of water. Mineral deposits can accumulate within the valve, obstructing its internal mechanism and inhibiting the flow of water. Additionally, hard water corrosion can also make it incredibly difficult, if not impossible, to turn the knob into the on or off position. In extreme cases, it can actually be stuck in the on position, which would require help from a professional.
If the valve was improperly installed or defective, this can also play a major role in how well it functions. Lastly, external damage, like getting dislodged or damaged during a previous repair job, can cause cracking in the internal structure of the valve, which would keep it from working appropriately. When in doubt, the best thing you can do is to regularly inspect your water supply valve to make sure it's not showing any signs of wear or falling prey to calcification. If it looks like it needs replacing, you'll want to call in a plumbing professional.
How to proceed once your water is turned off
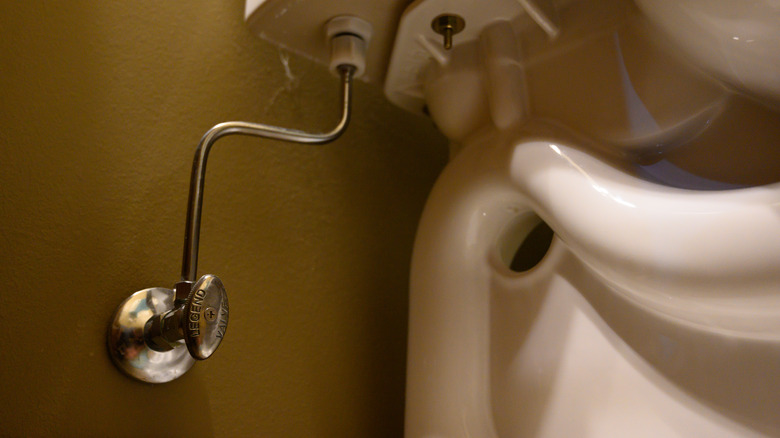
Once you've successfully turned off the main water supply, you can start getting to work on your highly anticipated plumbing project. Even though the main water line has been shut off, it's still important to turn off the water valve that leads to your toilet. This can usually be found behind or near the base of the toilet and is generally shaped like a little football. Next, rotate the valve handle in a clockwise direction until it stops. You have now successfully shut off the water supply to the toilet.
Another important thing to remember is that you'll want to flush the toilet afterward to empty the remaining water. Be sure to hold down the flush lever until the toilet is mostly empty. You can use a sponge to remove any remaining water from the bottom of the tank. The same sponging technique can also be used to remove any of the excess water that's still hanging out in the toilet bowl. If you happen to have a wet-dry vac, you can also use it to remove water, as long as it's free from contaminants. Before you begin suctioning, removed the filter from the vacuum so that it can handle liquids. Don't overfill the vacuum bin, or else you run the risk of making a serious mess when you carry it through the house to dispose of outside.