Avoid These 7 Command Hook Mistakes Or Risk Losing Your Deposit
We may receive a commission on purchases made from links.
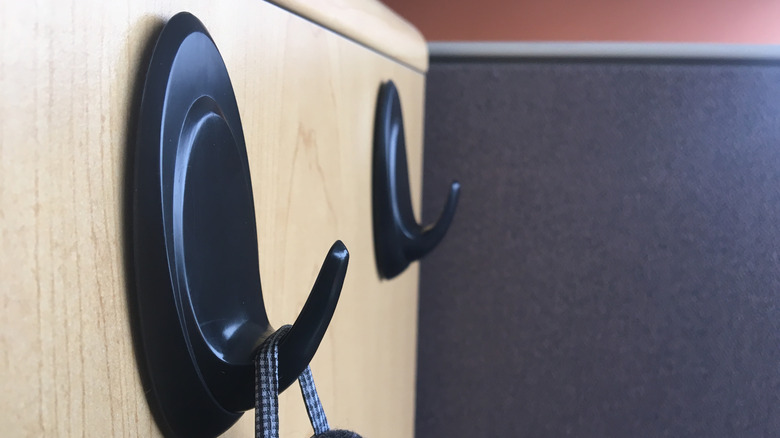
With all the various Command Hook products on the market, there are so many ways that they can be used. Touted as a "damage-free" solution, they're seen as one of the best rental-friendly DIY options that won't jeopardize your deposit. You can use Command Hooks for hiding your tangled mess of cables, mounting artwork on the wall, creating extra storage in your kitchen, and so much more.
However, that claim of being damage-free assumes that you're using the hooks and their corresponding adhesive strips correctly. And, unfortunately, many people make mistakes when using Command Hooks. If you also fall victim to one of these errors, you could end up damaging the walls in your rental, threatening the chances of getting your deposit back in full when you move out. So, learn what you shouldn't do with the hooks and adhesive strips, and what you should be doing instead.
Sticking the hooks on the walls right after painting
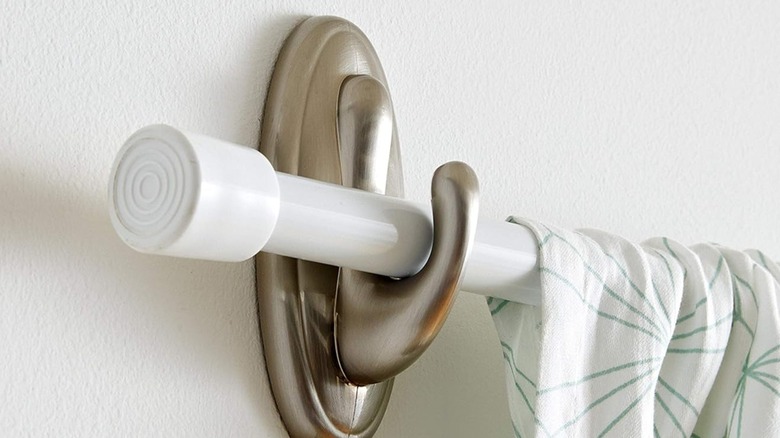
There are so many unexpected ways to use Command Strips around the house, including hanging curtain rods or growing climbing plants up the wall. If you've just moved into a new apartment or rental home, you may be excited to start using these ideas to make it your own. However, if your landlord recently applied a fresh coat of paint to your walls, acting too quickly and sticking up Command Hooks could be a mistake that could threaten getting that deposit back. If the paint hasn't cured completely, it will be more susceptible to damage. It may not bond to the wall properly, resulting in paint peeling off when you try to remove the hook in the future. Plus, the brand recommends using rubbing alcohol before applying the adhesive strips. However, if you try this before the paint has fully cured, you could end up causing damage to it.
So, if you can't hang stuff up on freshly painted walls right away, then how long should you wait? Well, according to Command, you should wait at least seven days. However, while that is the official recommendation, you might want to wait even longer to be extra safe.
Latex paint, which is commonly used on walls, can take around 30 days to fully cure, despite feeling dry within only an hour. Giving the paint that extra time may lessen the chances of anything coming off and damaging the walls when you remove the adhesive strips. Interestingly, Command's Australian website recommends waiting a full 28 days before using the products to avoid dulling the new paint with the alcohol.
Using Command hooks on wallpaper

If your apartment or rental unit has wallpaper on the walls, you might assume that you can hang artwork over it using Command Hooks, just as you would over painted surfaces. Unfortunately, this assumption is not correct and could cost you a portion of your deposit. Placing any weight on the adhesive strips could cause the wallpaper to peel or tear. Not only could this leave noticeable damage that your landlord could deduct from your deposit, but you'd also be risking breaking the hanging item if the paper tears and the hook falls.
In fact, Command specifically recommends against using its products on wallpaper, citing how delicate the material is as the reason not to. As a homeowner, you could consider removing the wallpaper completely or hanging your items with a nail instead of a temporary adhesive. As a renter, your options are more limited. You'll have to choose a different room with painted walls or consider propping the item up on a side table or a bookshelf instead.
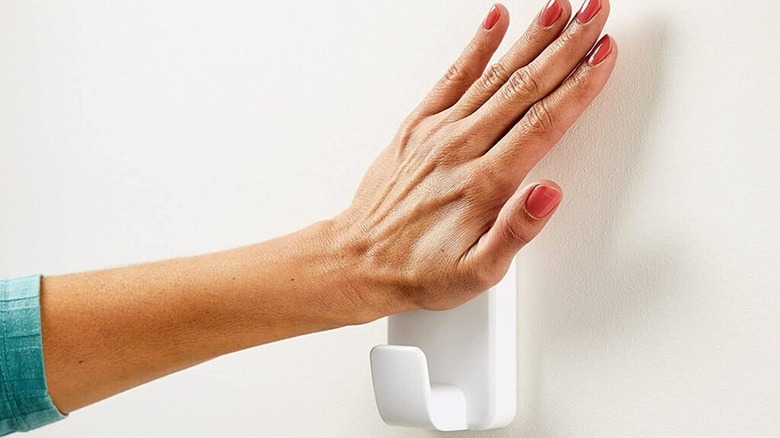
Not giving the hook an hour to bond before hanging anything on it

Did you know that you're supposed to wait one hour after sticking the adhesive to the wall before hanging any weight on the hook? If you answered no, then you're not alone. Many people either don't read this part of the directions from 3M or assume that it's unnecessary. However, failing to wait that hour may prevent the adhesive from forming a strong bond with the wall. This could lead to the strip and hook falling off unexpectedly, potentially pulling up some of the paint and leaving a blemish on the surface.
So, even though it might not sound like an important step, wait the full hour before you start putting those Command Hooks to work for creating extra kitchen storage or hanging shelves in the bathroom. Your items will have better odds of staying on the walls, and your deposit will have a better chance of returning to your wallet.
Pulling the strip away from the wall to remove it
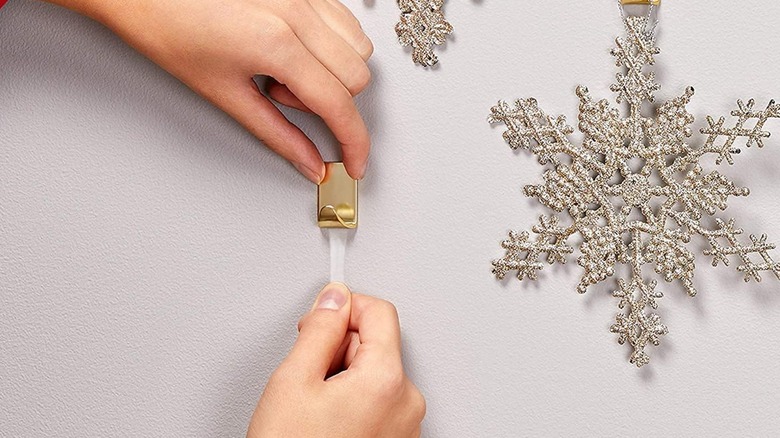
Whether you're packing up to move out of your apartment or just want to change the decor in one of the rooms, you'll need to remove the Command Hooks from the wall. Here's another time when mistakes are very common. People often try to remove the adhesive strip by pulling the tab out and away from the wall. However, this is not the correct procedure to follow. If you try pulling the strip off that way, it will likely take some of the paint (and possibly drywall) with it. As you can imagine, this will leave noticeable damage for your landlord to deduct from your deposit.
The directions from 3M that come with Command products explicitly state that you should never pull the strip away from the wall. So, stop making a damaging mistake when hanging art on your walls and follow the brand's advice. Grab the rounded end (below the rectangular adhesive strip) and pull it straight down along the wall. Keep in mind that pulling this strip down only an inch or two won't be nearly sufficient. Instead, 3M says to pull it down several inches (the exact recommendation will vary based on the product type). Continue until the rectangular adhesive portion of the strip is completely released from the wall.
Not knowing the best way to remove the strip if it snaps
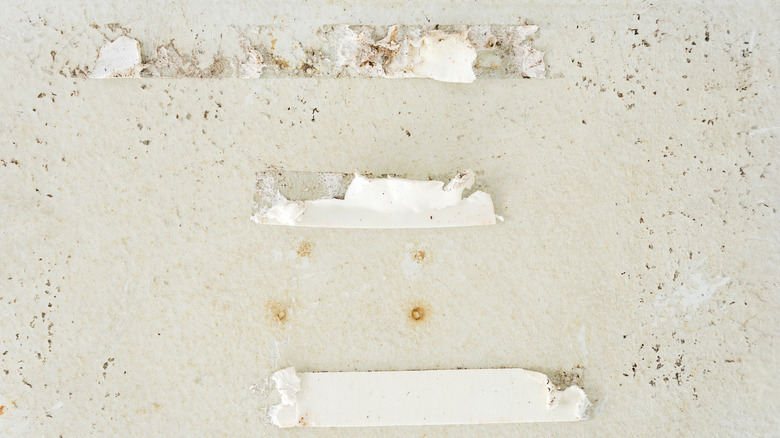
If you use Command Hooks as a damage-free way to hang artwork without using nails, then it's essential to know how to cleanly remove the strip from the wall. Pulling the tab straight down, as mentioned earlier, is crucial. However, occasionally this stretchy strip will snap, even if you're pulling it as directed. If this happens, don't panic and start trying to scrape off whatever portion of the adhesive strip is still attached. Doing so will make it more likely that you'll end up damaging the walls.
There are a few things you can try to cleanly remove the rest of the adhesive from the wall. The first thing to do is to look and see if any of the stretchy strip is still accessible. If you're able to grab it, then you might be able to continue pulling it straight down to get the adhesive off. If this isn't possible, you'll want to soften the adhesive using a little heat to help you. A blow dryer is perfect for this task. Just turn it on and direct it at the strip for several minutes. Once softened, removing the strip without peeling up the paint on the wall behind it should be easier. However, you'll still want to work slowly. If the process takes a while, pause to reheat the strip to make sure the adhesive stays warm.
Hanging more weight on the hook than it can hold
When you've picked up a package of Command Hooks online or at the store, have you noticed the label on the package that indicates the weight limit for each hook? Failing to notice this (or outright ignoring it) is another mistake that could cost you a portion of your rental deposit. The company puts a weight limit on each package for a reason, and the hooks and adhesives aren't designed to hold more than is indicated. If you try to hang something that weighs more than it can support, it could end up pulling the adhesive and hook off the wall along with a chunk of the paint or even the drywall behind it.
It simply isn't worth risking your deposit by hanging something that is heavier than your Command Hooks can support. Fortunately, 3M offers a range of products, including some that can hold a good amount of weight. Consider something with a higher weight capacity, such as the Command X-Large Utility Hooks that can hold up to 10 pounds, if you want to hang a heftier item.