How To Organize Your Freezer So It Runs More Efficiently
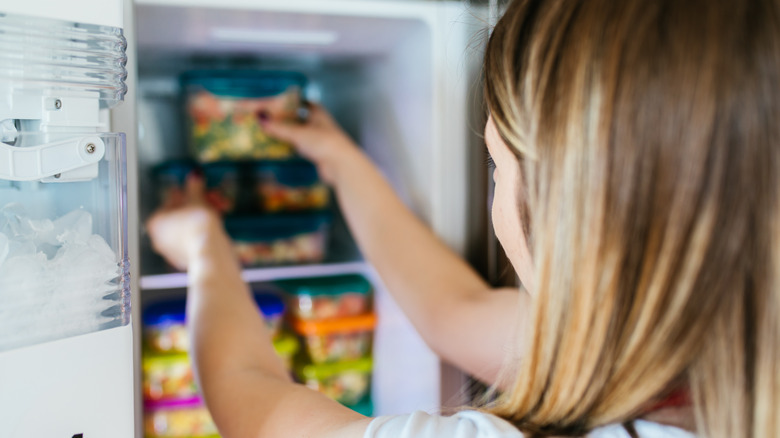
Imagine opening your freezer and immediately spotting exactly what you need without sifting through a mountain of frozen bags and containers. When this particular appliance is organized, it eliminates the hassle of rummaging through its contents, saving you precious minutes during meal prep and grocery planning. Beyond convenience, a properly organized freezer facilitates better airflow, preventing the formation of frost and ice buildup that can hinder its performance. Social media platforms are awash with mesmerizing before-and-after photos of transformations, inspiring individuals to reevaluate their own storage methods.
This growing trend of icebox organization has gained popularity due to its practicality and positive impact on daily routines and household budgets. In a world where time is of the essence and resourcefulness is key, the concept of streamlined appliances resonates deeply. Whether you're a busy professional, a parent juggling multiple tasks, or simply someone seeking a more orderly home, an organized freezer simplifies your daily routine and minimizes food waste. If you're ready to embrace this journey so it runs more efficiently, here are the steps you should follow.
Deep clean the interior
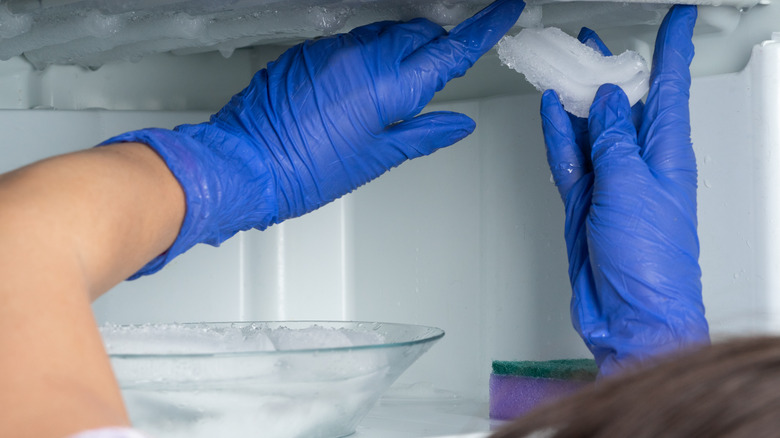
A pivotal first step that sets the stage for freezer efficiency and order is deep cleaning the interior. To begin, you'll need to gather a cooler or insulated bags to temporarily store your frozen items. Once you've removed everything, unplug the appliance and use towels, absorbent cloths, or a bowl to catch melting ice while it defrosts. This may take a few hours, but it gives you ample time to prepare your cleaning solutions as well as assess any damage to the freezer itself. To create your own cleaning spray, mix 2 cups of hot water and 1 cup of vinegar into a spray bottle as this solution is safe, non-toxic, and won't leave a soapy residue.
Use a microfiber cloth to thoroughly clean the interior walls, drawers, and shelves. You'll also want to dust on and around any vents and coils. Why is this deep cleaning step so important? Consider it the foundation for an organized and efficient freezer. Removing ice buildup enhances airflow and temperature distribution, allowing your icebox to work at its optimal level. No more struggling compressor noises or unevenly frozen products. Plus, a clean slate provides the perfect canvas for reorganizing your staples in a way that maximizes space and accessibility.
Sort and discard items

Once your freezer has been defrosted and cleaned, the next step is to sort and discard unwanted or expired products. Start by categorizing your items into groups. This will vary depending on what you have, but common categories may be meats, vegetables, frozen meals, and more. As you handle each item, channel your inner detective and ask yourself, "Is this still good?" Examine expiration dates, the quality of packaging, and the dreaded freezer burn. If an item seems a bit worse for wear or has been tucked away for an extended period of time, toss is out.
Another question to ask yourself when sorting is "Will I really use this?" Be honest with yourself as the decision-making process can be oddly therapeutic. If you're not going to use certain things, it's time to let them go. Once you've separated the wheat from the chaff, it's time to tackle disposal. If you have food scraps or items that can't be salvaged, consider composting them if possible. For packaged or sealed products, check your local guidelines for recycling or waste disposal. Remember, the aim here is to not only streamline your freezer but also to reduce food waste and your environmental impact.
Group similar products together
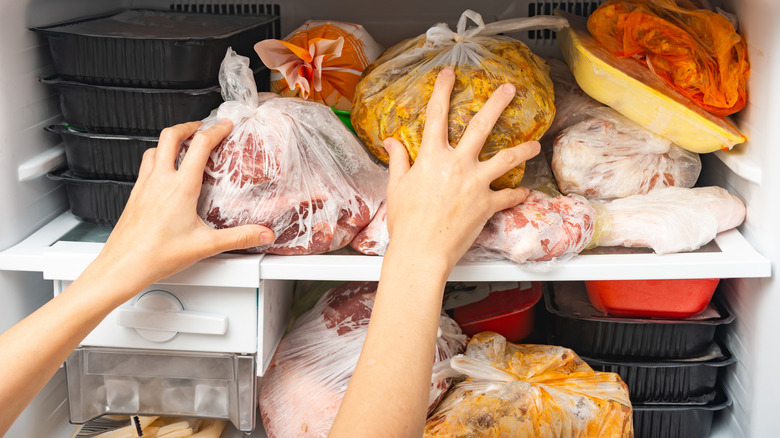
Since you've already sorted your contents into similar groups, you're halfway through the next step. With your freezer purged of expired and unwanted items, it's time to bring order to the chaos, and storing like with like is the best way to achieve that. If you haven't plugged your appliance back in, now is the time to do so. While it resets, decide what categories you want to use. Some popular groupings might be meats, vegetables, frozen meals, ready-to-eat meals, etc. Group items while they're still out of the freezer by using whatever surface space you have. This will help you see how much you have of each thing, making deciding where they go even easier.
When you're ready, start returning items to the freezer, group by group. Meats are best stored in a bottom drawer or a designated bin to prevent any potential drips or cross-contamination. Vegetables tend to play well together, so they can occupy a single section or shelf. We'll talk more about these soon but use stackable containers or reusable bags for efficient use of space. Frozen meals and leftovers deserve their own zone, preferably up front for easy access. And for the beloved ice cream, position it towards the back where temperatures are coldest, ensuring your indulgence remains at the perfect scoopable consistency.
Use bins, bags, and airtight containers
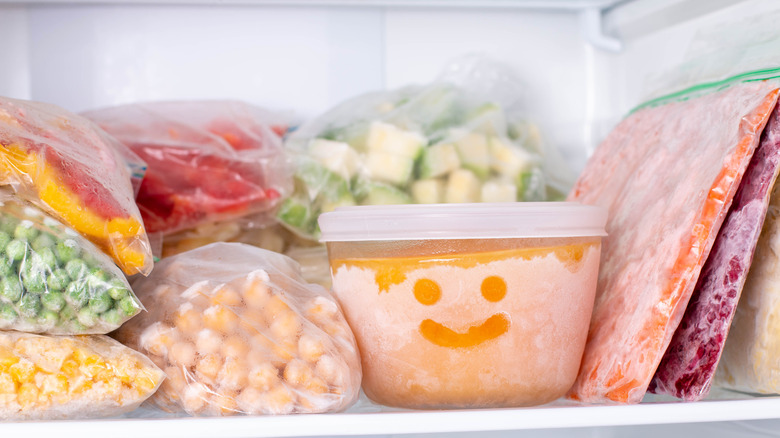
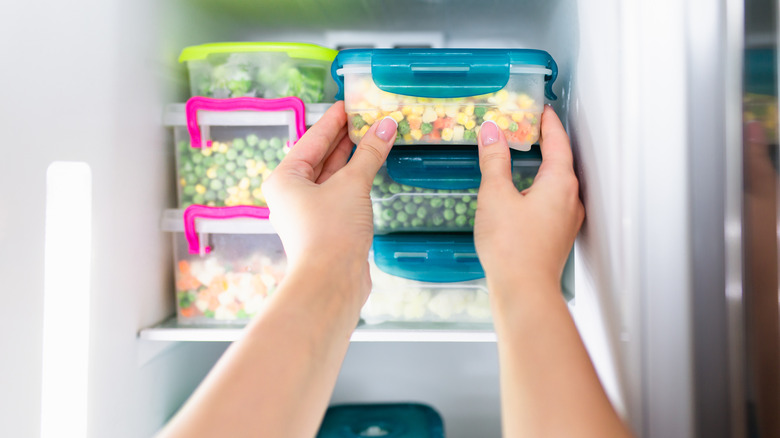
The unsung heroes of good freezer organization are bins, bags, and airtight containers. These are perfect for creating tidy zones that make finding what you need a breeze. As you begin putting items back, you may notice a need for some of these, and that's fine. Start with clear bins or baskets made of food-grade plastic. These are specifically designed for this appliance, are BPA-free, and can withstand freezing temperatures without becoming brittle or cracking. They're also easy to clean, which is important to do every few months. Use them to corral smaller items like bags of frozen berries or loose veggies. Sturdy dividers are another great investment since they keep different categories neatly separated.
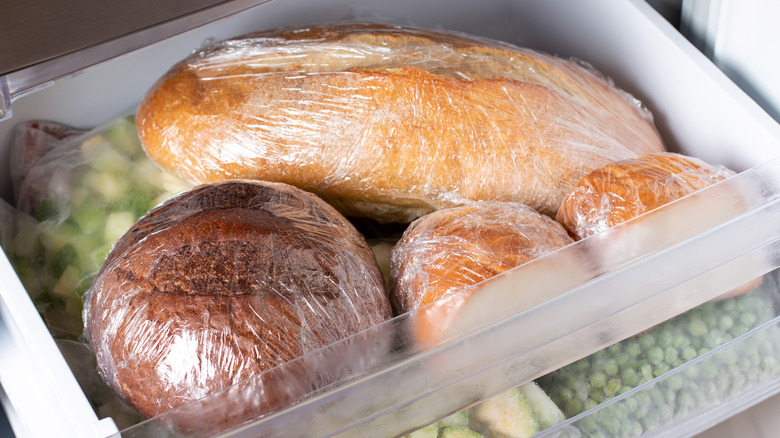
Another go-to for icebox organization is airtight containers and bags. Airtight containers are the ultimate guardians of freshness, sealing in flavor and locking out moisture. Store leftover soups, stews, and casseroles in these to preserve their quality and prevent unappetizing odors from permeating. Freezer bags are perfect for individual servings of fruits, veggies, or even pre-portioned meats. Zip them up, squeeze out excess air to minimize the risk of freezer burn, and stack them like building blocks for easy access. Once you've purchased these organizing tools, arrange them strategically within your designated zones.
Label and date everything
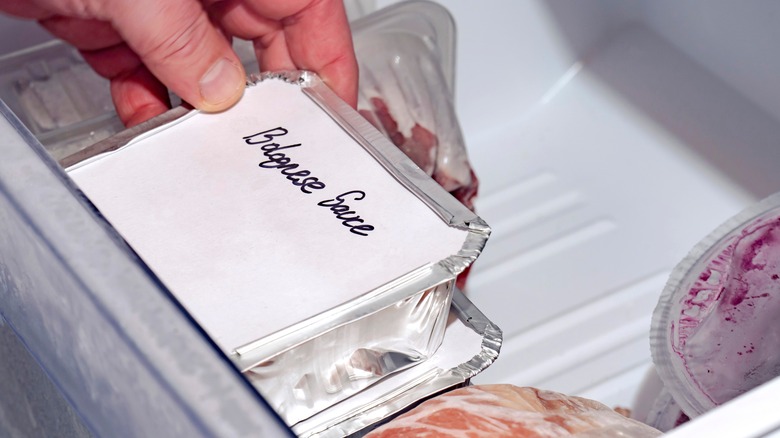
In the organizing profession, labels are king and make for amazing additions to just about any area of your home, including the freezer. As you place newly frozen items inside, jot down the date of freezing using adhesive labels or waterproof markers. Keep a marker on or near your appliance for quick access. Buy one with a magnetic cap or get creative and tie it with a string. You can also use a magnetic whiteboard to keep track of your inventory and its expiration dates if you'd rather see them without opening the door.
A good practice to follow is the "first in, first out" principle because storing dated packages is where the magic happens. Position products with earlier dates towards the front of your designated freezer zones. This way, when you're planning meals, the oldest ones catch your eye first, ensuring you utilize them before their expiration date. This practice not only prevents the loss of forgotten items but also keeps food waste at bay. Remember that the freezer isn't a time-stopping chamber; it's a storage vessel that buys you extra time. To keep things flowing smoothly, occasionally rotate the contents by moving older packages to the front and placing newer additions toward the back.
Avoid overloading it
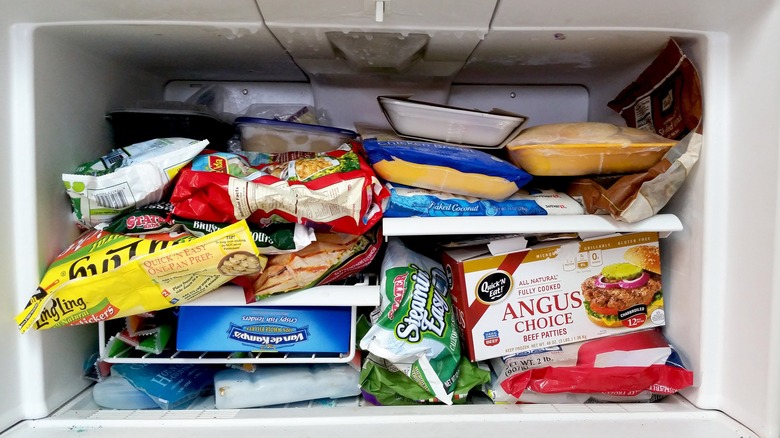
As you return items to your freezer and organize them in bins or bags, a golden rule to keep in mind is to avoid overloading the space. Even though you may be tempted to stuff it with products now that you have designated zones and labels, a well-balanced freezer is one that has a good amount of breathing room. Filling it to the brim might seem like an efficient use of space, but overcrowding can actually work against your intentions of keeping things organized and efficient. This all stems from the concept of sufficient airflow.
When items are crammed too close together, cold air struggles to circulate freely, leading to ice buildup and temperature imbalances. Overcrowding forces your appliance's compressor to put in overtime, striving to maintain the desired temperature. Not only does this result in a noisy icebox, but it also contributes to higher energy consumption, which isn't exactly friendly to your wallet or the environment. Energy efficiency isn't the only concern of a stuffed freezer. Overcrowding makes it challenging to keep track of what's stored where, leading to items forgotten, expiration dates overlooked, and frozen goods spoiling. So, as you set up your new organizational system, keep some open spaces in mind.
Maximize the space you have
Freezer organization may seem like an intricate puzzle, but that's part of the fun and functionality of getting the most out of the space you have. A key tactic is to leverage vertical space by strategically arranging the contents, whether they're in bins or not. Place taller products towards the back, where they won't hinder the airflow or block vents, and position shorter items at the front. This approach encourages good cold air distribution, ensuring your freezer's temperature remains consistent and items freeze evenly. Embrace the art of arrangement, and don't be afraid to shuffle and shift until you're content with the final setup.
Think like an interior decorator as you arrange the contents, paying attention to the balance between aesthetics and functionality. And while we've discussed bins, baskets, and labels, there are other techniques to optimize space that don't involve additional organizing products. For instance, consider pre-portioning things before freezing. This not only ensures you use just what you need but also prevents large containers from hogging valuable space. Another trick is to stack flat products like frozen pizzas or pancakes in between other items, like bookends, efficiently using what would otherwise be wasted space.
Leave space around the vents
As you near the end of your organization endeavor, there's a critical detail that often goes unnoticed and that's vent preservation. Your freezer's vents work to diligently circulate the icy air that keeps your products frosty and fresh. To ensure they're unobstructed, take a moment to make sure these vents have plenty of space around them. Proper air circulation is your ally in preventing uneven cooling, maintaining consistent temperatures, and ultimately preserving the quality of your frozen treasures. Try to keep at least three inches of space between the vent and the nearest food items.
Basically, don't suffocate your vents. It's tempting to cram those last few items into every available space, but keeping these pathways clear is crucial. Blocking the vents can lead to temperature imbalances, causing some areas to be colder than others. Not to mention, your freezer's compressor might work overtime to combat these imbalances, potentially leading to a shorter lifespan for your appliance. To ensure consistent cooling, give your freezer's vents the space they deserve for peak performance.
Schedule regular cleaning and decluttering
By now you should have a masterfully constructed freezer that is organized to your specifications. However, there is one more step to conduct and that is to schedule regular cleaning and decluttering of the contents and appliance itself. A little maintenance every now and then can go a long way in keeping things running smoothly. Once a month, plan to look through the items inside the freezer and dispose of any expired or unwanted products. You may also want to give the bins and shelves a quick wipe-down with a microfiber cloth. This swift survey is also a good time to touch up any designated zones that may have come a little undone.
Finally, schedule a deep clean like the one you just did every six months. This entails defrosting by unplugging and removing everything to clean the interior with that hot water and vinegar solution. Sort and discard items and re-evaluate your zones to see if any of them can be improved. Also, give your bins a deep clean by soaking them in hot water with a few drops of dish soap or vinegar. This routine prevents ice accumulation that can hinder airflow but it also gives you the chance to get reacquainted with what's stored inside. When restocking, remember the principles you've embraced throughout this journey.