What To Expect When Repotting A Rubber Tree Plant (And The Best Way To Do It)
Rubber trees are relatively low-maintenance houseplants, as long as their needs are met. They grow best in bright, indirect light. Though they can tolerate lower-light conditions, they will burn in direct sunlight. You will be rewarded with beautiful, healthy leaves and steady growth by placing your rubber tree in a bright corner of your home. Feed them about once a month with an all-purpose houseplant fertilizer and let their soil dry out between waterings. In the right conditions, it won't be long before your rubber tree has grown and it's time to move it into a larger pot.
While these plants are not exactly delicate, some care must be taken to make sure they quickly recover from transplant shock. You will need to select the right planter size and provide good quality potting soil that contains slow-release fertilizers so your plant will continue to grow. You also need to take precautions for yourself. The latex contained in the leaves of these plants can cause skin irritation, so wear gloves and long sleeves to avoid coming in contact with broken leaves.
Prepare to transplant
The level and specifics of preparation for repotting your rubber tree depends on its size. If your plant is still small, you can place a protective cover on a table or a similar surface. Remember that the latex contained within the leaves has powerful plant compounds, so you will definitely want to protect your workspace. If you are repotting a large tree, a plastic tarp on the ground outside should give you enough room to work.
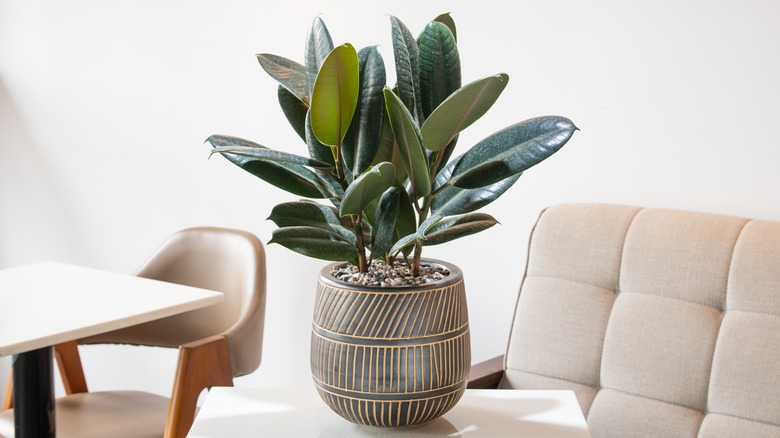
Gather your supplies, starting with selecting the best planter. Rubber plants are not prone to many diseases, but they will not tolerate soggy soil. You'll need a pot that has sufficient drainage. You can always place a plastic container with drainage holes inside something more ornamental. Just remember that you will need to ensure water does not pool at the bottom.
When repotting plants, you should select the next size up. With this approach, your plant will focus on growing more roots than top growth. For example, if your rubber plant is currently in an 8-inch pot, select a 12-inch planter for best results. Since rubber plants can grow quickly in the right conditions, you may need to repot every year or so. Gather your potting soil and trowel, then change into appropriate protective clothing.
Repotting your rubber tree
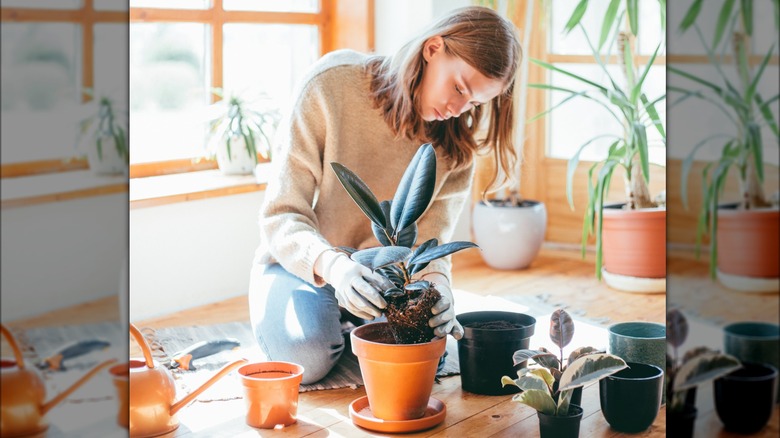
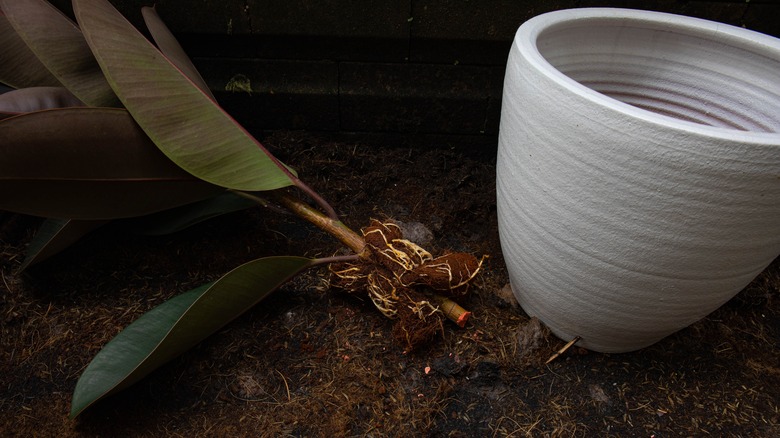
Prepare the new planter by adding some soil to the bottom. If your rubber tree is overdue for transplanting and is root-bound, it may take some effort to get it out of its old planter. Use your hands or a trowel to gently release the roots and pull the plant out. Loosen the root ball to encourage those roots to spread out and grow in its new, larger container. If you notice any rotten or dead roots, use a hand pruner to remove them. Move your rubber plant to its new planter and fill in the empty space on the sides with soil. Tamp it down gently so the container is full, but it's not too compact. The surface of the soil should be about an inch below the top of the planter to prevent runoff when watering.
Once your rubber tree is firmly in place in its lovely new planter, it will need to be thoroughly watered. You can water from the top, or place it in a bowl of water or your bathtub. This allows the water to slowly be absorbed from bottom to top and ensures water gets to the roots. It also prevents the displacement of freshly added soil. Whatever method you choose, make sure all the excess water drains out before you move it to its final destination in your home.