11 Avoidable Mistakes Everyone Makes When Steaming Clothes
We may receive a commission on purchases made from links.
Clothes steamers are little handheld powerhouses. Harnessing the power of steam, these devices can remove wrinkles, freshen garments, and even loosen grime. These versatile tools have an impressive resume, but do you feel like yours isn't living up to the hype? If you find that it isn't getting the job done, you might be making some common mistakes that people make when steaming clothes.
These are presented as simple devices to effortlessly get crisp clothes, but it's not always that easy. It's important to use the tool the right way if you want to take advantage of your steamer's wrinkle-removing powers. First, how do they work? When the unit is switched on, it heats up the water in the reservoir and converts it to steam. When you press the button, the steam shoots out in a concentrated jet. The hot vapors relax the fabric fibers, which causes the wrinkles to disappear. Yet another perk, you can use your steamer for more than just de-wrinkling clothes. They can typically be used on most items that might be too delicate or difficult to iron, including outerwear, upholstery, and curtains. Regardless of where you use it, just make sure you're using your steamer the right way by avoiding these errors.
Forgetting how hot the steaming process is
Most of us have gotten too close to a jet of steam at one point, whether that's while using a garment steamer or cooking in the kitchen. So you know it's very hot and can cause serious burns if you're not careful. There are some safety rules to always keep in mind. First, never steam clothes while they are on your body as the steam can go through the fabric and burn your skin.
With that golden rule in mind, be careful while steaming clothes in general. Don't place your hands too close to the area that you're working on. If your unit has a continuous steam function, be careful where you point it, and don't direct it at body parts. If you want extra protection, you can grab a steaming glove, like the Conair Complete Care Protective Garment Steaming Mitt from Amazon. In a pinch, you can even use an oven mitt — just make sure it's clean before touching it to your clothes.
Using tap water
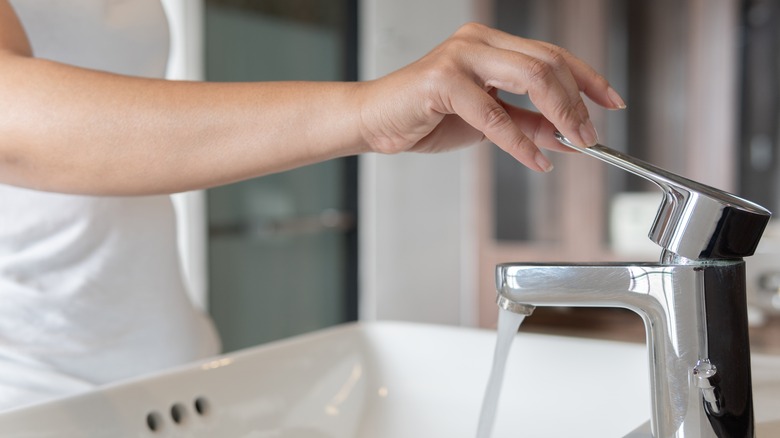
Tap water has minerals that can build up in a clothes steamer, clogging it up and making it work less effectively. Too much build-up can even shorten your device's lifespan. Similar to many irons, most steamers will recommend using distilled water instead of tap water. This is especially prudent in homes with hard tap water, which has a higher mineral content.
What is the advantage of distilled water? Well, it doesn't have as many minerals as tap water, which means it will leave less residue behind in the steamer. Its composition has to do with how distilled water is made. It's made by boiling water, collecting the condensation, and then bottling that recondensed water. The heavier minerals are left behind, removing one of the main causes of build-up. Fortunately, distilled water is only a little more than a dollar a gallon. So, it's a pretty budget-friendly way to keep your steamer in tip-top shape.
Steaming delicate garments
Steamers are often recommended for removing wrinkles from delicate clothing because, compared to using an iron, they're generally a safer option. But that doesn't mean that they can be used on every single garment. Steamers can melt or otherwise damage some delicate fabrics like suede, velvet, velour, and any fabric with a wax coating. At best, it may cause some fabrics to shrink, but at worst, it can cause irreversible melting or warping. You should also avoid steaming certain appliques and plastic parts as the hot vapors can cause damage.
In short, if anything seems meltable or fragile, you're better off not steaming it. Instead, you can use gentler methods to get rid of wrinkles. If the garment is washable, wash it or wet it with a spray bottle. Then, lay it flat or hang it to dry, which can help smooth out wrinkles. Another option is to hang the item in the bathroom when you're taking a hot shower. This immerses the garment in steam, but since it isn't blasting a concentrated jet of it onto the fabric, it likely won't cause any damage. This won't be as effective as using a clothes steamer, but it's definitely better than accidentally melting a part of your favorite blouse!
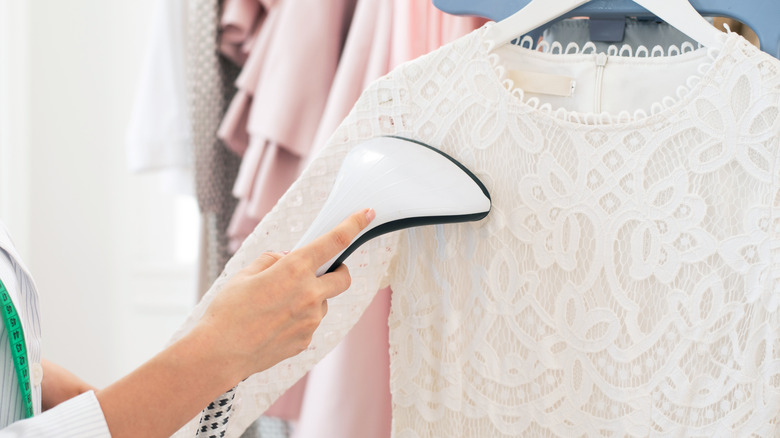
Skipping a test patch on new garments
Most fabrics can be steamed, which is why steamers are such a useful tool. For the most part, many cotton, polyester, silk, and wool garments are safe. First, check the fabric care label; some labels may say that the garment cannot be steamed. Even if the care label doesn't warn against it, just to be safe, it's a good idea to do a test patch on new clothing. This step is especially important if it's an expensive or irreplaceable item. It's impossible to reverse some types of damage from a steamer, so you're better off double-checking before you work on the entire garment.
To perform a patch test, choose a spot that you're least likely to notice if any damage happens, like under a collar or the bottom button panel. Then, run the steamer over the spot and then wait a few minutes for the patch to dry. If the spot doesn't show any damage after drying, then you know you can proceed.
Using the steamer before it's ready
Steamers need some time to heat up before you use them. Check the manufacturer's directions and make sure to give it its prep time! Modern models don't need very much time at all, with most coming to temperature within a couple of minutes. If you start using one too early, it can result in the steamer spitting water. This can be dangerous since the water is very hot. The droplets can also leave water marks on some fabrics. Even if water drops don't damage the material, the concentrated drops will take longer to dry than the rest of your garment. In short, might as well wait enough time at the start for a good experience!
Using a steamer too early can also result in an irregular jet, which won't be very effective at unwrinkling your clothes. To really set yourself up for success, once it's warmed up, press the button and let the steam run continuously for about a minute or so. This step will make sure that the spitting and sputtering are done and ensure that the jet is even and effective.
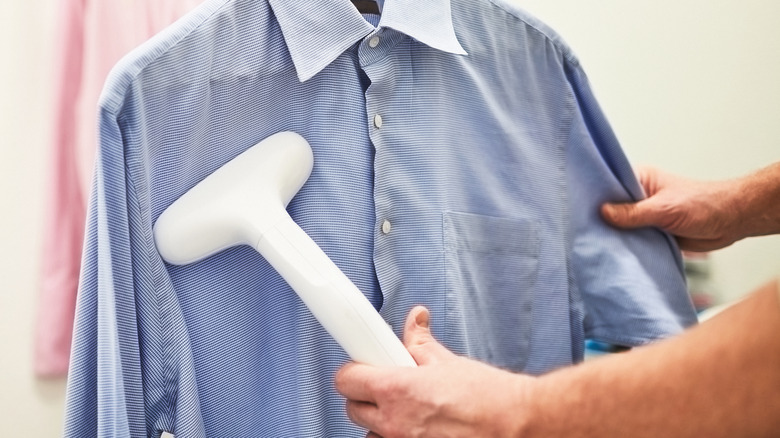
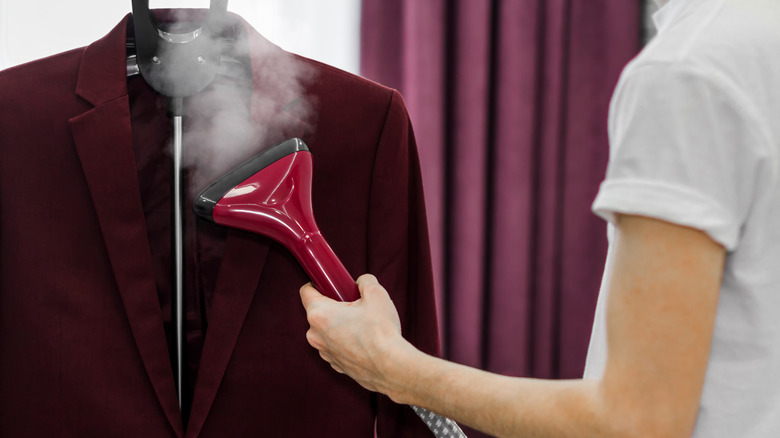
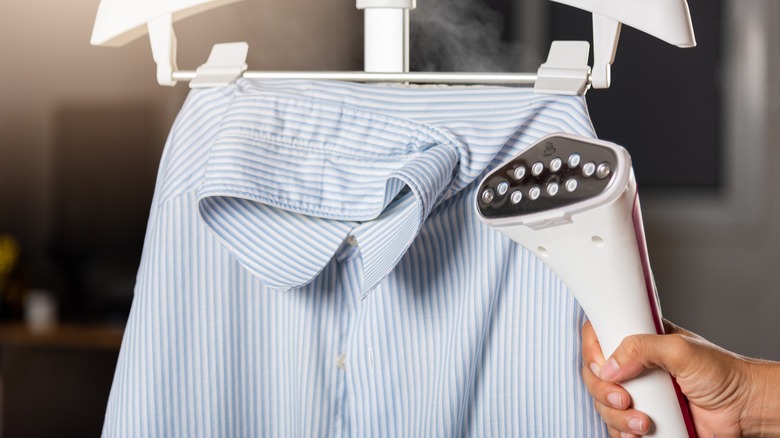
Not hanging the garment
When you're steaming a garment, where you place it makes a difference. It's best to hang clothing so the steam and gravity can work together to help get rid of (and prevent) wrinkles. Using a flat surface like an ironing board or your bed is possible but it's usually not as effective. Plus, steamers should be held upright to work properly. Holding it on its side can cause it to drip water, which can make a mess, not to mention it can be dangerous.
When you're ready to get to work, hang your garment from a clothing rack that's tall enough to allow the item to hang freely. A freestanding option will allow you to steam all sides without anything getting in the way. Another option is to hang the garment from a door. This is a good choice because it gives you a flat but vertical area to work on. However, just keep in mind that if the steam penetrates through the clothes, it can damage some door materials like unsealed wood.
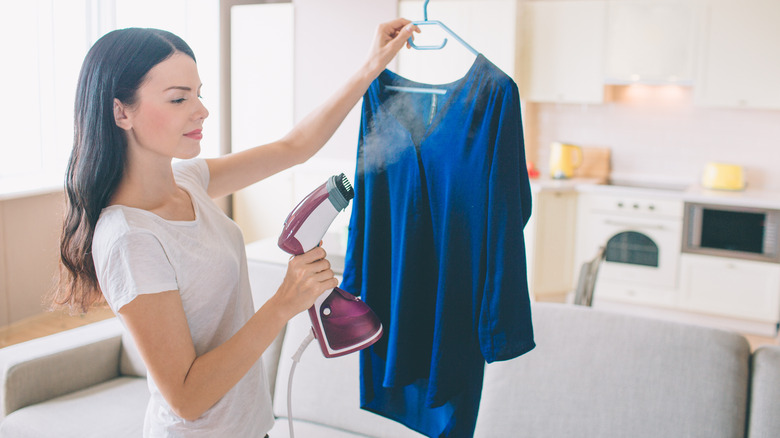
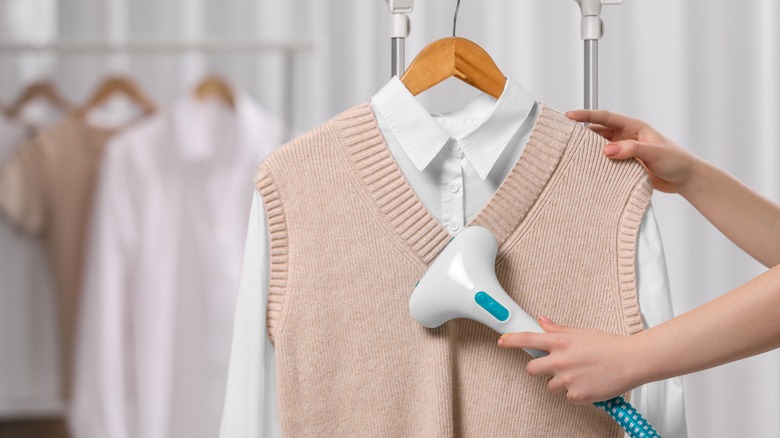
Not pulling the fabric taut
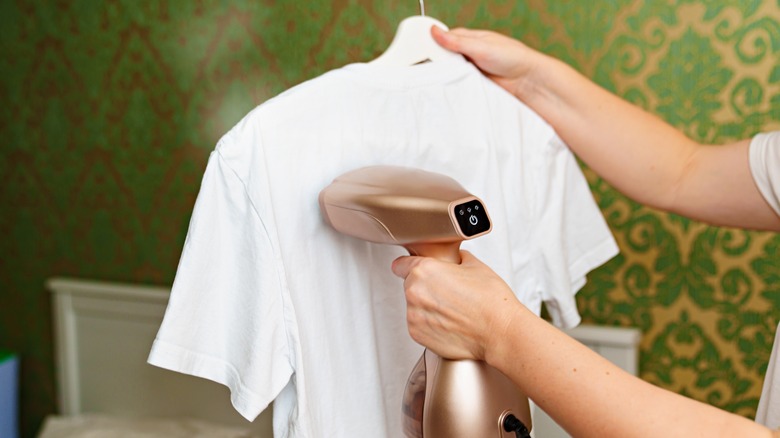
Similar to an iron, a steamer can actually create folds and wrinkles in clothes if you don't use it properly. If you find that it isn't smoothing out your clothes as you expected, it might be due to how you're holding the fabric. It's important to gently pull the fabric taut in the area that you're working on. This step flattens the fibers and gives the steam the opportunity to release the wrinkles.
When steaming a piece of clothing, it helps to mentally divide the item into sections. If you've been trying to work on a whole garment all at once, you may lose your attention to detail. For example, if you're steaming a jacket, think about each arm, each front panel, and the back panel as its own section. This allows you to focus on pulling the fabric taut in the right direction. Hold each section at the bottom, for example, from the bottom of each arm sleeve and the lower hem of each panel section.
Forgetting to take advantage of steamer attachments and accessories
Many of the top clothing steamers come with useful attachments included. It's easy to just toss them into the back of your utility closet, but they actually might come in handy. Some of these attachments can make your steamer easier or safer to use. For example, some units come with a silicone attachment that helps to pull the fabric taut and unwrinkle it more effectively. You can also use the cloth brush to help steam penetrate better into tricky fabrics. Another useful attachment is a lint brush, which picks up hair, fur, and lint as you de-wrinkle.
There are also accessories that can help. To protect delicate surfaces, consider a cover like the Conair Complete Care Protective Door Press Pad from Amazon. If you do a lot of steaming, it may be easier to use a hanging rack rather than hooking clothes onto a door. A foldable garment rack like the Whitmor Foldable Garment Rack from Bed Bath and Beyond can be stored in your closet when you're done. If that one is too big, the Honey-Can-Do Tripod Clothes Drying Rack from Kohl's has a smaller footprint but still gives you space to hang your clothes while you work.
Not giving yourself enough time to steam

Steaming isn't always a fast job. First, you have to let the unit heat up, which usually takes a couple of minutes. Then, to make sure there's no sputtering water left inside. You should run it for about a minute or until you get a good, consistent, continuous steam. A few minutes in, you're ready to start steaming. You'll need to work in sections to be thorough and effective, which takes time. And if your clothes are really wrinkled or you're working with a thick fabric, it can take several passes to get them smooth. So, make sure you set enough time so you don't end up running out the door with a half-wrinkled garment.
The process can also leave garments a bit damp, especially if you've had to make multiple passes. Just in case, plan on around 10 minutes after you finish to allow the garment to dry. This means all-in-all, you'll probably want to start steaming your clothes at least 30 minutes before you need to get dressed, to account for the set-up, steaming, and drying time.
Not considering steamer placement and moving the steamer around too quickly
Where you place the steamer depends on the fabric type and how wrinkled the garment is. For more delicate clothing, keep it a few inches back. For tougher fabrics, like cotton and polyester, you can move it closer. For some sturdy garments, you can even hold it right up to the garment, taking advantage of the soleplate (the surface where the steam comes out) to help smooth the fabric. For stubborn wrinkles or thicker fabrics, you can also place the steamer inside the garment and steam from the inside out. The weight of the fabric will help wrinkles release and this process will give you a better view of where you need to direct the steam.
If you've tried all these tips and your steamer still doesn't seem to be working too well, you might be moving it around too quickly. It needs to sit on a spot for a few moments to relax the fabric and remove wrinkles. Pass slowly over the garment, and if the wrinkles aren't relaxing, keep moving it over the small area for around 30 seconds. For really stubborn wrinkles, it might take a minute or two to fully release them.
Skipping steamer maintenance
Even if you fill your steamer with distilled water and only use it on clean clothes, it needs to be cleaned once in a while. Build-up can occur over time, and you can tell if the steamer is sputtering more frequently or working less efficiently than usual. When this happens, it's important to decalcify your machine. Generally, you should clean it at least once every two months, and of course, earlier if you notice performance is slipping.
Follow the owner's guide for cleaning directions. If there aren't instructions, this task is easy to do with just some vinegar and distilled water. First, fill the water tank with a solution of one part white vinegar and two parts of distilled water. Then, run the steamer until about half of the solution is gone. Unplug it and let it cool. After about half an hour, empty the tank and repeat this process as needed. Make sure you thoroughly rinse out the water tank before refilling it with distilled water. Let the steamer run for a few minutes to ensure there isn't any vinegar left inside the machine.