The All-Natural Substance That Will Help Keep Your Garden Tools From Rusting
We may receive a commission on purchases made from links.
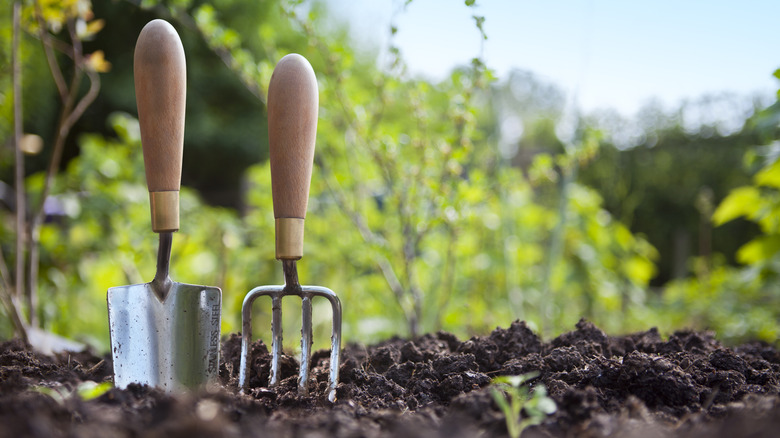
Garden tools tend to get dirty quickly and often, and many people who use these tools every day opt to leave their soil-coated shovels and hand cultivators outside instead of rinsing them and bringing them indoors. While this may seem like a good way to save time, leaving your tools out in the elements unprotected will end up costing you time and money in the long run. This practice exposes your tools to the elements, making metal ones extremely vulnerable to rusting.
Fortunately, there is a natural way to protect your garden tools to ensure that they look and work as good as new for years to come. Simply apply a coating of beeswax and natural oil to the metal parts of your gardening tools to keep them safe from moisture. Beeswax can be used for a variety of do-it-yourself hacks, and many of them involve protecting objects from outside sources like water and subsequent rust or mold. It is smooth and durable and serves as the perfect water-resistant barrier, and its all-natural content makes this hack completely safe for your garden and the critters that come to visit.
Initiating the hack

First and foremost, make sure to clean any dirt and remove any rust that has started to form on your gardening tools. To initiate this hack, you will need a few things: natural beeswax, olive oil, heat-protectant gloves, a heat source, and a pot. You can purchase a one-pound block of all-natural beeswax at Michaels Craft Store for $20, and olive oil at Walmart for under $7.
Measure out your beeswax and oil, ensuring that you have at least 50% beeswax. This ratio (or using an even larger amount of beeswax) ensures that the coating is solid and will not melt while you are working in the sun. Put on your heat-protectant gloves and add your solid beeswax to a double boiler on low heat. Allow it to melt completely before adding your oil, then mix the two liquids until combined.
With the burner still on low, use another heat source such as the open flame of the stovetop or a blow torch to heat the metal pieces you will be coating. Once heated, hold the handle of your garden tool and dip it into the liquid until the entire metal part is submerged. After a few seconds, lift your tool and allow the excess liquid to drip back into the pot before setting it to completely dry for a few hours. Repeat this process with all of your gardening tools.
Alternative method
The heating and dipping method is undoubtedly the best way to add a beeswax coating to your metal gardening tools. However, if you aren't comfortable with heating your tool before plunging it into the liquid mixture, you do not have to. Simply skip the step and apply the coating to the tool as previously instructed. This will allow you to leave your gardening tools outdoors without fear of early rusting, but the coating will not last as long as it would with heat.
Heating the metal before applying the wax coating allows it to form a much stronger and more permanent seal. If you choose to skip this step, the coating may wear off over time and have to be reinstated. Be mindful of potential wear and check on the coating every so often while using your tools. Regardless of which method you use, your tools will be good to use within a few hours and ready to tackle all of your gardening projects while avoiding any premature rusting!